When To Use Camera Lens Filters?
Camera lens filters are an incredibly useful tool in a photographer's arsenal, but knowing when and how to use them can significantly improve the quality of your photographs and elevate your creative vision. While many of today’s digital enhancements can be achieved through photo editing software, lens filters provide real-time effects that editing can’t completely replicate. The right filter at the right time can make all the difference by not just protecting your lens but also manipulating light, reducing glare, enhancing colors, or adding artistic effects to your images. In this article, we will explore when camera lens filters become indispensable for photographers and why they remain relevant even in the digital age.
What are Camera Lens Filters?
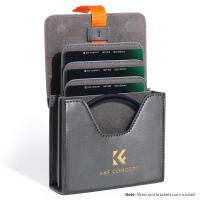
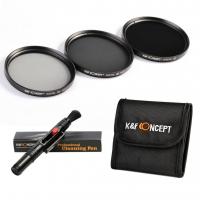
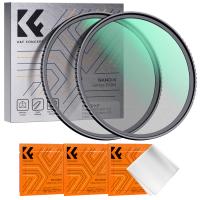
Before diving into their specific uses, let’s first understand what lens filters are. A lens filter is a piece of glass or resin that attaches to the front of your camera lens. Filters are designed to manipulate how light enters the lens, allowing photographers to create certain effects or improve image quality. There are many different types of filters, such as UV filters, polarizers, ND (Neutral Density) filters, and graduated filters, each serving a unique purpose.
When to Use Camera Lens Filters
1. To Reduce Reflections and Glare
A polarizing filter is a must-have when shooting reflective surfaces like water, glass, or polished metal. When you’re photographing landscapes, for instance, the reflections from the water's surface can overpower the scene. Similarly, shooting through a window can introduce annoying reflections that distract from the subject.
Using a circular polarizing filter (CPL) allows you to minimize these reflections, giving greater clarity to the subject beneath. It’s especially effective during bright, sunny days when reflective highlights are more pronounced. Beyond removing reflections, polarizers can also enhance the contrast between the sky and clouds, offering a dramatic improvement to outdoor shots.
2. To Control Exposure in Bright Conditions
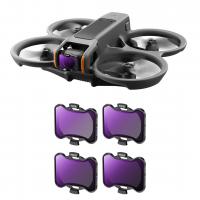
Neutral Density (ND) filters are essential for controlling exposure in overly bright conditions. These filters limit the amount of light entering the lens without altering the color of the scene. ND filters become necessary when you want to achieve long exposure shots or use a wide aperture in daylight.
For example, if you’re photographing a waterfall during mid-day and want that smooth, silky water effect, an ND filter will allow for a slower shutter speed by reducing the incoming light. Similarly, wedding photographers often use ND filters to shoot with wide apertures in bright sunlight without overexposing the image.
When there’s too much light to create the effect you want naturally, ND filters make it possible to maintain a perfect balance.
3. To Protect Your Lens
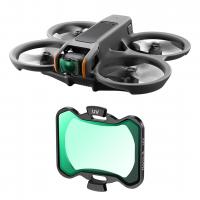
While UV filters were initially designed to block ultraviolet light from hitting the sensor, modern cameras have mostly eliminated the need for this specific functionality. However, UV filters are still widely used as a low-cost protective measure for camera lenses.
Dust, scratches, fingerprints, and accidental knocks can permanently damage a lens. Adding a UV filter serves as a first line of defense while preserving the optical quality of your images. It’s particularly helpful in harsh environments, such as sandy beaches or windy deserts, where your lens is more susceptible to testing conditions. Unlike ND or polarizing filters, UV filters do not affect exposure or color, so they can stay on your lens all the time.
4. To Balance Exposure in High-Contrast Scenes
If you’re struggling with scenes that have both bright highlights and deep shadows—common in landscape photography—graduated neutral density (GND) filters can be particularly helpful. These filters are partially tinted to darken only sections of the image, such as a bright sky, while leaving other portions unaffected, like the foreground.
For example, when photographing a sunset, you might find that the vibrant colors in the sky are perfectly exposed, but the foreground is too dark. A GND filter balances the scene, ensuring that both the sky and ground look just right in a single exposure.
5. To Enhance Colors and Add Mood
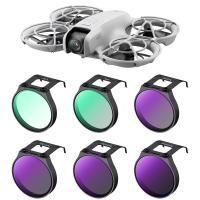
Color filters and warming/cooling filters are used to either enhance specific colors or change the overall hue of an image. For instance, a warming filter can highlight golden tones during sunrise or sunset, while a cooling filter can add a blue tint to snowy landscapes, emphasizing the cold atmosphere. Though many of these effects can be simulated in post-processing, using physical filters can help you achieve a more natural and consistent look straight out of the camera.
6. For Astrophotography or Low-Light Scenes
One often-overlooked use case for filters is in astrophotography and low-light conditions. Light pollution filters help minimize the interference of artificial urban lights when you’re capturing the night sky. In cities or suburban areas, excess ambient light from street lamps can prevent stars and celestial objects from standing out in your images. Specialized light pollution filters block these wavelengths, allowing your camera to capture more detail of the Milky Way or constellations.
Similarly, some filters are designed to reduce strong colors caused by sodium vapor lamps or artificial lights while maintaining natural hues for nighttime cityscapes or industrial scenes.
7. To Create Artistic Effects
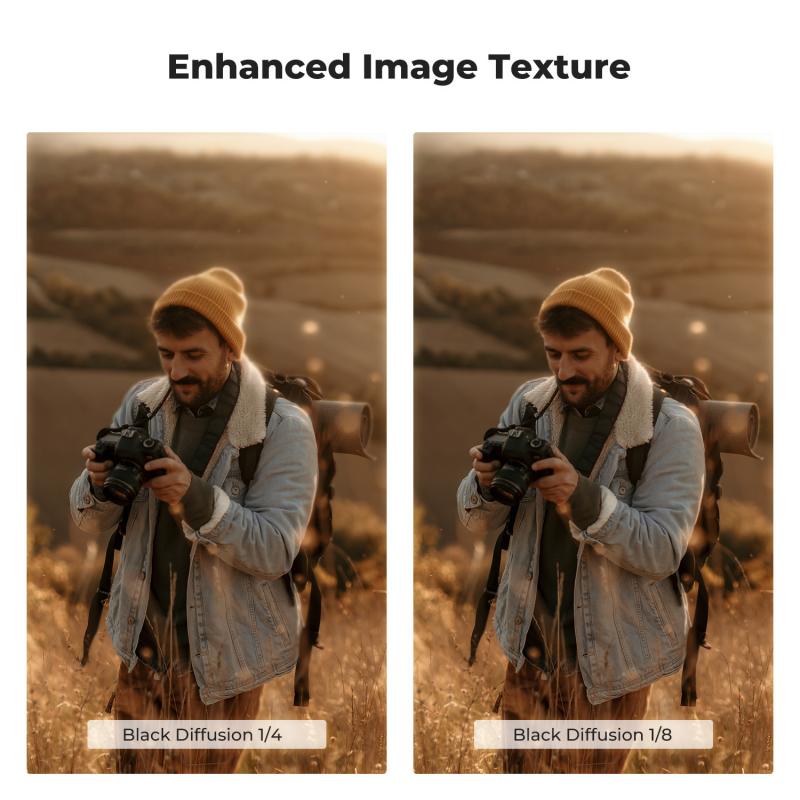
Special effect filters, such as starburst or diffusion filters, can add a creative touch to your photos. Starburst filters, for instance, turn point light sources into star-like flares, making them great for creating impactful images at night or for emphasizing highlights. Meanwhile, diffusion filters create a soft-focus, dreamlike quality that is perfect for portrait photography or adding a vintage aesthetic.
Though many of these effects can be produced during post-processing, filters allow you to see the changes in real time as you compose and take the photo.
Key Considerations Before Using Filters
Understanding when to use filters and how they affect your final image is crucial. Here are a few points to consider:
- Compatibility with Your Lens: Filters come in different diameters to match various lens sizes. Make sure you know your lens’s thread size before purchasing a filter.
- Stacking Filters: In some cases, you might layer multiple filters on your lens. Be mindful that this can cause vignetting (dark edges) and reduced image sharpness, so only stack filters when necessary.
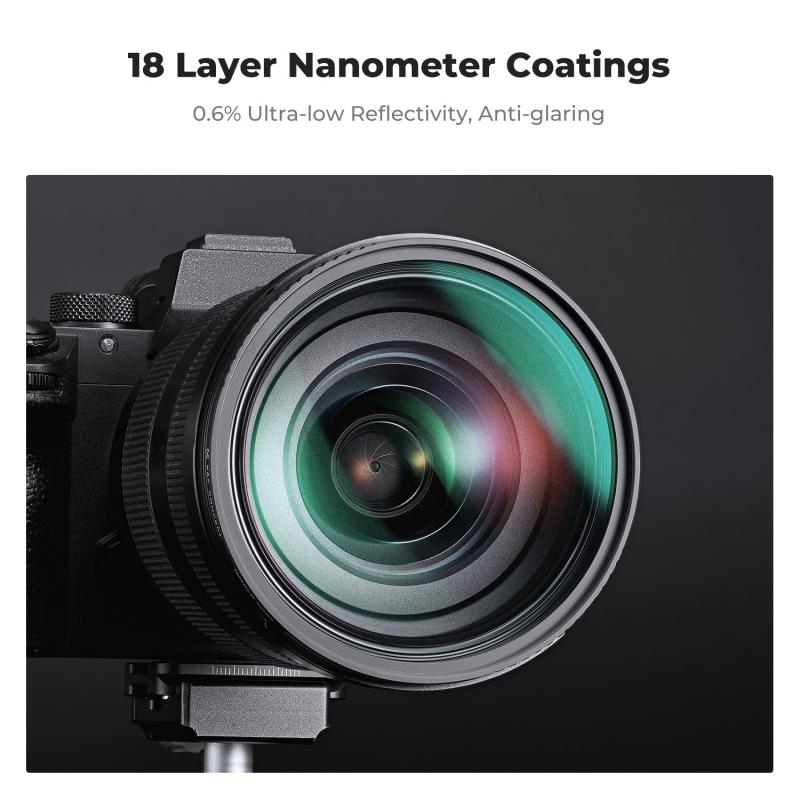
- Build Quality: Cheaper filters can degrade image quality through lens flare, ghosting, or loss of sharpness. Invest in high-quality filters from reputable brands like Hoya, B+W, or Lee Filters to preserve both your image quality and lens integrity.
- Weather Resistance: If you’re an outdoor photographer, consider filters with water- and scratch-resistant coatings for added durability.
Do You Always Need a Filter?
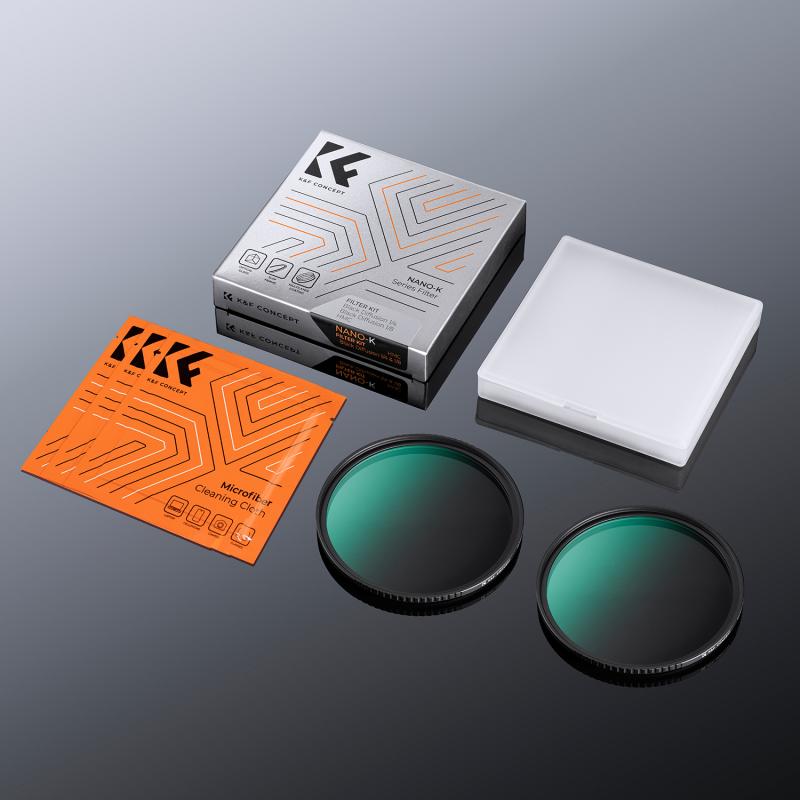
While filters can enhance many situations, it’s worth noting that they are not always needed. For example, UV filters might not be necessary when shooting indoors or in controlled environments. Similarly, post-processing tools can sometimes offer more flexibility than physical graduated or color filters. That said, filters allow you to create effects in-camera that preserve details and eliminate time-consuming adjustments during editing.
Camera lens filters are an essential tool for photographers looking to manage light, enhance their creative vision, or protect their lenses. By understanding which filters to use and when, you gain greater control over your photography and the ability to achieve shots that might otherwise be impossible. Whether you’re working on landscapes, portraits, or artistic compositions, the proper use of filters can transform your final image.
In an age of advanced digital editing, lens filters may seem old-fashioned, but their ability to create physical, in-the-moment effects in your camera makes them invaluable tools. Knowing when to use them is all about understanding your subject, the lighting environment, and the story you want to tell through your lens. Hence, the next time you’re preparing for a photo shoot, don’t overlook the power and flexibility that lens filters can offer. Forethought and preparation with the right filter in hand can make all the difference between a good photograph and a truly breathtaking one.


