How To Use Square Filter Kits?
Photography is a craft that demands both technical expertise and creative expression. One essential tool for landscape photographers and enthusiasts looking to experiment with light and exposure is the square filter kit. Square filter kits are distinct from the more common circular filters as they provide versatility and broader creative control, making them a favorite among professionals. If you’ve ever wondered what square filters are, how to use them properly, and how they fit into your photography workflow, this article has you covered.
What is a Square Filter Kit?
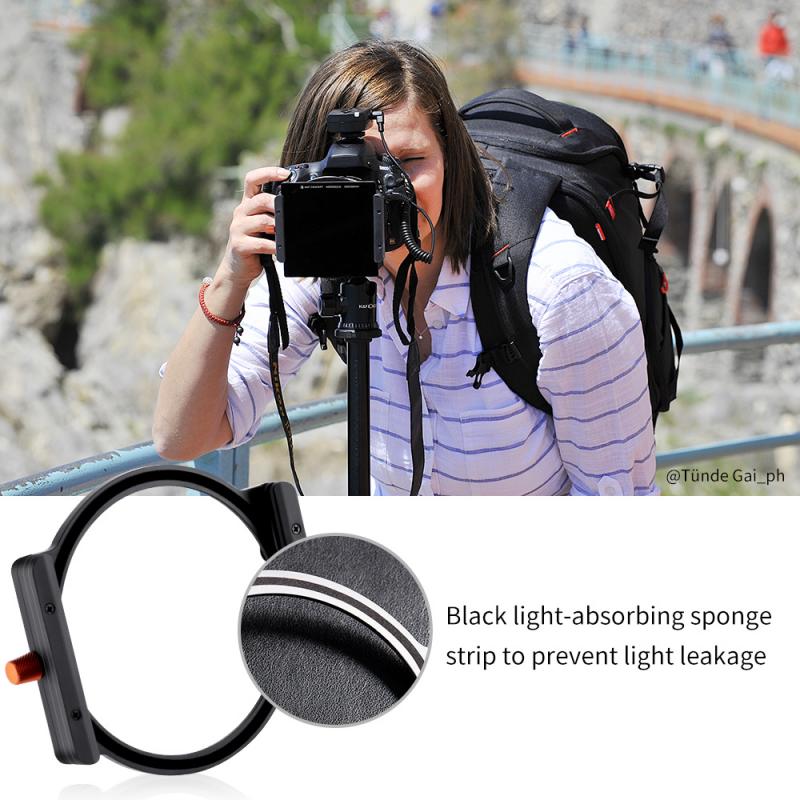
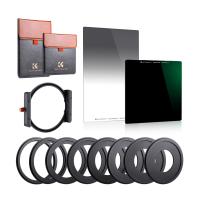
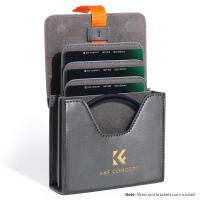
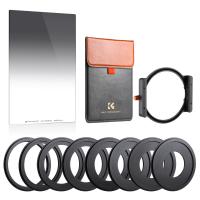
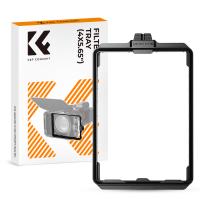
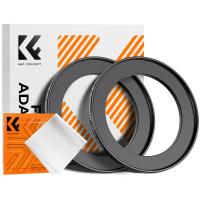
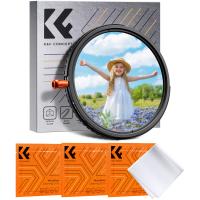
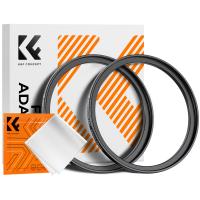
Before diving into the application, let's first define what a square filter kit is. A square filter kit typically consists of an adapter ring, a filter holder, and a set of square or rectangular filters. These kits allow photographers to attach neutral density (ND), graduated neutral density (GND), and other types of filters to their camera lenses.
Unlike circular filters, which screw directly onto a lens, square filters are fixed into a holder. This design lets photographers stack multiple filters at once or adjust the alignment of specific filters, such as aligning the gradient of the GND filter with the horizon line. This level of customization makes square filters invaluable for certain types of photography, especially landscapes.
Why Use Square Filter Kits?
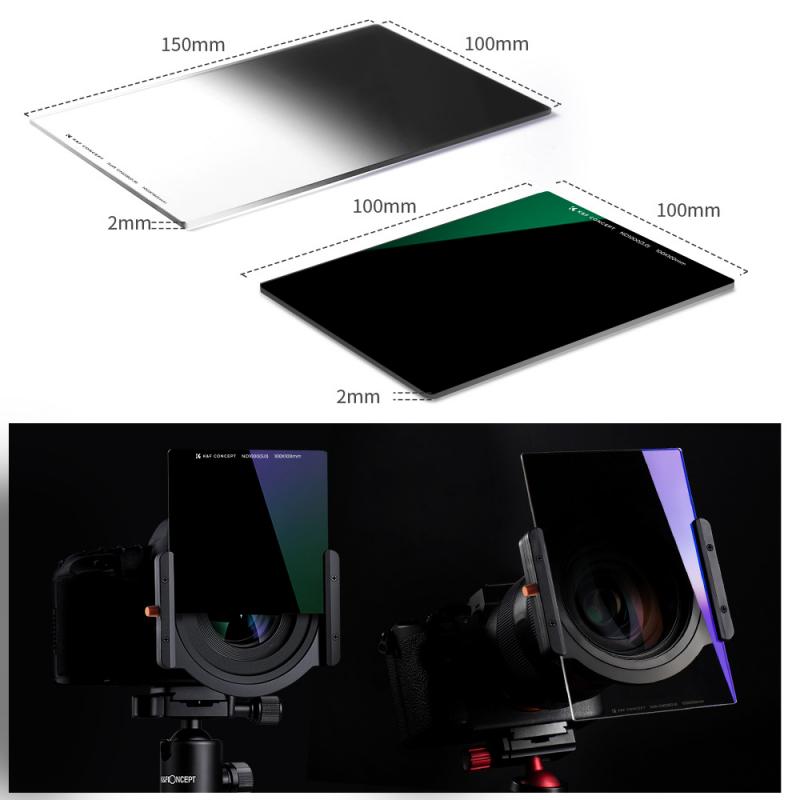
1. Creative Control: Square filters offer unmatched control over light and exposure. They allow you to darken specific parts of an image, balance the light between sky and land, or achieve long exposures during the day, creating artistic motion blur effects with waterfalls, clouds, or waves.
2. Versatility: With square filters, you can easily switch filters between lenses, provided you have the right adapter ring size for each lens. This adaptability makes them more economical in the long run if you use multiple lenses of varying sizes.
3. Stacking Capability: Unlike circular filters, which are often limited to one or two layers, square filter kits readily allow stacking of several filters. This opens up endless possibilities for combining effects.
Types of Filters You Can Use in a Square Filter Kit
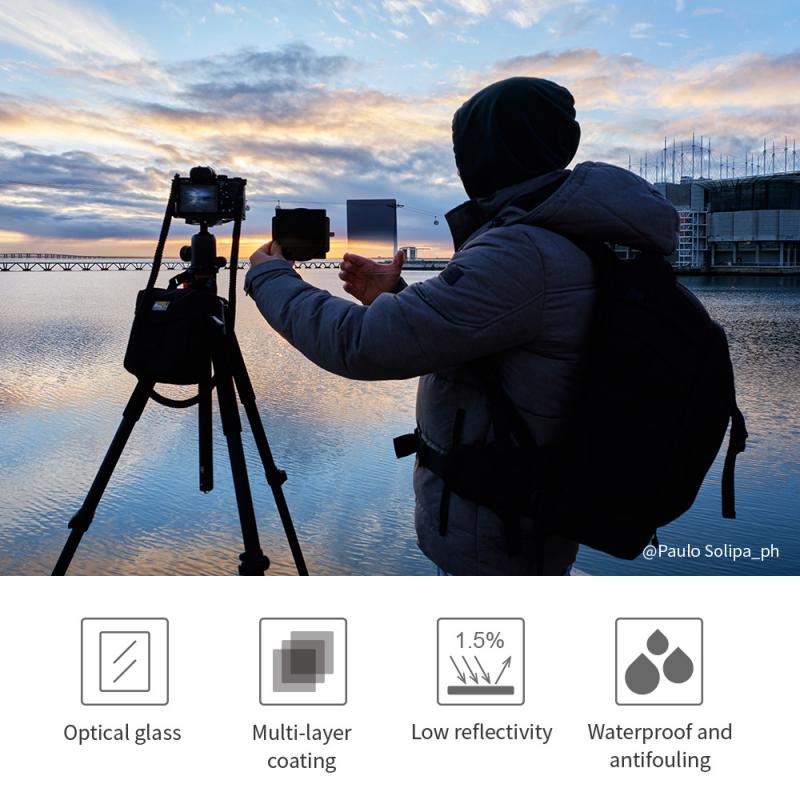
To make the most of your square filter kit, it’s essential to understand the variety of filters available and their specific purposes:
1. Neutral Density (ND) Filters:
ND filters reduce the amount of light entering the lens without affecting color balance. These filters are ideal for long exposures, especially when you want to create silky smooth water effects or motion blur during bright daylight.
2. Graduated Neutral Density (GND) Filters:
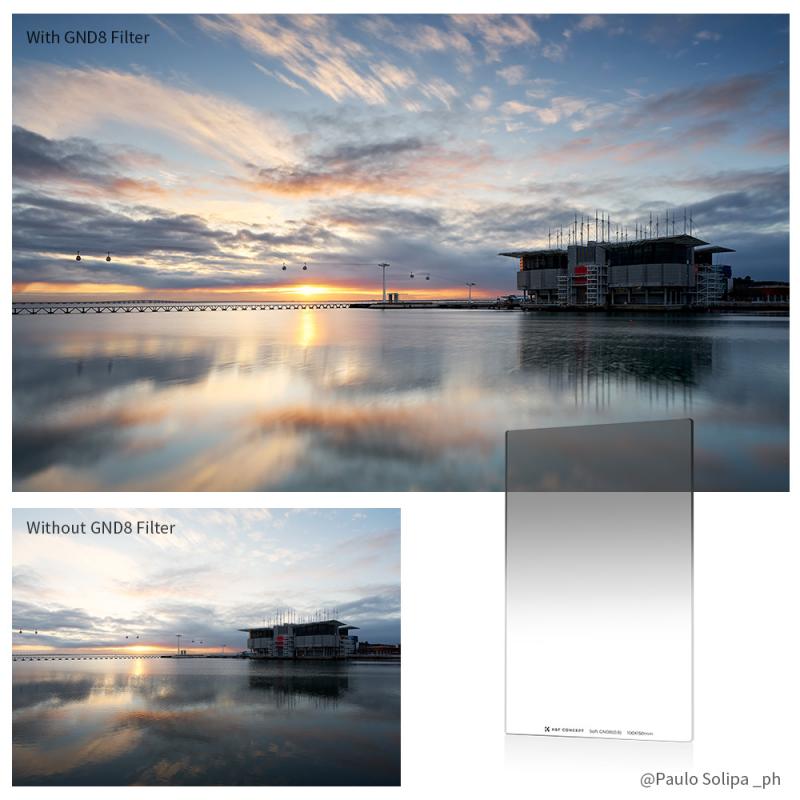
GND filters are divided so that one part of the filter is darker, gradually transitioning to a lighter section. They’re perfect for balancing out high-contrast scenes, such as bright skies and darker landscapes. By aligning the darker portion with the bright sky, you can maintain detail in both the highlights and shadows.
3. Color Correction and Enhancement Filters:
These filters modify or enhance colors in your images. For example, they can inject warmth, coolness, or vibrancy into an otherwise flat composition.
4. Special Effect Filters:
From starburst effects to mist-like diffusion, these filters open up new creative possibilities to experiment with your photography.
Step-by-Step Guide to Using a Square Filter Kit
Now, let’s break down the process of using a square filter kit. Mastering these steps will help you maximize its potential and give you the confidence to shoot in demanding conditions.
1. Assemble the Kit
- Start by identifying the right-sized adapter ring for your camera lens. Most square filter kits include several adapter rings of varying sizes, making them compatible with multiple lenses.
- Screw the chosen adapter ring onto the front of your lens.
- Slide the filter holder onto the adapter ring. Secure it by twisting or locking the holder in place, depending on the design of your kit.
2. Choose the Filter(s)
Determine which filter (or combination of filters) is best suited for your shot. If shooting a high-contrast landscape, for instance, a GND filter may be necessary to balance the exposure. If you’re creating a long-exposure image, select an ND filter of appropriate density—ND8, ND64, or ND1000, depending on the desired effect.
3. Insert the Filter(s)
- Hold the chosen filter by its edges to avoid fingerprints or smudges.
- Gently slide it into one of the filter holder's slots. Some holders allow stacking, giving you the flexibility of adding a second or even third filter if needed. For example, you can use an ND filter to reduce overall light and a GND filter to balance the exposure simultaneously.
4. Align the Filter
If you’re using a GND filter, align its transition edge with the horizon or any other part of your composition that requires more balanced exposure. Most square filter holders allow for both horizontal and vertical adjustments, making precise positioning easy.
5. Adjust Camera Settings
Once the filter is in place, you may need to adjust your camera’s settings:
- Aperture: Use the appropriate aperture for your desired depth of field.
- Shutter Speed: Long exposures require slower shutter speeds, which you can monitor and adjust as needed.
- ISO: Always aim to keep ISO as low as possible to avoid noise in the image.
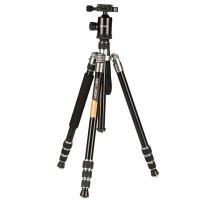
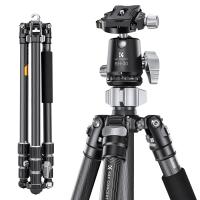
Consider using a tripod and remote shutter release when working with slower shutter speeds to ensure stability and avoid camera shake.
6. Take Test Shots and Fine-Tune
Before proceeding with your final image, take a few test shots to ensure proper exposure, focus, and alignment of the filter. Make minor adjustments to your filter's positioning or your camera settings if needed.
Troubleshooting Common Issues
When working with square filters, photographers often face certain challenges. Here’s how to troubleshoot some of the most common problems:
1. Vignetting:
Vignetting occurs when the edges of your filter holder are visible in your shot, especially when using wide-angle lenses. To prevent this, ensure that your filter holder and adapter ring are compatible with your lens. Additionally, avoid stacking too many filters when shooting at wide angles.
2. Light Leaks:
Light leaks can occur around the edges of a square filter, especially during long exposures. To avoid this, ensure the filter is properly secured in the holder and that no gaps allow unwanted light to enter.
3. Color Cast:
Some ND filters may introduce a slight color cast to your images, particularly cheaper or lower-quality filters. Mitigate this during post-processing by using the white balance adjustment or choosing higher-quality filters.
4. Alignment Issues:
Misaligned GND filters result in uneven exposure. Take your time to carefully position the gradient edge during setup. Using the live-view mode on your camera can make this easier to manage.
Pro Tips for Using Square Filter Kits
1. Use a Tripod:
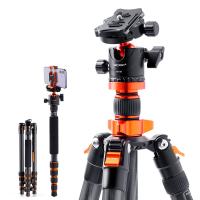
Whether you’re working with ND or GND filters, a tripod is essential for achieving sharp, stable images during long exposures.
2. Plan for the Weather:
If you’re shooting outdoors, especially in windy or rainy conditions, ensure your filters are clean and dry. Carry a microfiber cloth to remove smudges and droplets.
3. Experiment with Composition:
Don’t be afraid to experiment with your filters and compositions. Shooting with filters opens up a world of creative possibilities you might not have considered otherwise.
4. Practice Makes Perfect:
Using square filters may feel awkward at first, especially when aligning gradients or stacking multiple filters. With practice, however, the process will become second nature.
Square filter kits are indispensable tools for photographers looking to elevate their work, particularly in landscape and long-exposure photography. They offer unparalleled control, allowing you to balance light, create drama, and bring your creative visions to life. While the initial setup and use may seem complex, with consistent practice and experimentation, you’ll soon unlock the full potential of this versatile photography accessory.
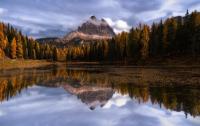
Step out into the field armed with your square filter kit, and begin exploring the countless ways it can enhance your images. Whether you’re capturing the fiery colors of sunrise, the milky motion of a waterfall, or the glass-like calm of the ocean, square filters will forever change the way you approach a scene.

