How To Use A Camera Lens Hood?
A camera lens hood is one of the most essential accessories for photographers, whether you're a beginner or a seasoned professional. A lens hood is more than a mere decoration or lens ornament—when used correctly, it can drastically improve the quality of your images, protect your gear, and open up new creative possibilities in photography. If you've ever wondered how to use a lens hood, this article will walk you through its purpose, advantages, types, and practical tips for leveraging it effectively in your photographic endeavors.
What is a Lens Hood?
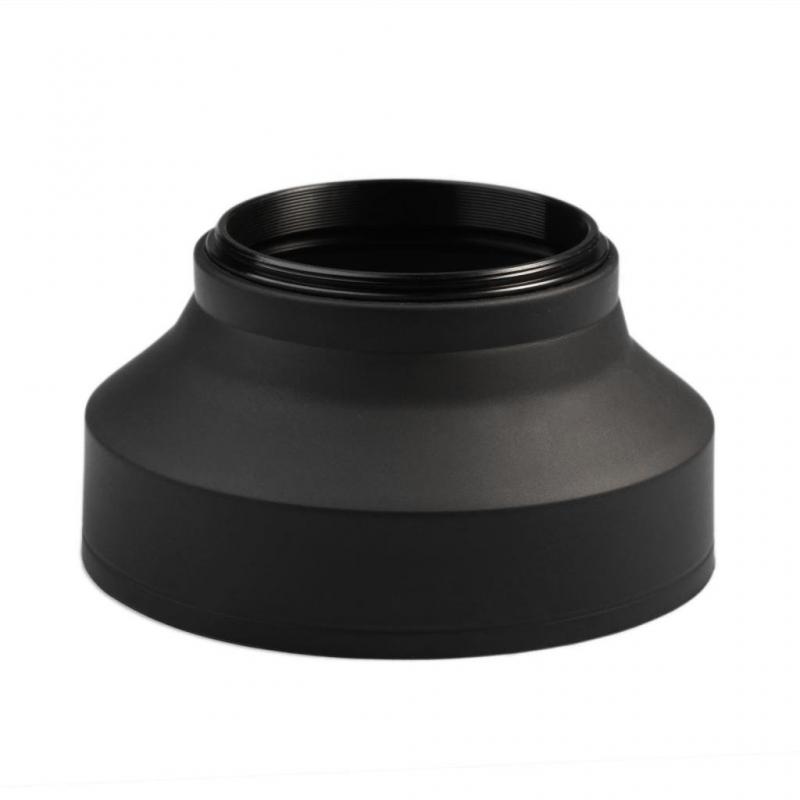
Before delving into its uses, let's clarify what a lens hood actually is. A lens hood is a piece of material—commonly plastic or metal—designed to attach to the front of a camera lens. It’s either cylindrical or flares outward, resembling a petal shape. The primary purpose is to block unwanted light from hitting the lens, reducing lens flare and improving contrast and image quality. But as you'll discover, a lens hood serves multiple purposes beyond just light control.
Why Use a Lens Hood?
Let’s break down the reasons why you should use a lens hood and how it can benefit your photography workflow.
1. Minimizing Lens Flare and Enhancing Contrast
Lens flare occurs when strong light sources (like the sun or bright studio lights) hit the lens at specific angles, resulting in streaks, spots, or a hazy glow in your photos. While lens flare can sometimes be used creatively, it often diminishes the clarity and contrast of your images. A lens hood helps to shield your lens from stray light entering at oblique angles, thereby reducing glare and producing cleaner, sharper images with richer contrast.
2. Protecting Your Lens
A lens hood acts as a frontline defense against physical damage. Cameras are often exposed to accidental bumps, collisions, or rough handling, and the lens is especially vulnerable. The hood extends beyond the glass, providing a barrier that absorbs impact and prevents your lens from scratching or cracking. It’s not a failproof solution, but it can reduce the frequency of costly repairs.
3. Blocking Environmental Hazards
When shooting outdoors, your lens is exposed to dust, water droplets, and even wind-blown debris. A lens hood gives you an added layer of protection. For example, if you're shooting in a misty rainforest or on a windy beach, a lens hood can help keep raindrops and sand away from the lens surface.
4. Improving Image Composition
The unintended light entering your lens may reduce sharpness or create color distortion, known as chromatic aberration. A lens hood helps to improve overall image quality by blocking this light, freeing you to compose photos uninhibited by these imperfections.
Types of Lens Hoods
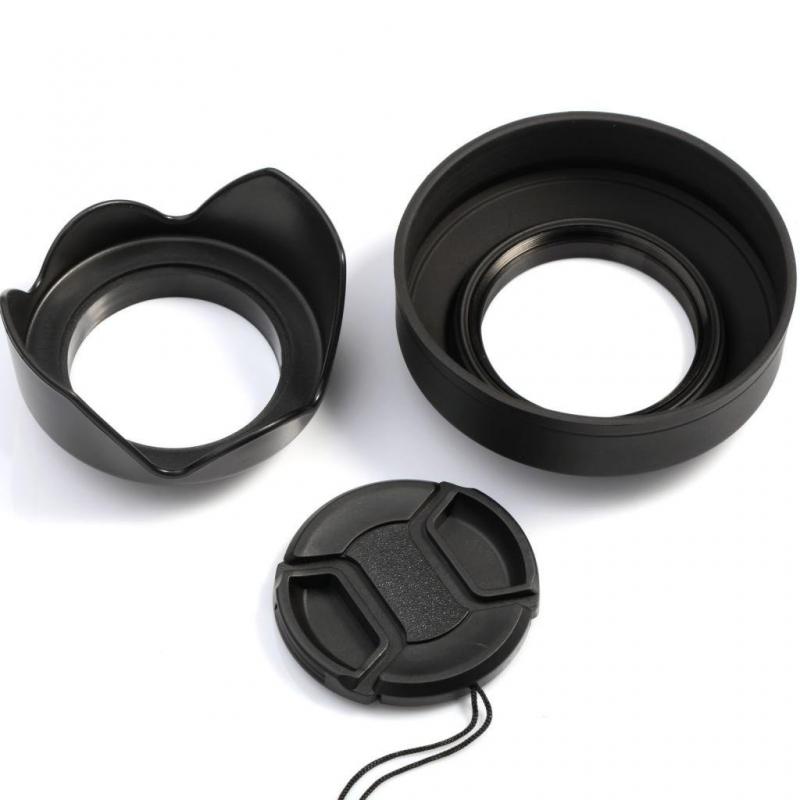
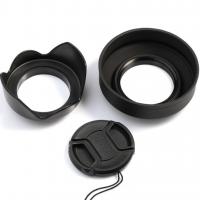
Lens hoods come in various shapes and sizes, depending on the lens and the type of photography. Understanding the different types can help you choose one that best fits your needs:
1. Cylindrical (Round) Lens Hoods
These are simple, tube-shaped hoods, typically suited for lenses with a narrow field of view, like telephoto lenses. The cylindrical shape effectively blocks light without interfering with the image since most telephoto lenses don’t require wide openings.
2. Petal (Tulip) Lens Hoods
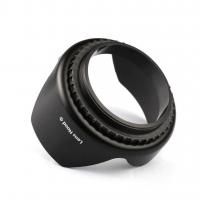
Petal-shaped lens hoods are designed to accommodate wide-angle lenses. These feature cut-outs that prevent vignetting (darkened corners in your images) by avoiding obstruction in the lens's field of view while still shielding against stray light.
3. Built-In Lens Hoods
Some lenses, such as certain fisheye or specialty optics, feature built-in hoods as they require a very specific design tailored to the lens type.
4. Collapsible Lens Hoods
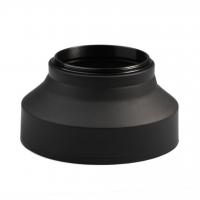
Often made from rubber, collapsible hoods are flexible and lightweight, making them ideal for portability. They can be folded inwards to save space when not in use.
How to Attach and Use a Lens Hood
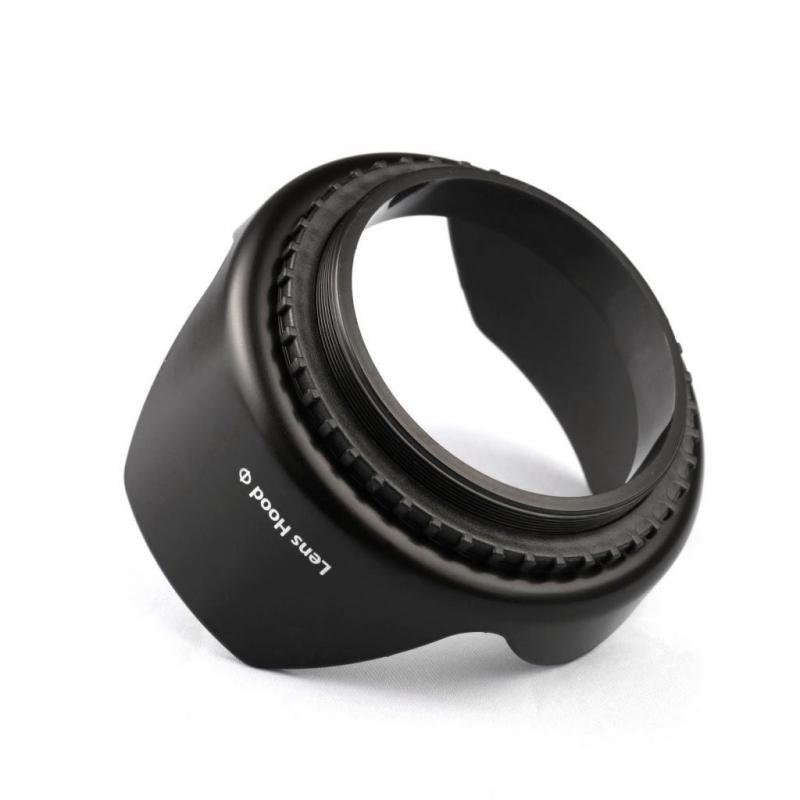
Attaching and using a lens hood is simple, but understanding the nuances of when and how to use one can make a significant difference. Follow these steps to get started:
1. Check Lens Compatibility
Before anything else, ensure that the lens hood you have is compatible with your lens. Lens hoods are often designed for specific lenses, and the wrong hood can cause issues like vignetting or ineffective light shielding. Check your lens manual or the hood's product description for compatibility.
2. Attach the Lens Hood
Lens hoods are typically threaded or feature a bayonet mount to lock into your lens securely. Align the hood with the lens mount, rotate, and twist lightly until it snaps into place. Keep it snug but not overly tight to avoid damaging the threads.
3. Position the Lens Hood Correctly
Petal lens hoods often have alignment markers to indicate the correct orientation. Ensure the petals or cutouts are arranged symmetrically (the taller ends should align with the top and bottom of the lens). Improper alignment might cause unintended shadows at the edges of your image.
4. Use It in Suitable Lighting
Although a lens hood can be left on your camera most of the time, it’s particularly useful in bright sunlight, backlit scenarios, or when there are multiple light sources in your frame. On occasion, when harsh shadows or unwanted reflections appear, adjust or reposition the hood—this could be necessary if the light source originates from within the hood's effective blocking range.
5. Combine With Filters if Needed
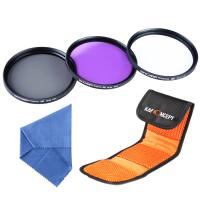
If you use lens filters, such as circular polarizers or UV filters, you can still attach a lens hood. However, be mindful of potential additional vignetting caused by stacking components.
Situations When You Might Not Need a Lens Hood
While lens hoods are incredibly useful, there are certain scenarios where you might consider removing them:
1. Indoor Photography Without Stray Light Sources
If you’re shooting indoors with controlled lighting, lens flare may not be a significant concern. Removing the hood can make your camera setup less cumbersome.
2. When Using a Pop-Up Flash
If you’re relying on your camera’s pop-up flash, a lens hood can block a portion of the light, casting a shadow in your image. In these cases, temporarily removing the hood may yield better results.
3. Intentional Lens Flare
In some creative photography styles, such as romantic portraiture or cinematic landscapes, lens flare can add a desired artistic effect. Removing the hood allows you to achieve these outcomes.
4. Space Constraints for Storage
While a collapsible hood can mitigate this, you might find occasions (especially during travel) where removing the hood is more convenient.
Tips for Optimal Use of a Lens Hood
1. Use Against Oblique Light Sources
Pay careful attention when your light source (natural or artificial) is at an angle. The hood can block light most effectively in this situation, ensuring your shots retain proper color balance and sharp contrast.
2. Don't Forget Reverse Mounting
Many lens hoods are reversible, meaning they can be mounted backwards on the lens when not in use. This saves space and makes it easier to transport your gear.
3. Pair with a Camera Strap
The extra length of a hood can add to the bulk and weight of your camera gear. Always use a sturdy camera strap when moving around to reduce the chance of dropping or bumping the hood.
4. Clean Regularly
A dirty lens hood can transfer dust, dirt, or oil to your camera lens over time. Occasional cleaning ensures it remains a protective rather than a liability component.
5. Experiment with Composition
Because a lens hood also limits peripheral distractions, it can encourage a cleaner focus on your subject. Experiment with compositions to leverage this advantage creatively.
Final Thoughts
A lens hood is far more than a simple add-on for your camera—it’s a vital tool for every photographer who wants to elevate their work. From minimizing flare to safeguarding your lens, it’s a small investment with big payoffs. Whether you’re shooting in a brightly lit mountain range, a bustling urban street, or the low light of dawn, a lens hood ensures that your gear performs at its best, giving you sharp, high-quality images every time.
Incorporate the use of a lens hood into your photographic routine, and you’ll see noticeable improvements in both your image quality and your confidence as a photographer. Now that you know how to use one effectively, it's time to head out into the field and capture stunning,


