How To Set Up A Time Lapse Camera?
Creating a time-lapse video can be a fascinating way to capture the slow unfolding of events, condensing hours or even days into mere seconds of footage. Whether you're documenting a blooming flower, cloud movements in the sky, or a bustling cityscape, setting up a time-lapse camera requires a methodical approach to achieve professional-looking results. In this guide, I’ll walk you through the essential steps, tools, and techniques needed to set up a time-lapse camera—perfect for beginners and seasoned videographers alike. By the end of this article, you’ll have a clear understanding of how to take your first steps into this dynamic art form.
---
Step 1: Understand the Basics of Time-Lapse Photography
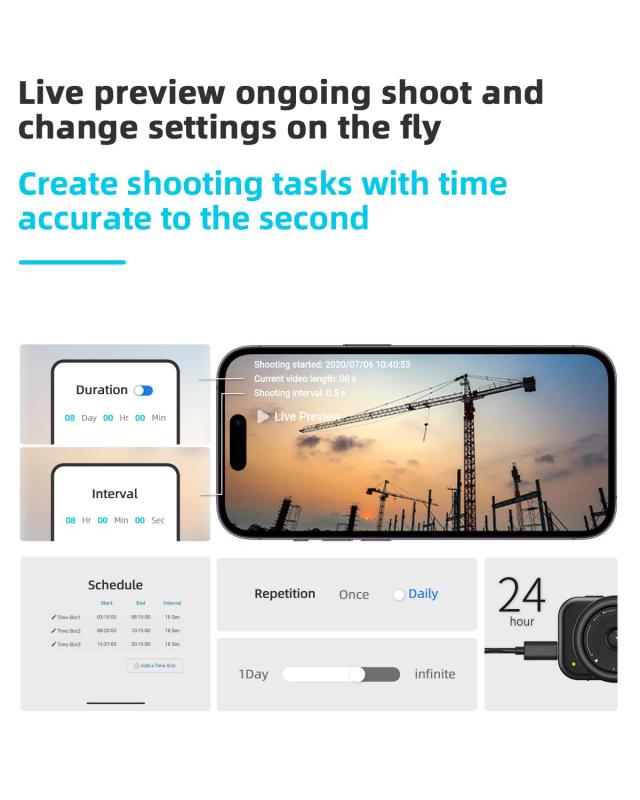
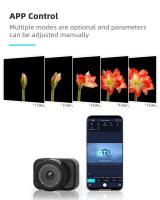
Before diving into the setup process, it’s essential to understand what time-lapse photography entails. A time-lapse captures a scene or event in intermittent frames rather than continuous recording. When these individual frames are stitched together and played back at normal speed, they create the illusion of accelerated time. The key considerations in creating such videos are intervals, duration, and playback frame rate.
- Shot Interval: This refers to how much time passes between each shot. The interval determines how fluid or choppy your final footage will appear. For slower events like a sunset, you can use longer intervals (e.g., 10–30 seconds). For faster events like traffic movement, shorter intervals (e.g., 1–3 seconds) are ideal.
- Total Duration: How long the camera will record the time-lapse is crucial. Do you need hours of footage, or will 30 minutes suffice?
- Playback Frame Rate: Typically, time-lapses are played back at speeds of 24, 30, or 60 frames per second (fps). For example, if you took 240 images and plan to play them at 30 fps, you’ll end up with a video lasting 8 seconds.
---
Step 2: Assemble the Necessary Equipment
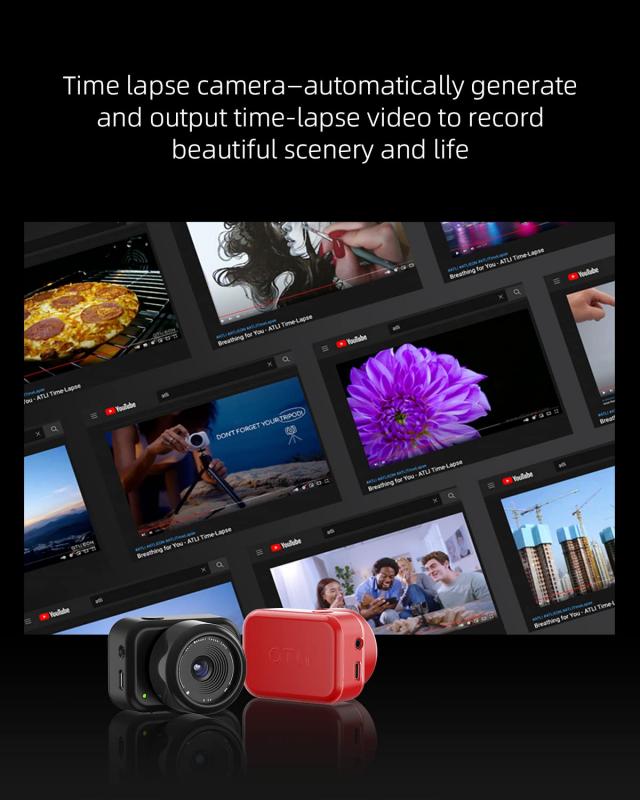
To create a stunning time-lapse, you’ll need the right tools. Depending on your budget and expertise, your gear can range from basic to advanced.
Recommended Equipment:
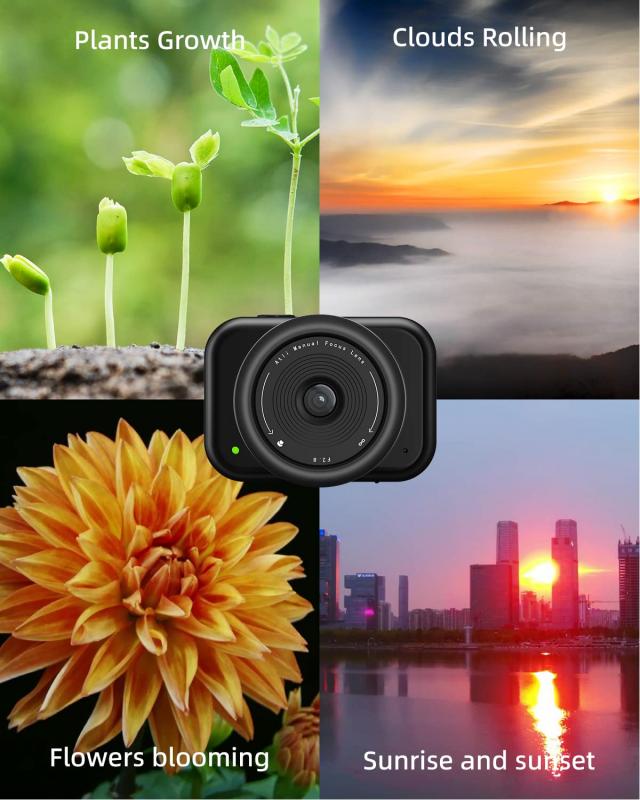
1. Camera:
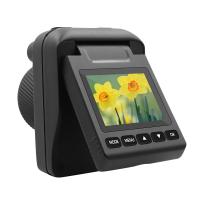
- A DSLR or mirrorless camera gives you the most flexibility and quality. These cameras allow manual control over exposure, focus, and interval settings.
- Smartphones today come equipped with excellent time-lapse modes, making them a beginner-friendly option.
- Action cameras like GoPros are durable and ideal for outdoor time-lapses.
2. Tripod:
Stability is crucial when taking consistent shots over a long duration. A sturdy tripod minimizes camera shake and prevents unwanted movement.
3. Intervalometer:
If your camera lacks built-in time-lapse functionality, an external intervalometer—a device that controls the frequency of shots—is essential. Many modern cameras, however, have built-in interval shooting modes.
4. Power Supply:
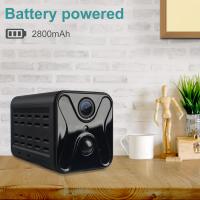
Shooting a time-lapse can drain your battery quickly. Use fully charged batteries or connect your camera to an external power source for extended shoots, such as a power bank, AC adapter, or battery grip.
5. Storage:
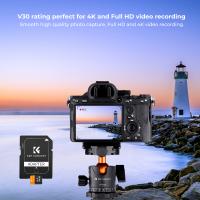
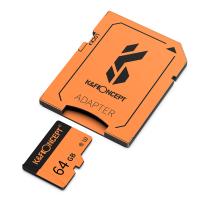
Make sure to use a high-capacity memory card to store thousands of images if necessary. Time-lapse photography often requires capturing a large number of shots.
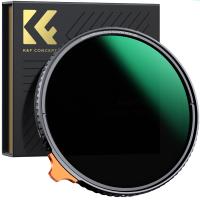
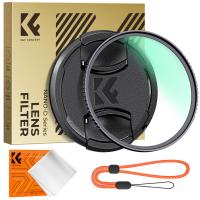
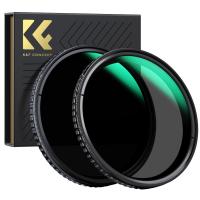
6. Filters (Optional):
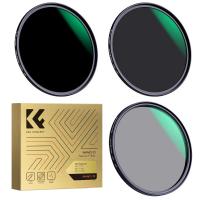
Neutral density (ND) filters are useful for outdoor environments to prevent overexposure, especially in bright daylight.
---
Step 3: Plan Your Scene
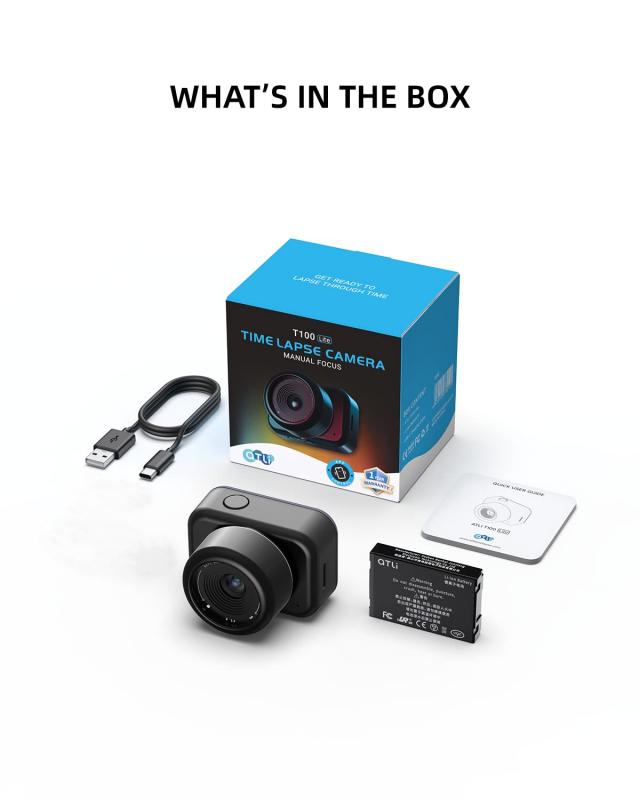
Planning is the backbone of successful time-lapse photography. The more you prepare, the better your end result will be.
Choose Your Subject
Identify what aspect of the scene you want to capture. Is it the changing light of a sunset, the motion of cars on a road, or a construction site's gradual transformation? Knowing your subject will help determine the intervals and duration for your time-lapse.
Previsualize the Final Output
Think about the story you want to tell and frame your scene accordingly. Use leading lines, symmetry, or foreground elements to create visual interest. For instance, if you're capturing clouds moving across a mountain range, frame the shot to make the clouds look dramatic.
Scout the Location
Visit your shooting location ahead of time to understand the environment:
- Where will the light change over time?
- Are weather conditions favorable, or will you need to protect your gear (e.g., with a rain cover)?
- Will there be any obstructions, such as moving people or vehicles?
Account for Duration and Longevity
If you aim to capture hours' worth of footage, ensure your gear can endure the time required. Bring spare batteries, enough memory storage, and—if needed—a weather-resistant casing to protect your setup.
---
Step 4: Camera Setup
Once you’ve planned your scene and assembled your gear, follow these steps to set up your camera:
1. Stabilize the Camera:
Mount your camera on the tripod and ensure it is secure and level. Avoid positioning your setup in high-traffic areas where it could be bumped.
2. Switch to Manual Settings:
In time-lapse photography, consistency is vital. Switching to manual allows you to maintain control of exposure, white balance, and focus. Sudden changes caused by automatic settings can create flickering effects in your footage.
- Focus: Use manual focus and lock it once you've achieved sharpness in the desired area.
- Exposure: Choose an aperture, shutter speed, and ISO settings based on current lighting conditions. Remember, longer shutter speeds can help create motion blur, adding a sense of dynamism.
- White Balance: Set a fixed white balance instead of using auto. This prevents color shifts during different lighting conditions.
3. Set the Shot Interval:
Configure your intervalometer or built-in time-lapse function to capture images at your desired frequency. Shorter intervals are better for capturing quick motion, while longer ones work for slower events.
4. Review Composition:
Take a few test shots to ensure your subject is framed correctly and the exposure is accurate.
5. Start Shooting:
Begin the time-lapse and step back. Avoid touching the camera once it’s running to prevent jittery or shaky footage.
---
Step 5: Editing and Compiling the Time-Lapse
Once you’ve captured the raw images, the next step is to compile and edit them into a cohesive video.
1. Transfer Files to Your Computer:
Download the sequence of photos from your memory card. Create a dedicated folder to store them in chronological order.
2. Post-Processing (Optional):
If you shot in RAW format, use photo-editing software (e.g., Adobe Lightroom or Capture One) to adjust exposure, contrast, sharpness, and color. Next, synchronize the settings across all the images to maintain consistency.
3. Stitch the Photos into a Video:
Use video-editing software like Adobe Premiere Pro, Final Cut Pro, or dedicated time-lapse software like LRTimelapse. Import the sequence of images, set the frame rate, and preview the output.
4. Export the Final Video:
Once satisfied with the results, export your video in the desired resolution (e.g., 1080p, 4K) and file format.
---
Tips and Troubleshooting
- Avoid Camera Shake: Use a remote shutter release or set a delay timer to minimize vibrations when starting the time-lapse.
- Monitor Weather Conditions: Sudden rain or strong winds can disrupt your plans. Have contingency options.
- Light Transitions: If your shoot spans day and night, use an aperture-priority mode or a tool like a bulb ramping device to handle light changes smoothly.
- Sandbags for Stability: On windy days, weigh down your tripod with sandbags to keep it stable.
---
With a mixture of creativity and technical know-how, you can create awe-inspiring time-lapse videos that capture the essence of time passing. Start small, experiment with intervals, and practice your editing skills. Over time, you’ll gain confidence and be ready to tackle more ambitious projects, like multi-day exposures or dynamic motion control time-lapses. Remember, patience is key—both in capturing and assembling time-lapses. The reward is worth the wait. Happy shooting!


