How To Make Ring Light At Home?
Creating a DIY ring light can be an affordable and satisfying project, especially when you want to step up your lighting game for photography, videography, or online meetings, all without shelling out a significant amount of money. Whether you're a content creator or just someone looking to improve lighting quality, making a ring light at home can fulfill your needs. This guide will walk you through the steps, materials, and techniques to help you create one. Even better, a homemade ring light can be customized in terms of size, brightness, and design to suit your specific requirements.
Why Use a Ring Light?
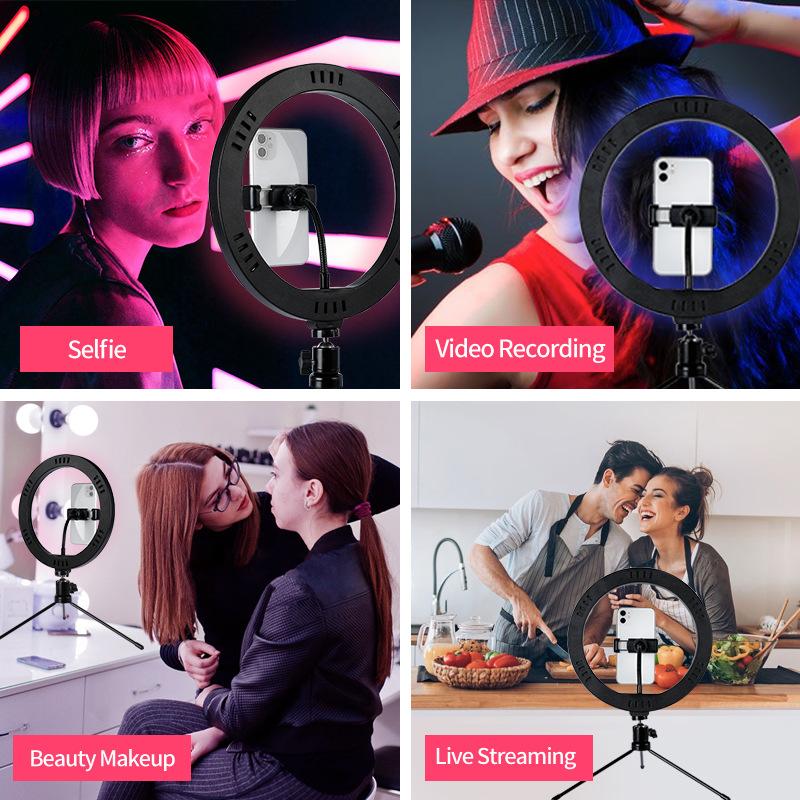
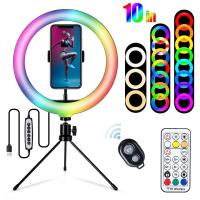
Before diving into the "how," let’s briefly explore the “why.” A ring light is circular in shape and provides uniform, shadowless light across your subject’s face or object. This is why it’s favored by beauty vloggers, photographers, and even casual users who want professional-looking results. The brightness creates even exposure, highlights details, and adds a flattering catchlight in the eyes.
Materials You’ll Need
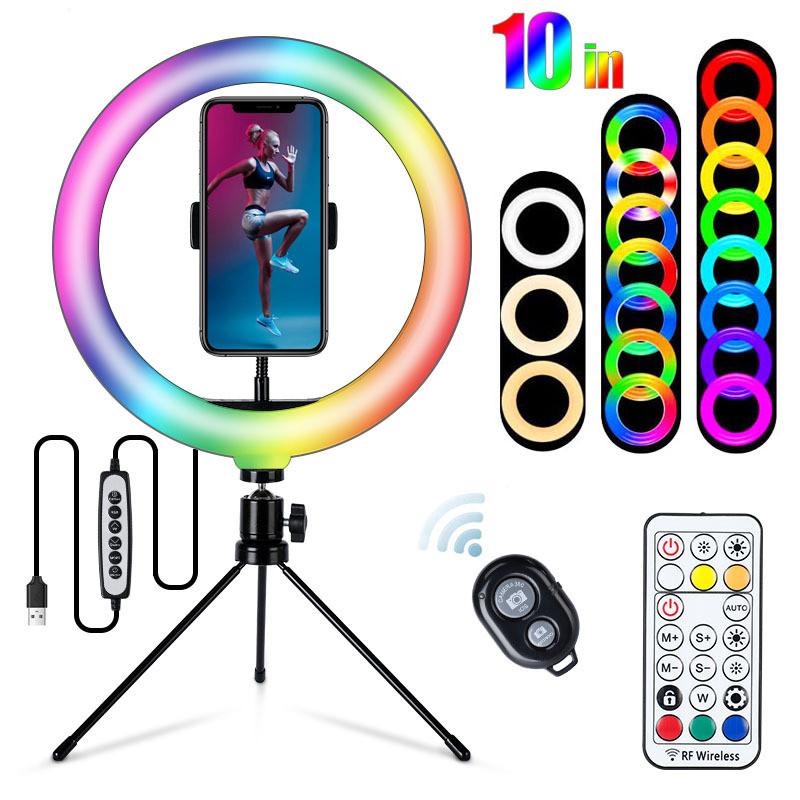
To construct a homemade ring light, you don’t need overly complicated or expensive components. In fact, you can likely repurpose several items you already have at home. Here's a simple list of what you might require:
1. LED light strip: Opt for a flexible, adhesive-backed LED strip for ease of use. Warm white or daylight LEDs work best, depending on your preference.
2. A ring-shaped base: You can use items such as a hula hoop, a flexible foam pipe insulation loop, or even a durable cardboard ring if you're on a tight budget.
3. Hot glue gun or adhesive: For securing the LED strip to your chosen ring base.
4. Power adapter and connector wires: LED strips usually come with dedicated connectors, which are helpful to power the lights. Ensure compatibility with the light strip before purchase.
5. Diffuse materials: Materials like tracing paper, parchment paper, or even white plastic bags can serve as light diffusers to soften the harshness of LED light.
6. Optional additional tools: Scissors, zip ties, wire cutters, duct tape, paper cutters, and even paint if you want to decorate or amplify the look of your ring light.
7. Mount or stand: An old tripod or custom-made holder can be used to fix the light in a steady position.
Step-by-Step Guide to Make a DIY Ring Light
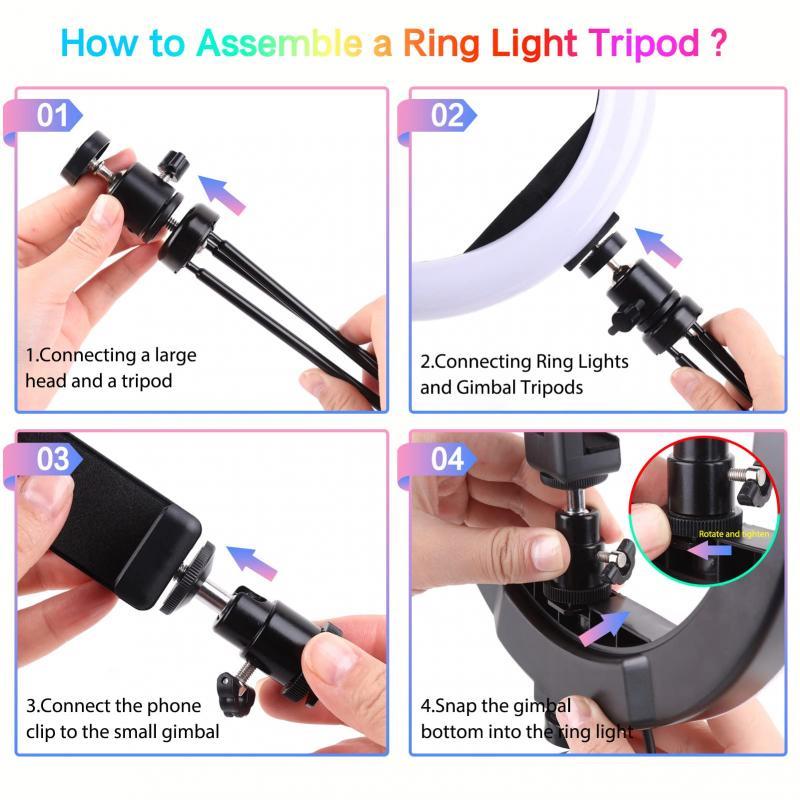
Step 1: Prepare the Ring Base
Choose a circular item for the base of your ring light. If using foam pipe insulation, connect the ends to form a perfect circle. Alternatively, if you are using cardboard, cut it out into a circular ring with a hollow center to achieve the desired shape. The size of the ring will depend on your requirements. For example, a smaller ring light works well for close-up photography, while larger ones are ideal for broader illumination needs.
Step 2: Attach the LED Light Strip to the Circle
Take your flexible LED strip and carefully adhere it along the outer or inner edges of your circular base. Most modern LED strips come with an adhesive backing, but for extra security, use a hot glue gun. Make sure the strip is evenly spaced around the circle for consistent lighting output. If you're working with shorter pieces of LED tape, connect them using the provided connectors or parallel wiring to ensure continuous illumination. Be mindful of securing the circuit ends for safety.
Step 3: Add a Light Diffuser
To avoid harsh, direct light, apply a diffuser over the ring. You can wrap tracing paper, parchment paper, or translucent fabric around the LED ring and secure it with tape, clips, or glue. This step is crucial for achieving professional, evenly distributed light that eliminates shadows and reduces glare.
Step 4: Connect Power to the LED Strip
Connect your LED strip to a compatible power source through a power adapter or batteries. Many LED strips operate on 12V DC power, so ensure your adapter matches the voltage requirements. Test the strip by powering it on before proceeding—you want to ensure that everything is functioning correctly and that there are no breaks in the circuit.
Step 5: Create a Mount or Stand
A ring light will often need to stand upright or be mounted in front of your subject. Repurpose an old tripod, selfie stick, or make a simple stand using household items such as PVC pipes or sturdy cardboard. Carefully attach the ring light to the stand using adhesives, zip ties, or screws, as appropriate. Consider making the stand height-adjustable to improve flexibility during use.
Step 6: Optional Personalization
Once the main setup is complete, you can personalize your ring light. If aesthetics matter to you, consider painting the base or adding decorative elements. You can even experiment with adjustable lighting by using dimmable LED strips or smart lighting controllers connected via Bluetooth or Wi-Fi.
Tips for Enhanced Usability
1. Choose color temperatures wisely: LEDs typically come in various color temperatures, ranging from warm yellow light (2700K) to bright daylight (6000K). Select the one that best suits your intended use.
2. Experiment with positioning: The placement of the ring light can drastically affect your final result. Traditionally, the camera or smartphone is positioned in the ring light’s hollow center for direct, even lighting.
3. Add a reflective background: For even better lighting, especially for product photography, use a reflective surface (e.g., a whiteboard or aluminum foil) behind your subject.
4. Consider portability: If you plan to use your ring light on the go, opt for a lightweight design and a battery-powered LED strip.
Applications of Your Homemade Ring Light
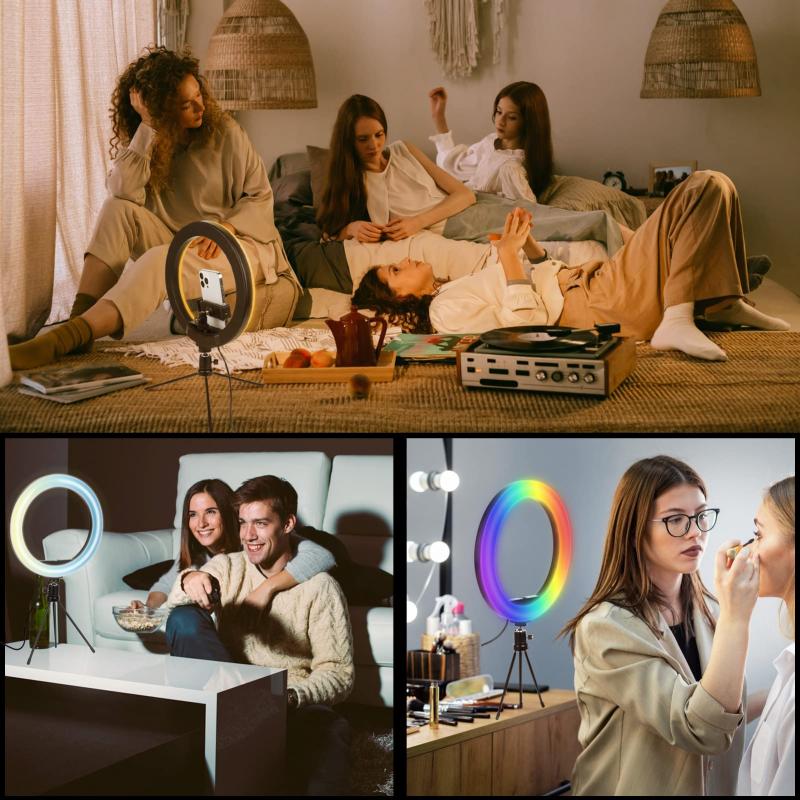
Once completed, your DIY ring light has a wide range of useful applications:
- Photography and Videography: Achieve professional lighting for portraits, product photography, and video content.
- Makeup Application: Get a well-lit setup for precision makeup looks, thanks to the even light distribution.
- Virtual Meetings or Streaming: Improve your on-camera appearance for live streams, online classes, or video conferencing.
- Craft Tutorials: Show off detailed work with adequate lighting.
- Art and DIY Projects: Illuminate your workspace for hobbies like drawing, painting, or model making.
How to Maintain Your DIY Ring Light
Maintenance is minimal for a homemade ring light, but these small steps can prolong its lifespan and functionality:
- Avoid prolonged exposure to moisture or excessive heat, which can damage the LED strips or adhesives.
- Store the light in a safe, dry place when not in use.
- Check the power supply and connectors periodically to ensure they remain intact.
Troubleshooting Common Issues
If your ring light isn’t working correctly, here are some common problems and their solutions:
- LEDs won’t light up: Check the circuit connections, ensuring that the power adapter is functioning and properly connected. Look for loose wires or faulty connectors.
- Uneven brightness: This may be due to uneven mounting of the LED strip. Reattach the strip more precisely or ensure all connections are secure.
- Overheating: If the LEDs are becoming too hot, they may not be receiving the proper voltage. Switch to a lower voltage power source or add a resistor if needed.
Final Thoughts
Building your very own ring light at home can be a fun and rewarding experience. Not only can you save money, but you’ll also gain a sense of accomplishment and have a customizable lighting solution perfectly tailored to your needs. The process demands only basic tools and some creativity, making it accessible to just about anyone. By following the steps outlined in this guide, you’ll be well on your way to enjoying professional-quality lighting for photography, video production, and more—all at a fraction of the cost.
With proper use and maintenance, your DIY ring light could become an essential tool in your creative arsenal. So, gather your materials, clear your workspace, and start your project today. The results will surely brighten up your endeavors in more ways than one!

