How To Make A Backpack Rain Cover?
How to Make a Backpack Rain Cover: A Practical DIY Guide
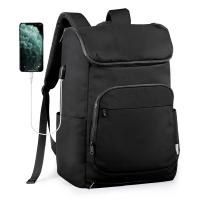
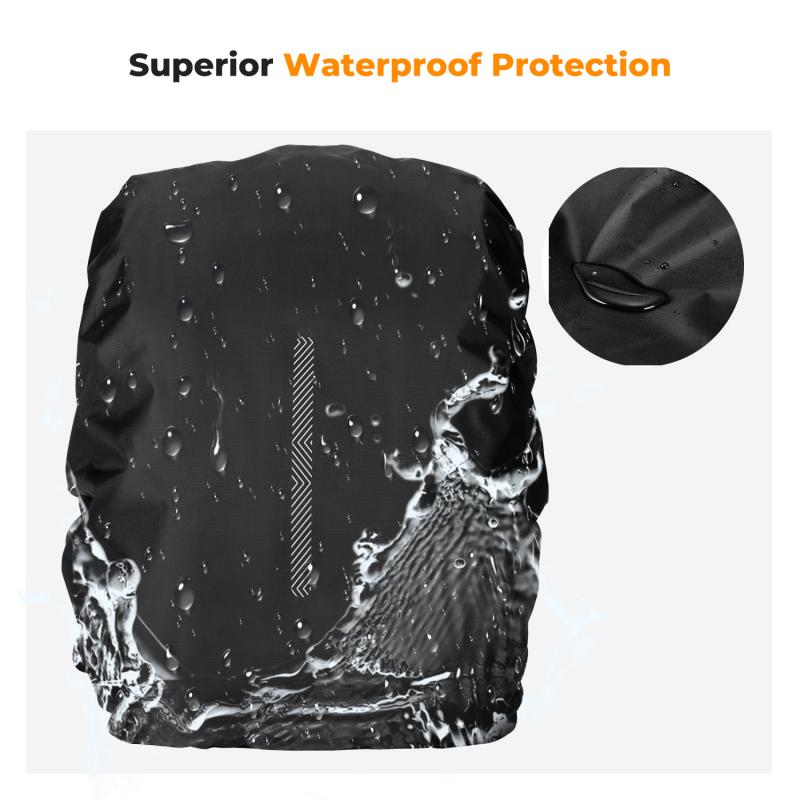
If you’re an avid outdoors enthusiast, you know that sudden rain showers can often catch you off guard. Whether you're an experienced hiker, cyclist, or simply a commuter walking to work, a wet backpack can quickly ruin your day – soaking not only your bag but also the treasured contents inside. While commercial backpack rain covers are available, making your own is both a fun and practical solution, especially if you’re on a budget or looking for a custom fit. In this guide, we’ll walk you through how to create a durable, effective, and waterproof backpack rain cover with materials that are easy to source.
Why Make Your Own Backpack Rain Cover?
Before diving into the step-by-step process, let’s explore why many people choose to make their own rain covers:
1. Customization: Commercial backpack rain covers are often made to fit generic sizes, so they may not cover your specific backpack perfectly. Making your own lets you create a tailored fit.
2. Affordability: DIY backpack rain covers are cheaper than most store-bought ones, especially if you use upcycled or leftover materials.
3. Durability: By selecting high-quality materials, you can ensure your custom rain cover better withstands wear and tear.
4. Eco-Friendly: Repurposing materials like old tents, tarps, or waterproof fabric minimizes waste and reduces your environmental footprint.
Now that you know the benefits of making your own backpack rain cover, let’s dive into the instructions.
Materials You’ll Need
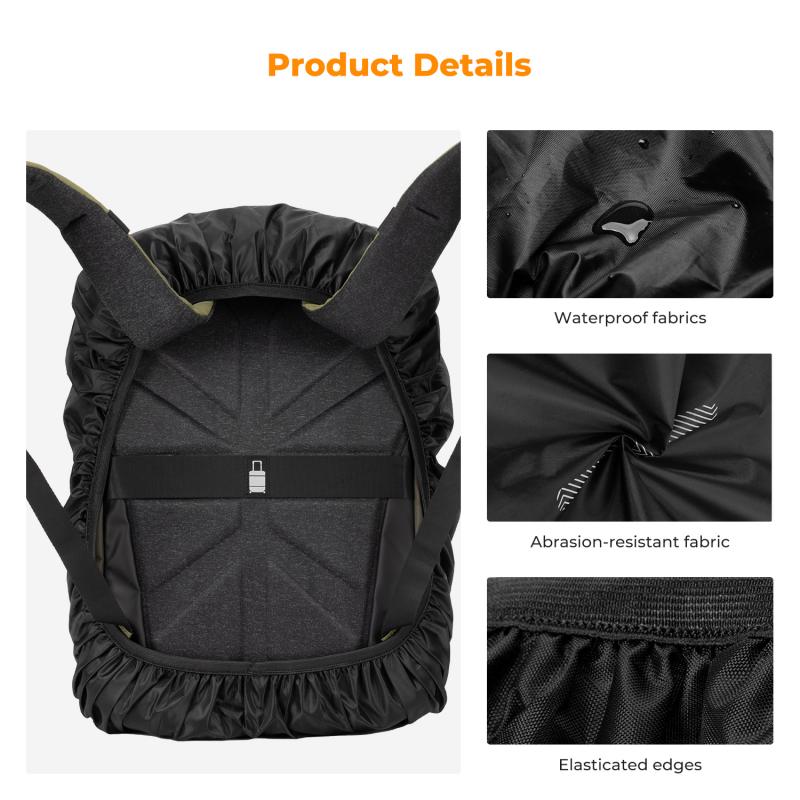
To get started, gather the following items:
1. Waterproof fabric (e.g., ripstop nylon, silicone-coated nylon, or polyester) – You can reuse old tents, umbrellas, or tarps if you don’t want to buy new fabric.
2. Elastic band or cord – About 1.5 to 2 times the circumference of your backpack.
3. Sewing supplies – Needle and thread or a sewing machine with durable thread.
4. Scissors.
5. Measuring tape or ruler.
6. Marker or tailor’s chalk.
7. Cord locks or toggles (optional, for adjustable elastic closures).
8. Waterproof seam tape or a seam sealer (to enhance waterproofing).
9. Pins or fabric clips.
All of these materials are affordable and widely accessible at craft stores or online.
Step 1: Measure Your Backpack
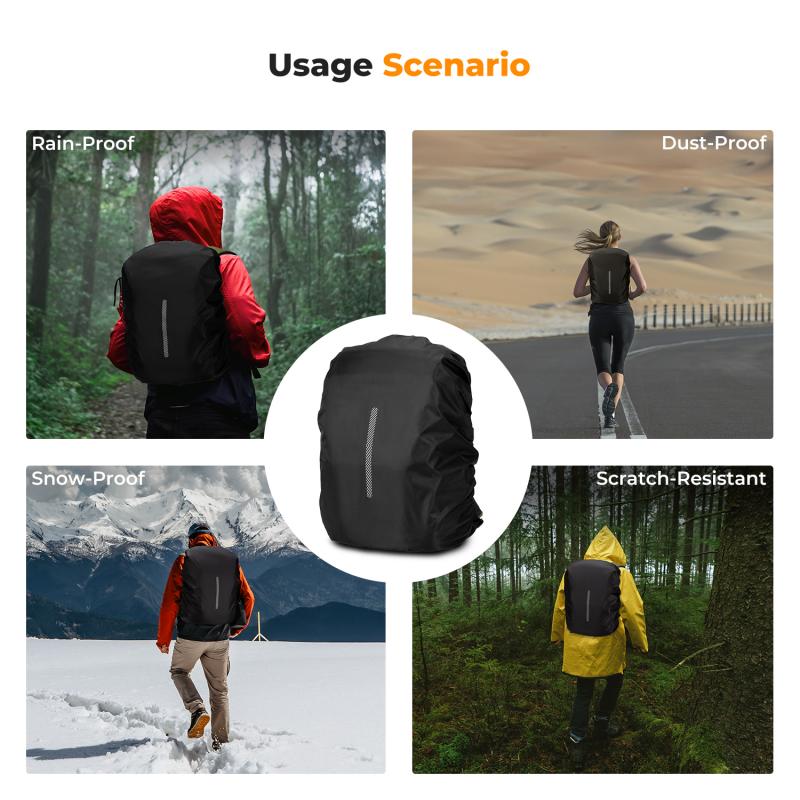
The first step in creating your custom rain cover is to measure your backpack to determine how much fabric you’ll need. Lay your backpack flat and take the following measurements:
1. Width: Measure from side to side at the widest point.
2. Height: Measure from the bottom of the backpack to the top when the pack is fully extended.
3. Depth: Measure the thickness of the backpack from the front pocket to the back panel.
Once you have the width, height, and depth, calculate the total fabric size required. Add at least 4-6 inches to each measurement to allow for some extra coverage and space for stitching.
For example, if your backpack is 18 inches tall, 12 inches wide, and 6 inches deep, your fabric should be roughly 28 inches by 22 inches to ensure it wraps around completely.
Step 2: Cut the Fabric
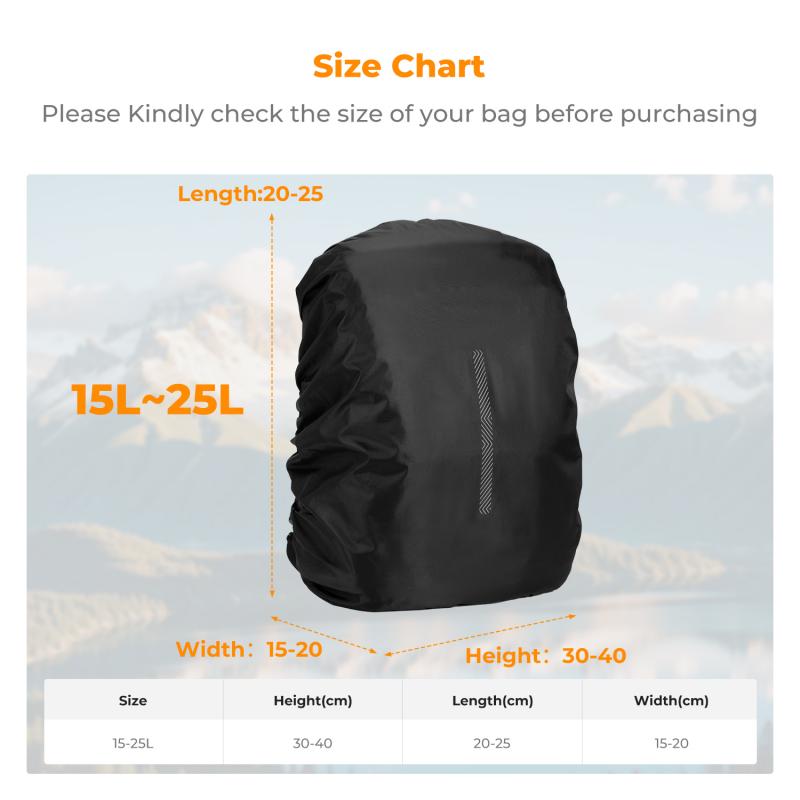
Using the measurements from step one, draw or trace the outline of your rain cover on the waterproof fabric with a marker or tailor’s chalk. You can opt for an oval or rectangular shape with rounded edges (a rounded shape makes sewing easier).
Do a double-check to ensure no mistakes in sizing, then carefully cut out the fabric along the marked lines.
Step 3: Create the Elastic Hem
To keep your rain cover snugly attached to your backpack, you’ll need to add elastic around the edges of the fabric. This step is crucial for ensuring the rain cover doesn’t slip off in windy weather.
Here’s how to add an elastic hem:
1. Fold over the edges of the fabric (about ½ to 1 inch) to create a casing for the elastic.
2. Pin or clip the folded edges in place.
3. Sew along the edge of the casing, leaving a small opening (about 2-3 inches long) through which you’ll insert the elastic band.
4. Attach a safety pin or bodkin to one end of the elastic and thread it through the casing.
5. Once you’ve threaded it all the way through, adjust the elastic to create a snug fit around your backpack.
6. Sew the ends of the elastic together, then close the opening in the casing with a few stitches.
If you’re using a cord and cord locks instead of elastic, sew the casing as described above, but leave more length for the opening. Thread the cord through the casing and secure it with cord locks.
Step 4: Waterproof the Seams
Even though your fabric is waterproof, the seams where you’ve sewn can allow water to seep through. To enhance waterproofing, use seam tape or seam sealer on all stitched areas.
1. Apply seam tape on the sewn sections with a warm iron (if compatible with your fabric).
2. Alternatively, use a brush or applicator to coat the seams with seam sealer.
3. Allow it to dry completely before testing for leaks.
This extra step ensures your rain cover is truly waterproof, even in heavy downpours.
Step 5: Perform a Fit Test
Once you’ve completed the sewing and waterproofing steps, slip your DIY rain cover over your backpack to ensure it fits securely. The elastic should hold the cover in place, and the fabric should wrap around the entire bag, including any external pockets or belongings.
If the fit is too loose or tight, you can make adjustments by tightening or loosening the elastic.
Step 6: Add Optional Accessories
If you’d like to enhance the functionality or convenience of your rain cover, consider adding these extras:
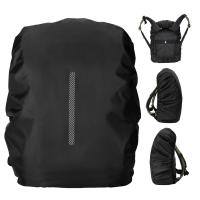
1. Reflective Strips: Sew or glue reflective tape onto the rain cover for improved visibility during nighttime adventures.
2. Drainage Hole: Add a small grommet or reinforced drain hole at the bottom of the cover to prevent water pooling.
3. Attachment Loops: Sew small loops or hooks that allow you to secure the rain cover directly to your backpack straps.
Step 7: Pack and Store
When not in use, fold your rain cover neatly into a compact size. To keep things organized, you can store it in a small water-resistant pouch or zip-lock bag. This way, you’ll always have it ready when rain strikes on the trail, in the city, or out on your daily commute.
Additional Tips for Backpack Rain Cover Success
- Choose the Right Fabric: Look for fabric that balances waterproofing, durability, and flexibility. Lightweight options like ripstop nylon are ideal for portability, while heavier fabrics better handle rough conditions.
- Double Check Your Work: Make sure to reinforce the stitching, especially along the elastic casing, to prevent tearing under tension.
- Maintenance: Regularly inspect your rain cover for wear and tear. Reapply seam sealer and repair small holes to maintain effectiveness.
- Adaptability: If you use different backpacks, consider creating a universal rain cover with adjustable or expandable features.
Making your own backpack rain cover is an empowering and budget-friendly way to protect your belongings from the elements. By following this step-by-step guide, you’ll be equipped with a quality, custom solution tailored to your exact needs. Not only is this DIY project manageable for anyone with basic sewing skills, but it also allows room for creativity and personalization. Plus, by reusing materials you already have at home, you’re contributing to sustainability while saving money.
So, the next time you're planning an outdoor trip or prepping for rainy weather, you can feel confident knowing that your backpack and belongings will stay dry – all thanks to your DIY handiwork. Happy crafting!


