How To Ipad Air Camera Flash?
The iPad Air is a remarkable device with plenty of features suitable for work, entertainment, and communication. However, when it comes to its camera functionality, users often ask a specific question: "How do I enable or use the camera flash on the iPad Air?" If you’re looking for an easy answer, this guide will clarify what you can and can't do with the iPad Air camera in terms of flash and provide alternative ways to enhance your photography experience. Let’s dive into the practical solutions and considerations surrounding this topic.
Understanding the iPad Air Camera System
Before we look at how to enable a flash function, it's important to understand the hardware capabilities of the iPad Air. Historically, Apple’s iPads have placed a strong emphasis on versatility and lightweight design, which means sacrifices are made in other areas, such as photography hardware. Unlike iPhones that come with advanced camera modules alongside features like LED flash, the iPad Air was designed primarily as a productivity and content-consumption tool.
Most iPad models, including the iPad Air, don't come equipped with a native flash feature for the rear or front cameras. This means you won’t find an LED flash light embedded in the camera interface like on an iPhone. Apple’s design philosophy for the iPad Air camera results in excellent image quality under natural or artificial light, but it doesn't offer a dedicated hardware flash component for low-light environments.
Why Doesn’t the iPad Air Have a Camera Flash?
To better frame the situation, here are a few reasons Apple excludes a camera flash from the iPad Air:
1. Device Purpose: The iPad Air was built with productivity, web browsing, media consumption, and light creative tasks as its main purpose. While it has capable camera components, the focus is not on high-end photography.
2. Form Factor Constraints: Adding features like a flash would introduce extra hardware, potentially impacting the device's slim design and battery life.
3. Photography Alternative: For advanced photography features, Apple users are primarily encouraged to use iPhones, which are equipped with cutting-edge camera systems, including multiple lenses and flash options.
Practical Alternatives for Using Flash-Like Features on an iPad Air
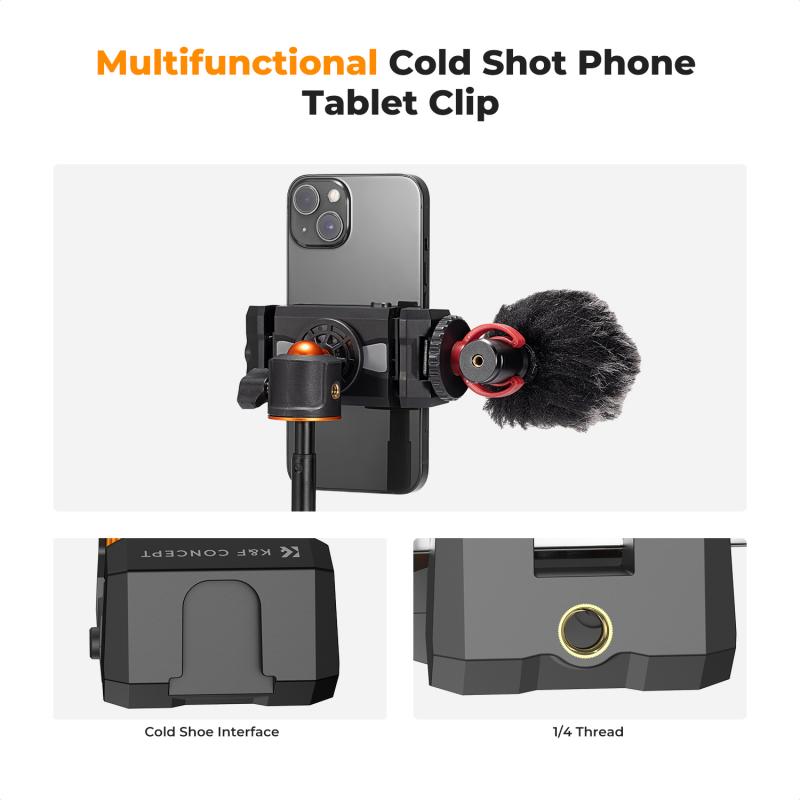
Despite the absence of an integrated camera flash on an iPad Air, creative solutions exist to capture well-lit photos or improve your images in low-light situations. Below are several ways to address the lack of a native flash feature:
1. Using External Lighting Solutions
One of the simplest ways to overcome the absence of a built-in flash is to use external lighting options. These can help you achieve outstanding results even in poorly lit conditions:
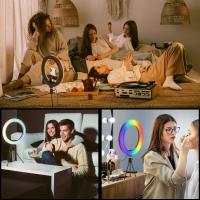
- Ring Lights: Portable ring lights or clip-on LED lights can be attached to your iPad Air or placed on a surrounding surface. They provide even, direct light, perfect for selfies, video calls, or product photography.
- Desk Lamps: A normal lamp or directed desk light can work wonders when positioned correctly. Use a warm or white light bulb to closely replicate natural lighting.
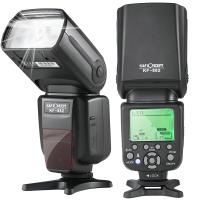
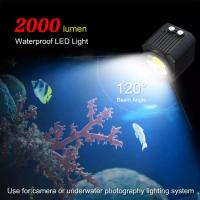
- External LED Flash Devices: Some accessory makers create standalone LED flash units that synchronize with your device through Bluetooth or a wired connection. These tools work as a substitute for a built-in flash.
2. Improve Low-Light Photography with Apps
If adding external hardware isn’t your preference, consider using apps to enhance your photos. While you can't install a physical flash, software-based features can mimic its effects:
- Photo Editing Apps: Apps like Adobe Lightroom, Snapseed, or Photoshop Express allow you to adjust exposure, contrast, and brightness after taking photos, adding the appearance of better lighting.
- Camera Apps with Brightness Boosts: Some third-party camera apps let you manually compensate for low light by adjusting ISO sensitivity, shutter speed, and exposure time. While this doesn't replace a hardware flash, it can optimize the low-light performance of your iPad Air camera.
- Night Photography Apps: Specific apps, such as NightCap Camera, use advanced algorithms to combine multiple exposure settings, making images brighter and more detailed in low-light conditions.
3. Rely on Consistent Environmental Lighting
Where possible, position yourself or your subject in well-lit environments. This may involve:
- Natural Light: For daytime photography, standing near a window or stepping outdoors can provide natural and even illumination.
- Artificial Light Sources: Use professional lighting setups such as softboxes or overhead lighting to produce clear images.
4. Leverage the Screen Flash for Selfies
While the rear camera lacks a flash, certain iPad models use a technique similar to the iPhone’s "Retina Flash" for the front-facing camera. When taking selfies, the screen temporarily becomes very bright to illuminate your face. Though less powerful than an LED flash, this is often sufficient for video calls or low-light selfies. If your version of the iPad Air supports this feature, you can activate it with a compatible app like FaceTime or your default camera app.
Low-Light Photography Techniques Without a Flash
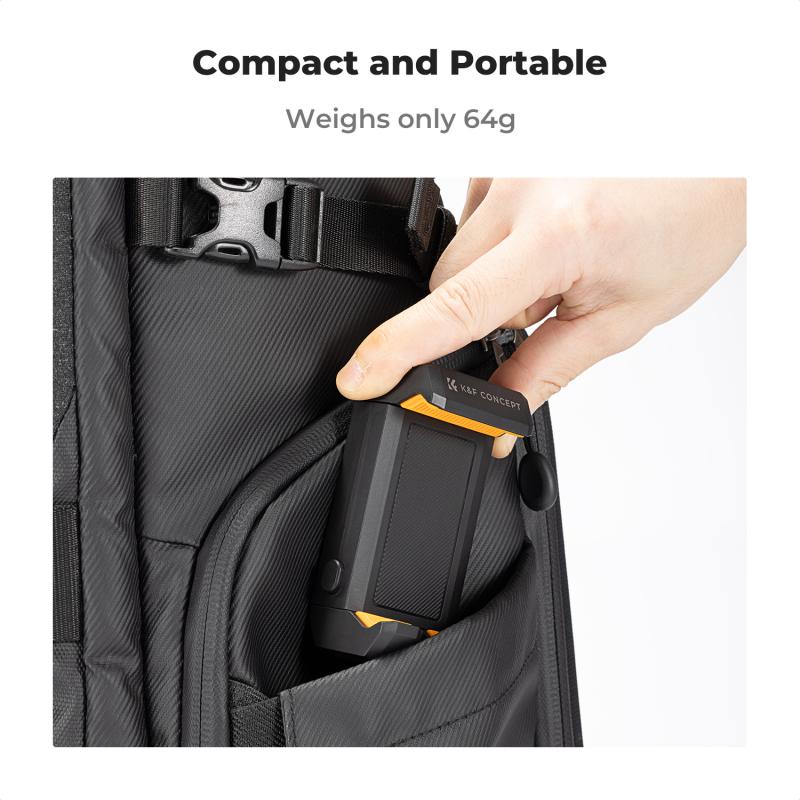
For users committed to improving their photography without adding external hardware, here are some tips to capture better pictures in dim environments:
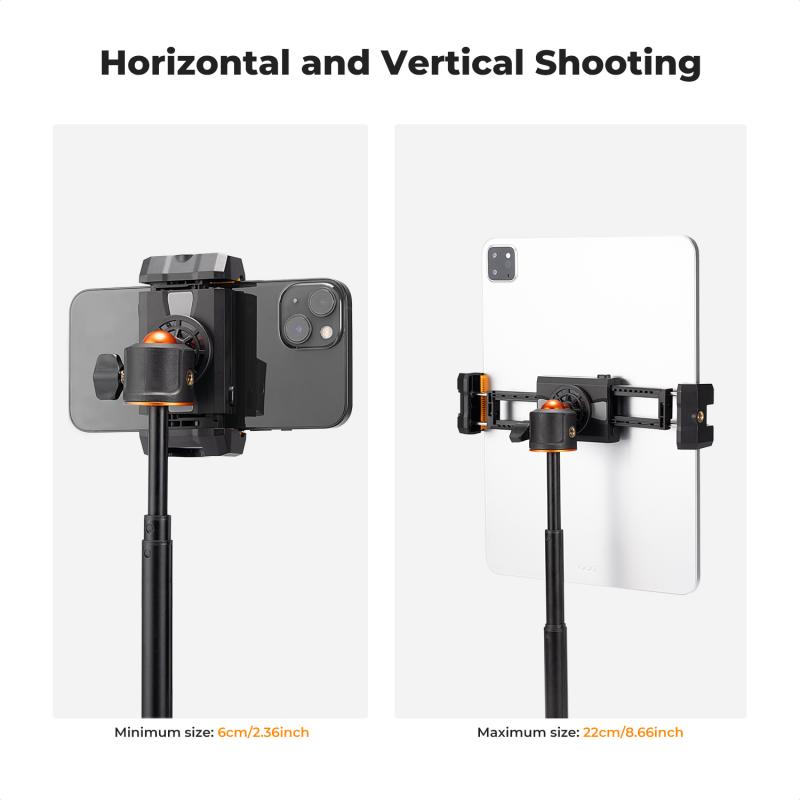
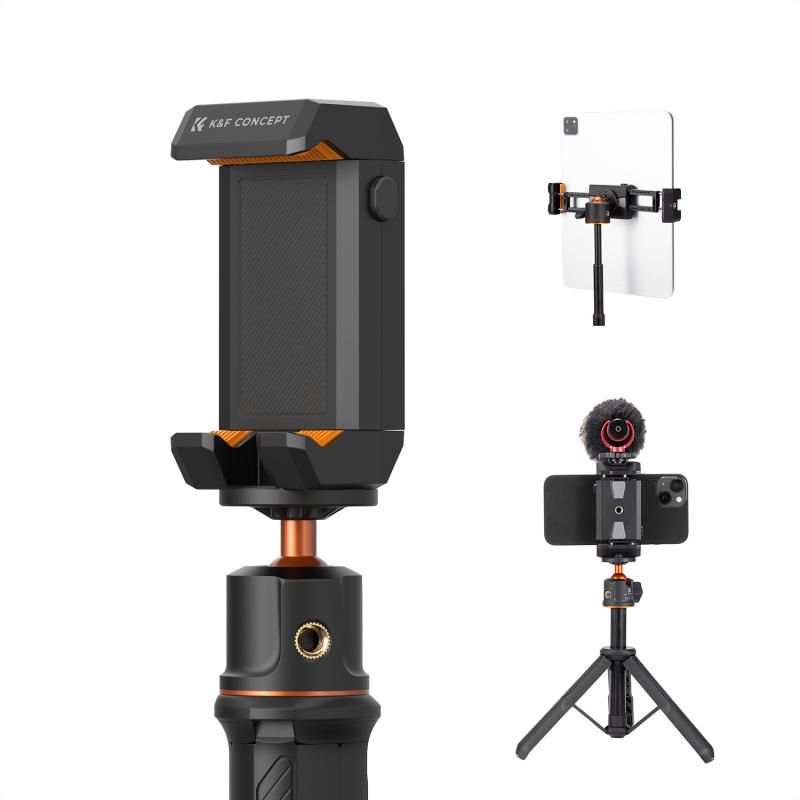
1. Hold the Device Steady: Lower light conditions require slower shutter speeds, so keeping your iPad Air steady is critical. Use a tripod or stabilize your hands against a surface to minimize blur.
2. Increase Exposure Time: Manually adjust settings on apps that allow for longer exposure times so more light reaches the sensor.
3. Utilize HDR Mode: High Dynamic Range (HDR) mode is great for balancing shadows and highlights in your photos, which can compensate for uneven lighting.
4. Use Reflective Surfaces: Position your subject near shiny surfaces such as mirrors or white walls to bounce more light onto them.
5. Shoot During Golden Hour: For outdoor photography, take advantage of the “golden hour” — just after sunrise or before sunset — to capture beautifully lit photos without needing artificial light.
Ideal Situations for the iPad Air Camera
While the iPad Air doesn’t have a flash, it excels in many photography and videography scenarios, particularly those involving sufficient light. Here are examples where this device shines:
- Videoconferences and Work-From-Home Use: The front-facing camera performs superbly for high-quality video streaming under proper indoor lighting.
- Document Scanning: Paired with proper environmental lighting, the rear camera works perfectly for scanning documents into apps like Files or Notes.
- Outdoor Scenic Shots: Landscapes and daylit scenes leverage the full capability of the iPad Air’s rear camera sensor.
Final Thoughts: Accepting the iPad Air’s Camera as It Is
The lack of a built-in camera flash on the iPad Air may seem like a limitation at first glance. However, Apple’s strategic design is part of a broader emphasis on keeping the device ultra-slim and making it a productivity powerhouse rather than a professional-grade camera. As users, it’s our choice to leverage workarounds like external lighting tools or software-based enhancements, depending on the level of quality and functionality required.
By understanding the features the iPad Air does offer and implementing the solutions discussed above, you’ll be well on your way to maximizing the camera’s potential — even without a built-in flash. Whether you’re capturing precious memories, participating in a video call, or scanning important documents, these tips can help you get the most out of your iPad Air photography experience.

