How To Get Through A Metal Detector?
Metal detectors are a common part of modern security systems, found in airports, schools, public buildings, and even private events. Their purpose is to ensure the safety of people and secure environments by detecting unauthorized or dangerous metallic objects. For many people, passing through a metal detector is a routine process, but for others, particularly those who are unprepared or unaware of how these systems work, it can be frustrating or even anxiety-inducing. Knowing how to get through a metal detector smoothly is not only about avoiding inconvenience but also about respecting the procedures in place for everyone's safety.
This guide explores the practical steps to prepare for and pass through a metal detector with minimal disruption. Along the way, we’ll discuss the dos and don’ts, the common mistakes, and how to handle potential challenges, such as medical implants or necessary carry-on items.
Understanding How Metal Detectors Work

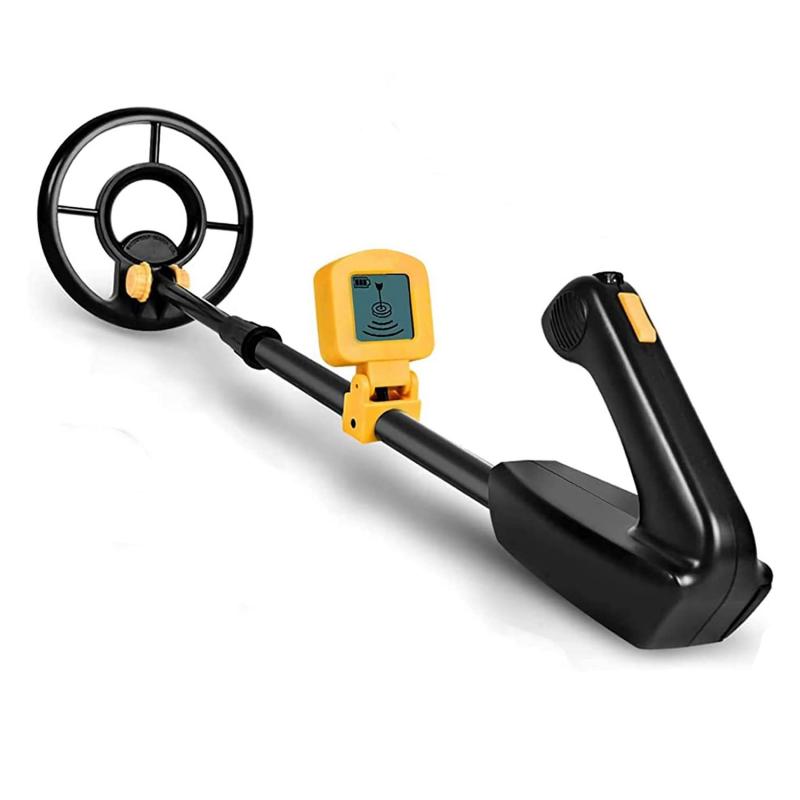
Metal detectors operate by generating an electromagnetic field that interacts with metallic objects. When metal passes through this field, it disrupts the signals, triggering an alert. Metal detectors are finely tuned to detect metallic items of a specific size or composition, so even small or seemingly insignificant items, like keys or loose change, can activate the alarm.
By understanding their sensitivity, you can better anticipate what items may lead to being flagged during your screening. It’s important to keep this in mind as you prepare to approach a metal detector.
---
Step-by-Step Preparation for Passing Through a Metal Detector

1. Familiarize Yourself With the Screening Policy
Before arriving at your destination, check the guidelines for what is and isn’t allowed. For example, airports governed by TSA regulations have strict rules regarding carry-on items, liquids, and personal belongings. Similarly, events or private facilities often restrict items like sharp objects, lighters, or certain types of electronics. Preparation begins with understanding these rules.
If you’re unsure about a specific item, consult the venue or governing authority in advance. This simple step can save you time and potential stress at the security checkpoint.
2. Minimize Carry-On Items
The more items you bring with you into the screening area, the more potential barriers you create for yourself. Try to pack lightly and organize your belongings in a way that makes it easy to separate metallic items from non-metallic ones.
For instance, place things like phones, coins, keys, jewelry, and belt buckles into a single compartment of your bag or in your jacket pocket. This ensures you can quickly remove these items and place them in trays before stepping through the metal detector.
3. Wear Metal-Free Clothing and Accessories
If possible, choose clothing and accessories that are less likely to set off the detector. For example:
- Avoid wearing belts with large metal buckles.
- Remove excessive jewelry, such as watches, necklaces, and bracelets, before arriving.
- Refrain from wearing clothing with metallic embellishments or zippers. Many boots and high-heeled shoes have metal shanks or tips, so avoid these or be prepared to take them off.
If you must wear any of these items for specific reasons (e.g., medical necessity, cultural requirements), it’s a good idea to notify the security personnel before stepping through.
4. Prepare for Medical Devices or Exceptions
Certain medical devices, such as pacemakers, hip replacements, or insulin pumps, may trigger an alert on a metal detector. Similarly, individuals requiring mobility aids like wheelchairs or walkers will often undergo additional screening.
To avoid confusion or delay, carry supporting documentation from your doctor, and inform security personnel of your situation ahead of time. Some facilities also allow individuals with medical implants to bypass the detector in favor of a manual screening.
5. Follow Security Instructions Closely
When you arrive at the metal detector, listen carefully to the instructions given by security personnel. They will typically ask you to:
- Remove any metallic items from your person and place them in a tray.
- Place any carry-on bags, jackets, or electronic devices, such as laptops, on the conveyor belt for an X-ray scan.
- Proceed through the detector one at a time.
Remaining calm, communicative, and cooperative goes a long way in ensuring the process runs smoothly.
---
Common Challenges and How to Overcome Them

Forgetting About Hidden Metals
Surprisingly common items like underwire bras, rivets in jeans, or earring backings can set off the alarm. This can be particularly inconvenient if you’re unaware of the issue. To avoid this:
- Double-check your outfit for hidden metal components before leaving home.
- If the alarm still goes off unexpectedly, remain patient and allow security to conduct a secondary screening.
Time Pressure
Busy security checkpoints, such as those at airports, can make people feel rushed. This is where preparation becomes vital. Have your belongings organized and ready to go, and don’t worry about the people behind you. It’s better to go through the process methodically than to risk missing something and needing to repeat it.
Dealing With Secondary Screenings
If you trigger the alarm or have items in your bags flagged for inspection, security personnel may conduct a secondary check. This can involve using a handheld wand, a pat-down, or a visual inspection of your belongings. While the process can feel invasive or time-consuming, it is standard procedure and typically done as quickly and professionally as possible.
To expedite any secondary screening:
- Comply fully with the instructions given.
- Keep your documentation handy if needed (e.g., proof of medical devices or prescription medications).
- Avoid being argumentative or dismissive; security personnel are simply doing their job.
---
Tips for Passing Through Even Faster
1. Arrive Early: Give yourself plenty of time to pass through security. Arriving late or rushed can make the process more stressful.
2. Plan for Children or Special Circumstances: If traveling with kids, brief them about the process and help them stay organized. For special requirements, such as strollers or baby formula, research the screening rules in advance.
3. Use TSA PreCheck or Trusted Traveler Programs (Where Applicable): Programs like TSA PreCheck and Global Entry are available in the U.S. for frequent travelers. These allow you to pass through expedited lines with fewer restrictions, such as keeping your shoes on and laptops packed.
---
Why Preparation Matters
Although passing through a metal detector can seem like a trivial or routine task, it plays a vital role in public safety. Security systems are in place to protect everyone, but they rely on cooperation to function effectively. By preparing ahead of time and knowing how to navigate the process, you contribute to a more efficient and secure environment for all.
More importantly, being prepared reduces your personal stress and helps you avoid unnecessary delays. Whether you’re catching a flight, attending a concert, or entering a government facility, the ability to seamlessly pass through a checkpoint ensures you won’t miss out on important events.
---
Final Thoughts
Getting through a metal detector doesn’t have to be a hassle. By understanding how metal detectors work and taking proactive steps to minimize potential obstacles, you can breeze through the screening process with ease. Whether you’re a frequent traveler or just someone attending a public event, preparation and cooperation are your best tools.
In the end, it’s about striking a balance between convenience and security. Taking the time to prepare not only simplifies your own experience but also supports the broader goal of maintaining safe spaces for everyone. So next time you encounter a metal detector, you’ll be ready to navigate it with confidence and ease.

