How Do You Voice Record On Iphone?
Recording voice memos or audio notes on an iPhone is one of the most practical yet often overlooked features of iOS devices. Whether you’re conducting an interview, making a quick note to yourself, or recording a song idea, the iPhone simplifies the process. In this guide, we’ll dive deep into using your iPhone for audio recording, troubleshooting common issues, and exploring ways you can maximize this feature to meet your needs.
The Tools You Need

By default, every iPhone comes with a built-in app called Voice Memos. This app provides a straightforward way to record audio in just a few taps. It’s pre-installed, free, and easily accessible, making it the go-to option for most people. That said, the iPhone’s microphone quality is good enough for a variety of scenarios, from casual reminders to professional-sounding recordings if used correctly. Let’s look at how you can use the Voice Memos app effectively.
---
Step-by-Step Guide to Voice Recording
1. Open the App:
Locate the Voice Memos app on your iPhone. It often resides in your Utilities folder or may be on your home screen.
2. Prepare to Record:
Find a quiet spot for your recording to reduce background noise. Hold your phone so that your voice or the target sound source is directed into the microphone (located at the bottom of the iPhone near the charging port).
3. Begin Recording:
- Tap the red *Record* button to start. You’ll see the waveform display moving, which indicates that the app is picking up audio.
- Speak or play the sound you want to record.
4. Pause and Resume:
- If you need to pause the recording, tap the *Pause* button. This is useful for taking breaks or capturing specific segments of sound without interruptions.
5. Stop Recording:
- Once you’ve finished, tap the *Stop* button. The recording will automatically save with a default name (e.g., "New Recording 1").
6. Rename and Save:
- After stopping the recording, tap on it to open. Tap the default title and rename it to something meaningful, like “Podcast Interview” or “Meeting Notes.”
---
Listening and Sharing Recordings
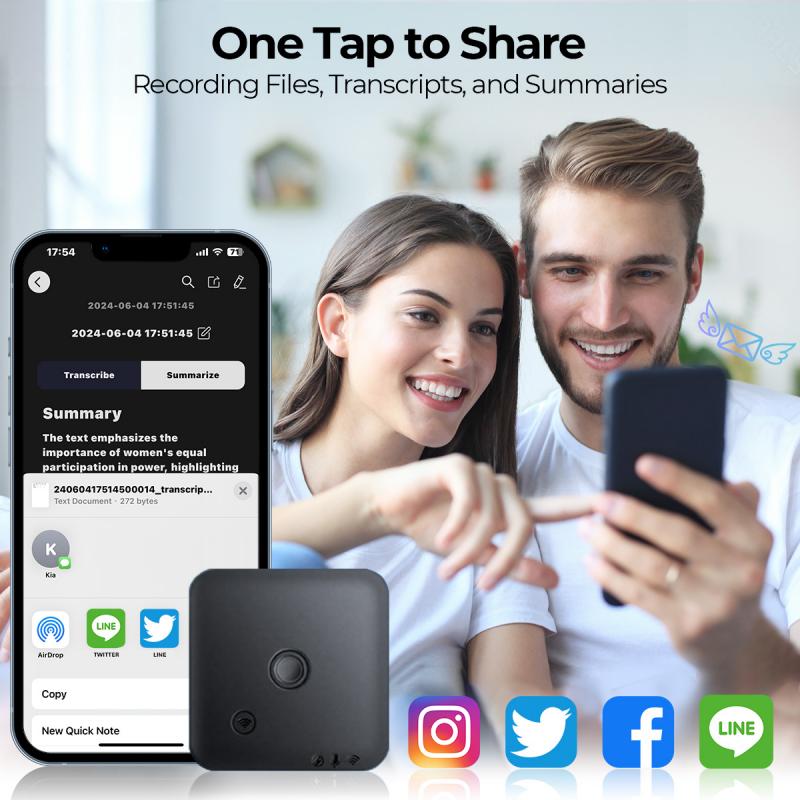
Once you’ve made your recording, you can listen to it through the Voice Memos app by simply tapping on the file. The app allows for easy playback control, meaning you can skip, rewind, or fast-forward your recording at any point.
If you need to share your recording, follow these steps:
1. Open the audio file in the Voice Memos app.
2. Tap the Share icon (a box with an arrow pointing out of it).
3. Select the desired sharing method, like iMessage, email, AirDrop, or saving to cloud storage like iCloud or Google Drive.
Sharing recordings is especially handy for work or collaborative projects. For example, you can record a meeting and share it with your team members instantly.
---
Tips for Optimizing Recording Quality
While the iPhone’s microphone is quite efficient, there are ways to enhance the quality of your recordings:
1. Reduce Background Noise:
- Record in a quiet, enclosed space when possible.
- Turn off any nearby fans, air conditioning, or machines that can create ambient noise.
2. Use an External Microphone:
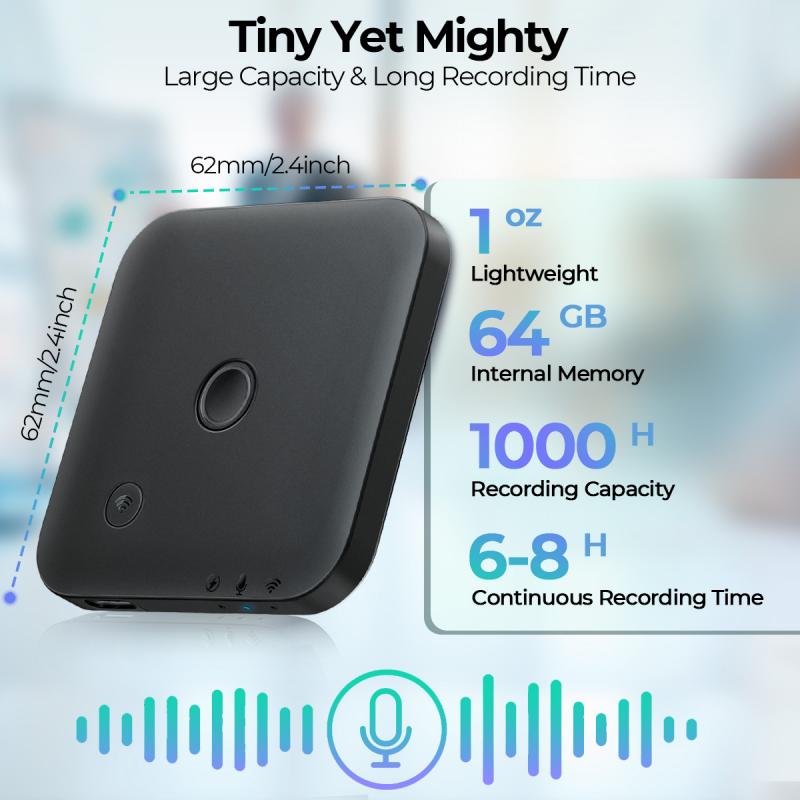
- If clarity is a high priority, consider using an external microphone. Accessories such as lavalier mics or USB-C compatible microphones improve audio detail significantly.
3. Maintain Proper Distance:
- Keep the iPhone 6-12 inches away from your mouth. Being too close can cause distortion, while being too far might make your voice harder to hear.
4. Use a Pop Filter or Cover:
- For professional-level recording (e.g., podcasts or voice-overs), a pop filter or foam windscreen helps to smooth out sharp breaths and eliminate plosive sounds like “p” and “b.”
5. Test Before Final Recording:
- Always do a short test recording to ensure the environment and microphone placement are ideal.
---
Advanced Features of the Voice Memos App
If you’re looking to elevate your recordings, you’ll be glad to know the Voice Memos app includes several useful tools for editing and managing files. These features are perfect for refining your recordings before sharing or archiving them.
1. Trimming and Editing:
- Tap on a recording and use the Edit Recording feature (a small icon at the bottom) to trim or shorten the audio. Drag the yellow sliders to remove unwanted parts from the beginning or end easily.
2. Replacing Audio Segments:
- Need to fix a specific section? Voice Memos allows you to re-record a portion of the audio without deleting the rest of your file.
3. Enhanced Recording Option:
- On newer iPhone models (iPhone XS and later), you can enable the Reduce Background Noise feature while editing your recording. This automatically improves sound clarity for noisy environments.
4. Folders and Organization:
- With iOS updates, Voice Memos now allows you to create folders for better organization of your recordings. Label folders by category, such as “Lectures,” “Interviews,” or “Creative Notes,” for quick access.
---
Troubleshooting Common Issues
1. Recording Cuts Off Unexpectedly:
- Ensure your device has enough storage space. Running low on storage can stop recordings abruptly.
- Avoid heavy multitasking, as running multiple apps can disrupt audio processing.
2. Low Audio Quality:
- Check if the microphone is blocked by a case, dust, or obstructions.
- Ensure the app’s microphone permissions are enabled via *Settings > Privacy > Microphone.*
3. Can’t Find a Recording:
- Use the search functionality within the app to locate your file. Searching with keywords like “meeting” or “note” can simplify the process.
4. Sharing Issues:
- Verify your internet connection if the file isn’t uploading to the cloud or sending via email. For substantial files, limited data plans may cause errors.
---
Beyond Voice Memos: Third-Party Apps for iPhone Recording
While Voice Memos suffices for most users, some might require advanced functionality. Here are a few third-party apps that cater to specific needs:
1. GarageBand:
- Ideal for musicians looking to compile multi-layered audio tracks.
2. Otter.ai:
- Great for journalists and students who want real-time transcription during recordings. It converts speech to text directly.
3. Rev Voice Recorder:
- An intuitive app for recording with the option for professional transcription services.
These apps offer enhanced features like noise filters, multiple audio tracks, and cross-platform sharing. Consider these options if your recording duties go beyond basic memos.
---
Creative Use Cases for iPhone Voice Recording
Many might wonder when and why they would need to use their iPhone as a recording device. Here are some creative and practical use cases:
1. Professionals:
- Use it to record meetings or brainstorming sessions for later documentation.
- Capture voice notes or ideas on-the-go, especially during commutes.
2. Students:
- Record lectures and replay them to reinforce learning later.
- Take verbal notes for group projects or assignments.
3. Content Creators:
- Draft podcast episodes or test audio quality before going live.
- Record natural soundscapes or background audio for media projects.
4. Musicians and Writers:
- Jot down song melodies, riffs, or poem ideas via audio for future use.
---
Recording your voice on an iPhone may seem like a simple task, but its potential far surpasses basic note-taking. From using the built-in Voice Memos app to leveraging third-party tools, iPhones are versatile and reliable devices for voice recording in both personal and professional settings. By following the tips and recommendations outlined in this guide, you’ll be well-equipped to capture high-quality audio whenever the need arises.
So, whether you’re a student archiving lecture notes, a content creator brainstorming ideas, or a professional documenting crucial conversations, the iPhone’s voice recording capabilities


