Where To Record Voice Over?
Voice-over recording is an essential component of a variety of creative and professional projects, whether for films, online videos, advertisements, audiobooks, or podcasts. If you're new to the world of voice-over work or are seeking to optimize your current recording setup, you might find yourself asking, “Where should I record voice-over to get the best results?” The answer to this question depends on a combination of your budget, the level of quality needed, and your specific recording goals. In this article, we'll explore the options available, considerations for choosing a recording space, and tips to ensure professional-quality recordings.
Home Recording Studio: The Most Convenient Option
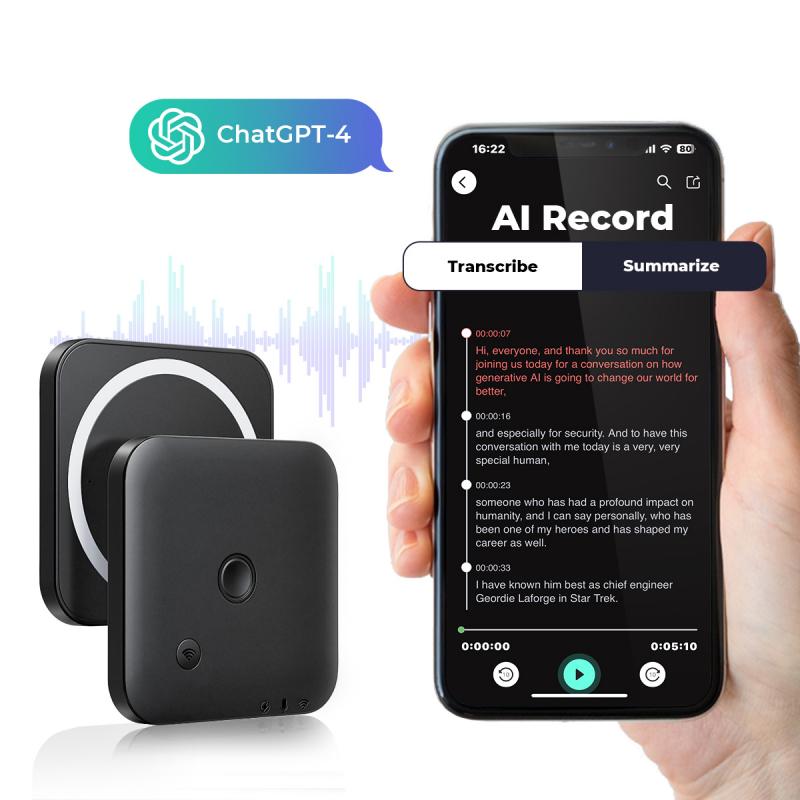
For many, the most straightforward and convenient option is setting up a home recording studio. Technological advancements have made it easier than ever to create professional-quality recordings from the comfort of your own space. Here's why:
Advantages:
1. Cost-Effective: After the initial setup, there are no ongoing studio rental fees. This is particularly appealing if you plan to record frequently.
2. Flexibility: Your home studio lets you work on your own schedule without needing to book time slots in a professional studio.
3. Custom Setup: You can tailor the environment exactly to your needs, selecting the equipment and sound treatments that work best for your voice and project requirements.
What You’ll Need:
To build a proper home studio, consider the following equipment and factors:
- Microphone: Investing in a high-quality condenser microphone will provide the clarity needed for professional voice-over work.
- Audio Interface: This device connects your microphone to your computer and ensures high-quality sound recording.
- DAW (Digital Audio Workstation): Software like Audacity, Adobe Audition, or GarageBand allows you to record, edit, and fine-tune your audio.
- Acoustic Treatment: You’ll need to minimize reflections and external noise by using foam panels, bass traps, or a portable vocal booth.
- Pop Filter: This inexpensive tool reduces plosive sounds (like “p” and “b”) that can interfere with your recording clarity.
- Quiet Environment: Your recording area should be as free from external noise as possible. Select a space far from traffic, appliances, and other sources of sound.
While a home studio may require upfront investment and planning, it’s an excellent long-term solution for serious voice-over artists.
---
Professional Recording Studios: High-Caliber Audio Quality
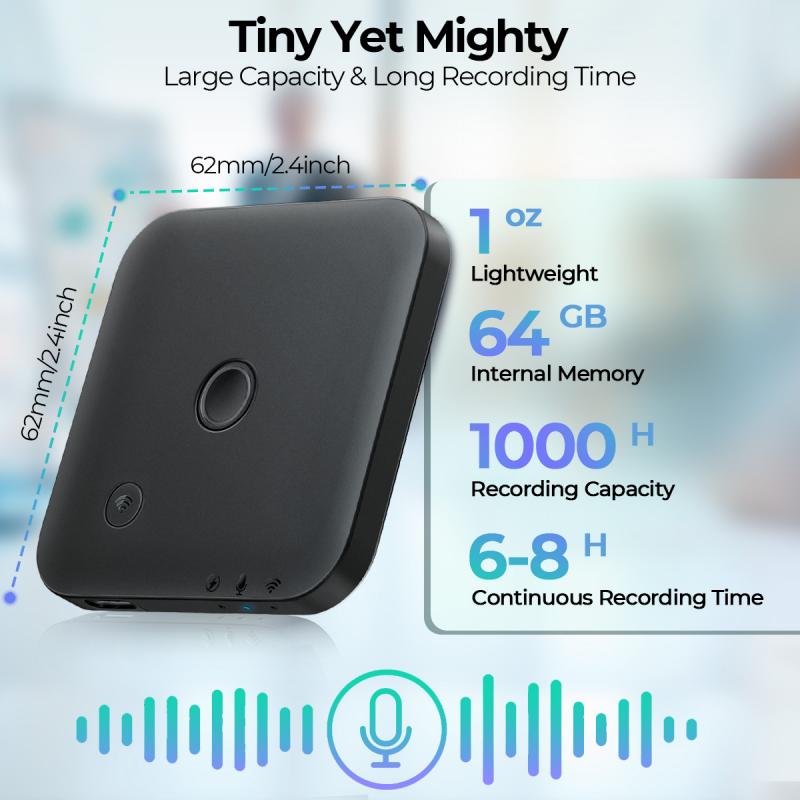
If the project requires top-notch production quality or you’re unable to build a suitable home setup, professional recording studios are a worthwhile option. These facilities are equipped with industry-standard microphones, mixing boards, and sound-treated environments to produce pristine audio.
Advantages:
1. Premium Equipment: Studios have high-end gear that is often prohibitively expensive for personal use.
2. Trained Engineers: The expertise of a professional audio engineer ensures optimal microphone placement, sound quality, and post-production editing.
3. No Setup Hassles: You don’t have to worry about soundproofing, troubleshooting equipment issues, or room acoustics.
When to Choose a Professional Studio:
- If you’re recording for high-profile projects like national advertisements, feature films, or top-tier commercials.
- When you don’t have the time, resources, or environment to optimize a home recording setup.
- For clients who demand premium audio quality without compromise.
The downside of studio recording is cost. Time slots can get pricey, especially in larger markets, and the cost of hiring engineers may add up quickly. If you go this route, plan your time wisely to maximize sessions and limit extra expenses.
---
Mobile Recording: When Convenience Is the Priority

Sometimes, you might find yourself needing to record while on the move, especially if deadlines and travel overlap. Portable recording setups offer flexibility, though they might not always achieve the same audio quality as a dedicated home studio or professional studio.
What You Need for On-the-Go Recording:
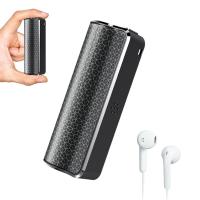
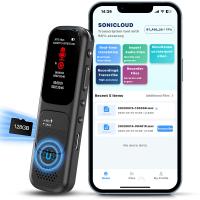
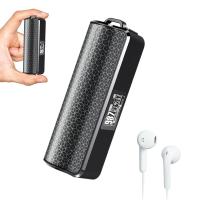
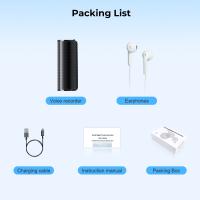
1. Portable Recorder: Devices like the Zoom H5 or Tascam handheld recorders provide reliable, high-quality sound with little setup.
2. USB Microphone: Compact options like the Audio-Technica AT2020USB+ or Blue Yeti are excellent for quick setups.
3. Laptop and DAW: If a laptop fits in your travel plans, it can serve as your hub for recording and editing.
4. Portable Vocal Booths: For better acoustics, invest in collapsible booths or sound shields to manage unwanted noise.
5. Quiet Spaces: Hotel rooms or cars parked in quiet areas can serve as make-shift recording environments.
Best Practices:
- Scout a location in advance to minimize interruptions.
- Use luggage or blankets to absorb sound reflections if acoustic treatment isn’t feasible.
Mobile recording setups are great for demo recordings, rough drafts, or quick voiceovers, but they may not match the quality standards required for larger projects.
---
Renting Co-Working or Shared Recording Spaces

Another middle ground between home and professional studios is renting co-working spaces or shared studios designed for content creators. These spaces offer a range of amenities at a fraction of the cost of professional studios.
Benefits:
1. Cost-Effective for Intermittent Use: If you only need to record occasionally, renting a shared studio can save costs compared to hiring a high-end studio full-time.
2. Well-Equipped: Many shared creative spaces are outfitted with professional-grade equipment, soundproofing, and desks for editing.
3. Networking Opportunities: Working in a shared space allows for collaboration and skill-sharing with other creatives.
Drawbacks:
- You may need to schedule your recording time, which could limit spontaneity.
- Shared environments might not always maintain the same level of cleanliness or quiet as private spaces.
---
Public Spaces: For Experimental or Indie Projects
In some cases, public spaces might serve a specific creative purpose — for instance, if your project intentionally incorporates ambient sounds.
Examples:
- Field recordings in natural settings for narration projects.
- Recording in local libraries with semi-quiet setups for temporary needs.
While recording in public spaces may offer unique possibilities, it comes with considerable challenges in controlling audio quality. Unless you’re deliberately incorporating environmental soundscapes, this option is likely best avoided for professional-grade voice-over work.
---
Key Considerations for Choosing a Voice-Over Recording Location
No matter which option you choose, a few universal principles will guide your decision. When evaluating where to record, keep these factors in mind:
1. Soundproofing: The more control you have over background noise, the better your recording quality will be.
2. Acoustics: Choose or create a space with minimal echoes and reflective surfaces.
3. Budget: Determine what level of investment is sensible for the scope and frequency of your projects.
4. Convenience: The location should match your flexibility and time constraints.
5. Technical Know-How: Consider how comfortable you are managing equipment and software, or whether you need external support.
---
Tips for Improving Recording Quality in Any Setting
Regardless of where you record, consistency and careful attention to detail will elevate your results. Here are a few practical tips:
- Optimize Microphone Placement: Position the microphone 6-12 inches from your mouth and slightly off-axis to reduce plosive sounds.
- Minimize Ambient Noise: Inform housemates or colleagues about recording times, and turn off loud appliances.
- Warm Up Your Voice: Simple exercises like humming or deep breathing will help you deliver a smooth, consistent performance.
- Edit Carefully: Eliminate pauses, noises, or breaths during the editing phase to produce polished audio.
- Test Your Setup: Always test your recording environment, levels, and microphone quality before starting a session.
---
Finding the right place to record a voice-over ultimately depends on balancing quality, convenience, and cost. Whether you invest in a home studio, book a professional space, or piece together a portable setup, the essential goal is creating an environment where your voice can shine without interference. By carefully selecting the tools and techniques that fit your project needs, you’ll not only meet professional standards but also streamline the recording process to focus on what truly matters—delivering compelling, high-quality audio performances.


