When To Use Nd Filter Drone?
Neutral Density (ND) filters have become a key tool for drone photographers and videographers looking to expand their creative possibilities and capture professional-quality visuals. However, many drone users, especially beginners, may not fully understand when or why to use an ND filter. This article aims to demystify ND filters, explain their applications, and guide you on when to use them to elevate your drone footage.
What Are ND Filters and How Do They Work?
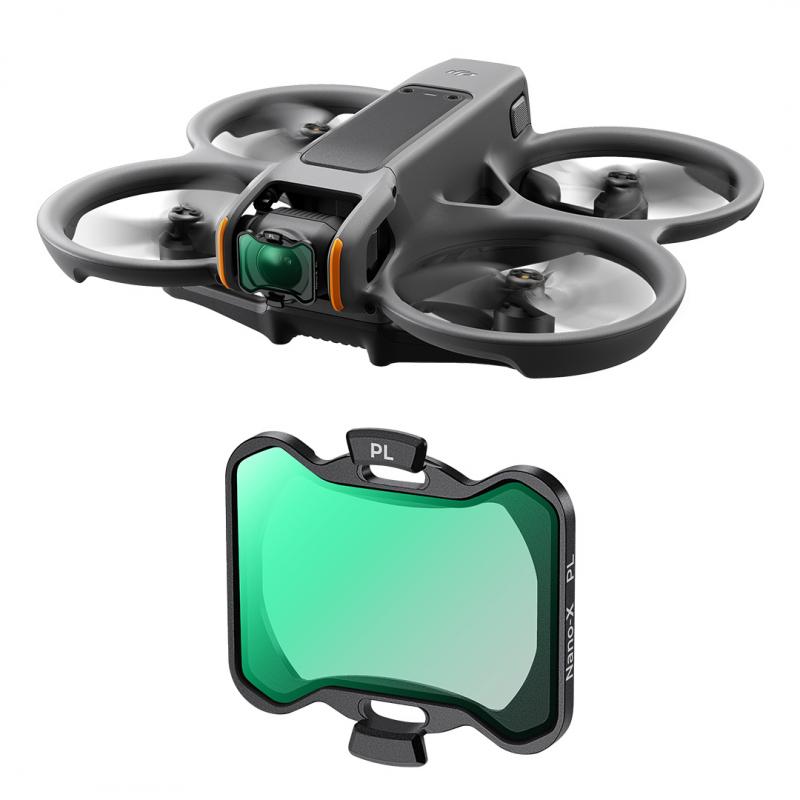
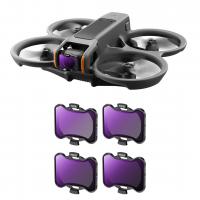
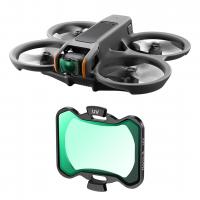
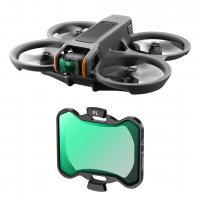
Before diving into when to use ND filters, it’s important to understand what they are and how they function. ND filters are essentially sunglasses for your drone’s camera. They reduce the amount of light entering the lens without altering the color of the light. This reduction in light allows for better control of exposure in bright conditions while adhering to principles of cinematic shooting or photographic best practices.
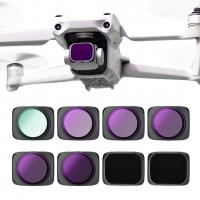
ND filters are typically categorized by their light-reducing strength, such as ND4, ND8, ND16, ND32, and so on. The higher the number, the stronger the filter's effect, meaning it blocks a greater amount of light.
When to Use an ND Filter With Your Drone
There are a number of specific situations in drone photography and videography where ND filters become invaluable. Let’s break them down:
1. Filming at the Correct Shutter Speed for Cinematic Video
One of the most common reasons to use an ND filter with a drone is to achieve the optimal shutter speed for cinematic video. In videography, there is a general rule called the "180-degree shutter rule," which states that your shutter speed should be double your frame rate. For instance, if you’re shooting at 24 frames per second (FPS), your shutter speed should ideally be 1/48 (rounded to 1/50 on most cameras). This creates natural motion blur and ensures smooth, cinematic footage.
In bright daylight conditions, achieving this shutter speed without overexposing the shot is often impossible without an ND filter. By reducing the amount of incoming light, an ND filter allows you to use slower shutter speeds without blowing out highlights.
2. Capturing Balanced Exposure in Bright Environments
Drone photography often takes place outdoors, where lighting conditions can vary drastically. Shooting in the middle of the day under harsh sunlight can result in blown-out skies, overexposed highlights, or overly dark shadows. An ND filter helps balance the exposure by reducing the harshness of bright light. This ensures that no part of your image is overly exposed and retains detail in both highlights and shadows.
If you're filming or photographing during sunrise or sunset, you might not need an ND filter, as the lighting is softer and more evenly distributed. However, during mid-day flights, especially in sunny conditions, an ND filter becomes essential.
3. Improving Motion Blur for Dynamic Shots
Motion blur can add a sense of speed and fluidity to your drone shots, especially when capturing moving subjects such as cars, boats, or pedestrians. If your shutter speed is too high, the lack of motion blur can make the footage appear choppy or too "sharp," detracting from the cinematic appeal.
An ND filter provides the ability to lower the shutter speed in bright conditions, which introduces natural motion blur to fast-moving elements in the frame. This is especially useful for action-packed shots or scenes that require dynamic movement.
4. Enhancing Long-Exposure Photography
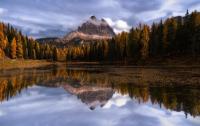
For many drone photographers, long-exposure shots are a creative way to capture mesmerizing scenes, such as smooth flowing waterfalls, silky ocean surfaces, or light trails of cityscapes. To achieve long-exposure images, you usually need to keep the camera’s shutter open for an extended period of time. However, in bright conditions, an extended shutter can lead to overexposed photos.
ND filters allow for longer exposure times by blocking out excess sunlight. This enables photographers to create dreamy, motion-enhanced images even in daylight. For example, an ND filter is essential if you want to create a milky effect on waves or streaking clouds in the sky when shooting long-exposure drone photographs.
5. Controlling Reflections and Glare
While ND filters are primarily designed for controlling light, some ND filters come with a polarizing element (known as ND/PL filters). These filters are particularly useful for reducing reflections from shiny surfaces such as water, snow, or glass, and for enhancing the saturation and contrast of colors. This can dramatically improve the overall quality and appeal of your photos or videos.
If you’re filming over a lake, ocean, or even a bustling city with reflective windows, using an ND/PL filter helps eliminate unwanted glare and makes the colors of your scene appear more vibrant.
6. Dealing With Changing Weather and Light
ND filters aren't just for bright, sunny conditions. Even on cloudy days, the lighting can sometimes create overexposure issues, especially if you’re shooting over bright terrains like snow or sand. ND filters allow you to adapt your drone camera to these changing lighting conditions and maintain consistent exposure.
Multiple ND filters with varying strengths ensure you’re prepared for different scenarios. For instance, an ND4 might suffice on an overcast day, while an ND16 or ND32 could be necessary for sunny afternoons.
Tips for Choosing and Using ND Filters
Once you understand when ND filters are useful, the next step is knowing how to choose the right one and use it effectively. Here are some tips:
- Invest in Quality ND Filters: Not all ND filters are created equal. High-quality ND filters offer even light reduction and won’t introduce unwanted color shifts. Look for reputable brands like PolarPro, DJI, or Freewell.
- Choose the Right ND Filter Strength: The light-reducing strength you need depends on the shooting conditions. For example:
- ND4: Reduces 2 stops of light, ideal for slightly overcast conditions.
- ND8: Reduces 3 stops of light, useful for partly sunny days.
- ND16: Reduces 4 stops of light, great for bright afternoons.
- ND32 or ND64: Reduces 5–6 stops of light, best for extremely bright environments like snow or sand.
- Monitor Exposure: Always double-check the exposure of your shots after mounting an ND filter. Modern drones often come with histograms or overexposure alerts to help you assess the exposure quality in real-time.
- Practice Makes Perfect: Using ND filters requires practice and experimentation. Test different filters and shooting settings to see how they affect your footage under various lighting conditions.
Common Misconceptions About ND Filters
Some drone users may have misconceptions about ND filters, leading to misuse or unrealized potential. Let’s address a couple:
- ND Filters Don’t Make the Image "Better": ND filters don’t inherently improve image quality but provide better control over exposure and cinematic effects. Their purpose is to enable more creative shooting techniques, not to enhance resolution, dynamic range, or sharpness.
- They’re Not Always Necessary: ND filters are a powerful accessory, but they’re not essential for every shoot. If the lighting conditions are already ideal, using an ND filter may not be necessary and could even impact image quality negatively.
ND filters are an indispensable tool for drone videographers and photographers aiming to create professional, polished work. They provide the flexibility to shoot in bright light, adhere to cinematic standards, and capture stunning long-exposure shots—all while maintaining balanced exposure and enhancing motion blur. By understanding when and how to use ND filters, you can unlock new creative possibilities and take your drone footage to the next level.
Whether you're trying to film a cinematic masterpiece, capture dynamic action scenes, or experiment with creative long-exposure photography, ND filters are your go-to solution. With the right preparation, practice, and understanding, you’ll be well-equipped to make the most out of your drone’s camera and create visuals that truly stand out.



There are no comments for this blog.