When To Use Dji Nd Filters?
DJI Neutral Density (ND) filters are invaluable tools for drone videography and photography, particularly when trying to create cinematic footage or achieve professional-quality images under a variety of lighting conditions. If you’re new to working with ND filters or simply want to refine your understanding of when and how to use them, this article will provide a comprehensive guide. We’ll dive into why ND filters are essential, the specific scenarios in which they are most useful, and how to choose the right filter for your needs.
What Are ND Filters and Why Do You Need Them?
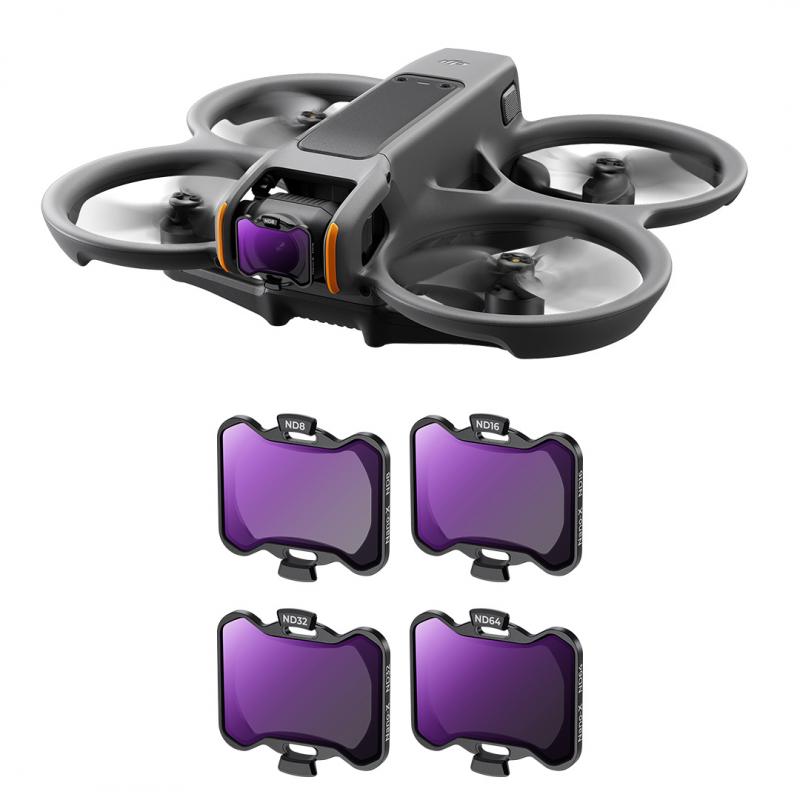
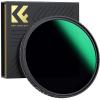
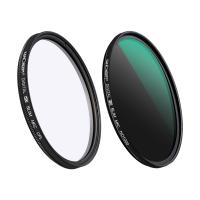
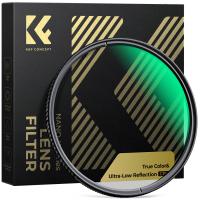
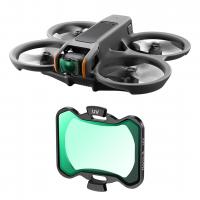
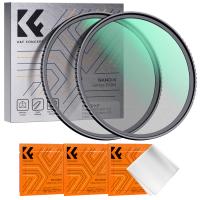
Neutral Density filters are essentially sunglasses for your drone's camera. They control the amount of light that enters the lens without altering the color balance of your footage or images. This helps prevent overexposure in bright lighting conditions and allows you to have more control over your camera settings, such as shutter speed and aperture, to achieve the desired aesthetic effects.
In drone videography and photography, achieving balanced exposure is critical to capturing visually appealing footage. Overexposed videos or images lack detail in brighter areas, making them less professional. ND filters ensure that vital details in the highlights and shadows are preserved, producing footage with rich detail and contrast.
The main use case for ND filters revolves around controlling shutter speed, particularly in video. According to the cinematic "180-degree rule," the optimal shutter speed for video should be approximately double your frame rate. For example, if you're shooting at 30 frames per second (FPS), the ideal shutter speed would be 1/60 of a second. On sunny days or in brightly lit environments, it can be nearly impossible to maintain this shutter speed without overexposing your footage—this is where ND filters come into play. By reducing the amount of light entering the camera, ND filters allow you to stick to this cinematographic principle and produce smooth, natural-looking motion rather than footage that appears choppy or overly sharp.
Now that you understand their purpose, let’s explore the specific scenarios in which DJI ND filters are most useful.
---
Situations Where ND Filters Are Essential
1. Bright Sunny Days
One of the most common scenarios for using ND filters is filming or photographing on bright, sunny days. When your drone is flying high in direct sunlight, the camera is exposed to an excessive amount of light, making it difficult to maintain ideal exposure settings. Without a filter, you may have to increase the shutter speed drastically to compensate for the excess light, which can lead to jittery or unnatural motion in your video recordings.
An ND filter—such as an ND16 or ND32 on a bright, cloudless day—allows you to bring the light down to a manageable level. This enables you to adhere to the desired shutter speed and maintain a more cinematic look.
2. Aiming for Motion Blur in Videography
Motion blur is often perceived as a mark of professional video quality. It softens fast movements within the frame and gives them a natural, life-like quality. In high-light scenarios, if the shutter speed is too fast, motion blur is minimized, resulting in footage that looks overly crisp and unnatural.
ND filters allow you to control the shutter speed and reintroduce motion blur into your shots. For example, when filming cars driving on a road, people walking, or trees swaying in the wind, using an ND filter helps ensure those fast-moving objects leave soft streaks in the footage, making it more dynamic and engaging.
3. Balancing Exposure Between the Sky and Ground
When capturing a cinematic drone shot, you often face challenges when balancing exposure between the sky and ground. Bright skies may end up overexposed if you expose for the ground, or the ground may appear too dark if you expose for the sky.
Using an ND filter helps mitigate this problem by reducing overall light levels, which improves the camera sensor's dynamic range. Furthermore, combining ND filters with HDR (High Dynamic Range) settings can significantly elevate your footage by capturing more details in both highlights and shadows.
4. Long-Exposure Photography
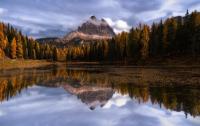
ND filters aren’t just for videography; they’re also highly useful in photography, especially for long-exposure shots. For example, if you're photographing a landscape with flowing water, clouds, or other moving elements, you might want to use a slow shutter speed to create a smooth, silky motion effect.
However, even with the smallest aperture and lowest ISO setting, your image may still be overexposed if you're working in bright conditions. In this case, an ND filter (such as an ND64 or ND128) can help reduce the light enough for you to achieve long exposures during the day.
5. Time-Lapse Videos
ND filters can enhance time-lapse videos by maintaining the natural motion blur that can otherwise be lost due to short exposure times under bright conditions. The technique is similar to motion blur in ordinary video recording but over a longer period. If you're shooting a time-lapse of traffic at sunset or clouds moving across the sky, an ND filter helps maintain a realistic and fluid dynamic to the footage.
6. Golden Hour Shoots
While golden hour—the hour after sunrise and before sunset—provides softer and more diffuse light, it can still be surprisingly intense. If you aim to capture this magical time of day with precision, ND filters are necessary for controlling exposure, especially when filming directly into or near the sun to capture a sunburst effect.
---
How to Choose the Right ND Filter
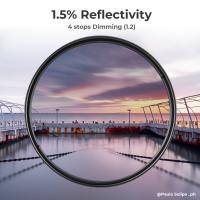
ND filters come in different strengths, typically denoted as ND4, ND8, ND16, ND32, and so on, with each number representing the degree of light reduction:
- ND4: Reduces light by 2 stops; ideal for slightly overcast days.
- ND8: Reduces light by 3 stops; useful for partly cloudy skies.
- ND16: Reduces light by 4 stops; suitable for bright, sunny days.
- ND32: Reduces light by 5 stops; for extremely bright conditions.
- ND64+: For long-exposure shots during the daytime.
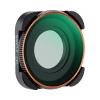
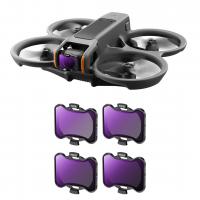
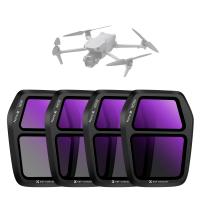
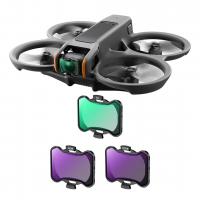
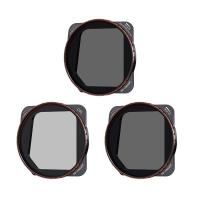
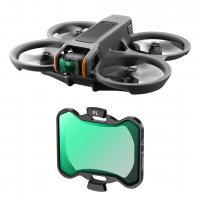
When choosing an ND filter, consider the lighting conditions of your shoot and whether you need finer control over motion blur, exposure, or dynamic range. Many DJI drones come with filter kits that include multiple options, allowing you to switch filters based on current light conditions.
---
Tips for Using DJI ND Filters Effectively
1. Test Beforehand: Spend some time testing different ND filters in varied lighting conditions to understand how each filter affects your footage or images.
2. Check for Dust and Smudges: Ensure your filters are clean and free of any dust, fingerprints, or smudges before you attach them to avoid ruining your shots.
3. Match Shutter Speed to Frame Rate: For video, always double-check that your shutter speed closely aligns with the cinematic 180-degree rule after using an ND filter.
4. Pair with Polarizers: In some cases, you may want to combine an ND filter with a polarizer to reduce glare on reflective surfaces, like water or wet pavement.
5. Monitor in Real Time: Use your drone's real-time video feed to review exposure in-flight and make adjustments to the ND filter as necessary.
---
Final Thoughts
DJI ND filters are a crucial addition to any drone pilot's toolkit, especially if you aim to capture professional-grade aerial footage or stunning photographs. By allowing you to control the amount of light hitting your camera sensor, these filters unlock creative possibilities that range from achieving cinematic motion blur to capturing artistic long-exposure effects. While ND filters require extra planning and practice, the results are well worth the effort.
So next time you’re heading out to fly your DJI drone—whether it’s on a sun-drenched beach, over a breathtaking mountain range, or in a bustling urban environment—bring along a set of ND filters. Mastering them will elevate your footage to a whole new level, transforming ordinary scenes into cinematic masterpieces fit for the big screen or the front page.

