Time Lapse Camera How To?
Mastering Time-Lapse Photography: A Comprehensive Guide for Beginners
Time-lapse photography is an extraordinary and captivating way to showcase the passage of time, whether you're capturing bustling cityscapes, blooming flowers, or stars moving across the night sky. With the right camera settings, techniques, and a sprinkle of patience, you can create mesmerizing time-lapse sequences that capture a world we often don't notice in real time. In this guide, we'll walk you step-by-step through the essentials of using a camera for time-lapse photography, from setup to post-production, while addressing some of the most common challenges and questions newcomers face.
What Is Time-Lapse Photography?
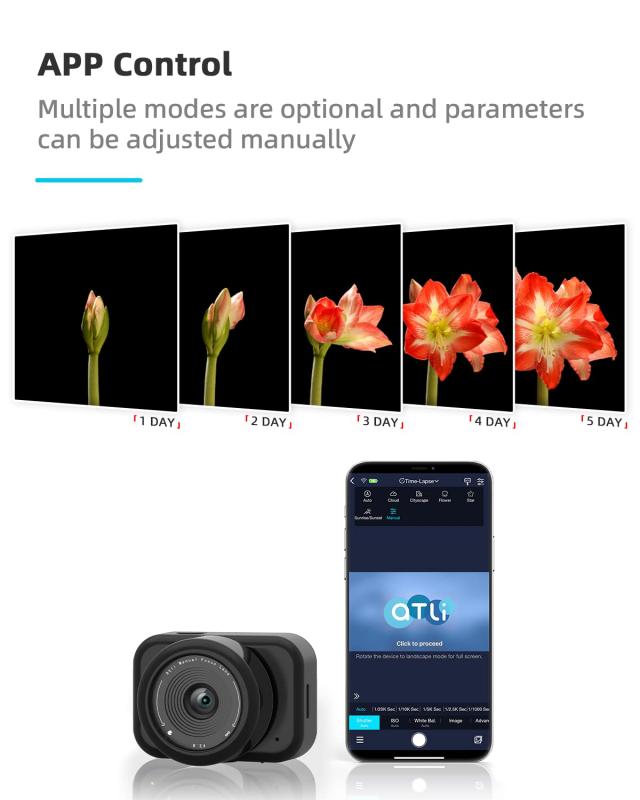
Time-lapse photography involves taking a series of still photographs over a period of time and assembling them into a video sequence. When played back at a standard video frame rate (e.g., 24 or 30 fps), the result is a stunning effect where time appears to move much faster than usual. For example, you could condense hours of cloud movement into a mesmerizing 10-second clip.
This technique is not only beautiful but highly versatile – applicable in nature photography, event coverage, construction projects, and creative storytelling.
---
Essential Equipment for Time-Lapse Photography
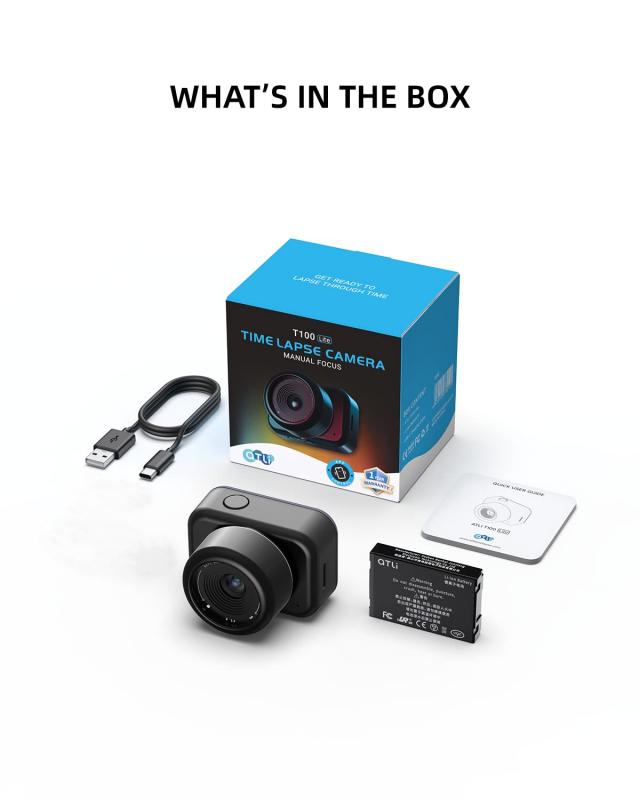
While it’s possible to create time-lapses with just a smartphone, a dedicated camera with proper accessories will allow you to produce higher-quality results and greater creative control. Here’s what you need to get started:
1. Camera:
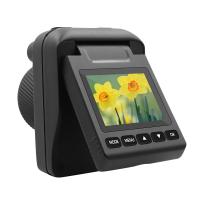
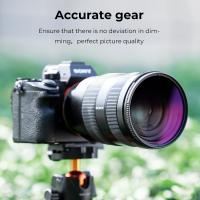
Most DSLR and mirrorless cameras are capable of shooting time-lapse sequences. Look for features like an interval timer for automatic shooting or in-camera time-lapse functionality that stitches the images together directly. Advanced action cameras like GoPros and certain smartphones also have time-lapse modes built in.
2. Tripod:
Stability is essential for time-lapse photography. Even slight vibrations can ruin the final result. A sturdy tripod ensures rock-steady shots over long periods.
3. Intervalometer:
An intervalometer, either built into the camera or as an external accessory, controls how often the camera takes pictures. This is key to automating the process and maintaining consistent intervals.
4. Lenses:
Use lenses suited to your subject. Wide-angle lenses are great for capturing landscapes, while telephoto lenses work well for compressing distant subjects.
5. Extra Batteries and Storage:
Time-lapse sessions can drain your camera’s battery and consume significant storage. Bring extra batteries and large-capacity memory cards.
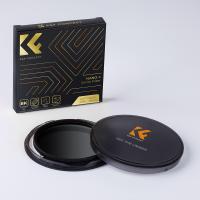
6. ND Filters (Optional):
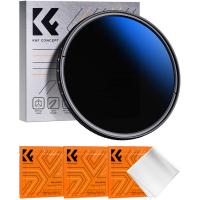
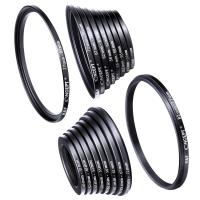
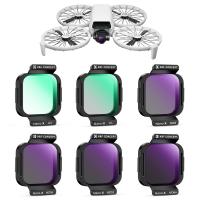
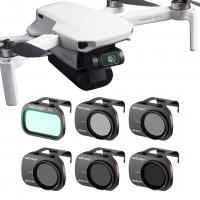
Neutral Density (ND) filters are useful when shooting in bright lighting conditions as they allow for longer exposure times without overexposing the image.
---
Step-by-Step Process for Shooting a Time-Lapse
Now that you have the right tools, it’s time to plan and execute your time-lapse photography.
1. Define Your Subject & Scene
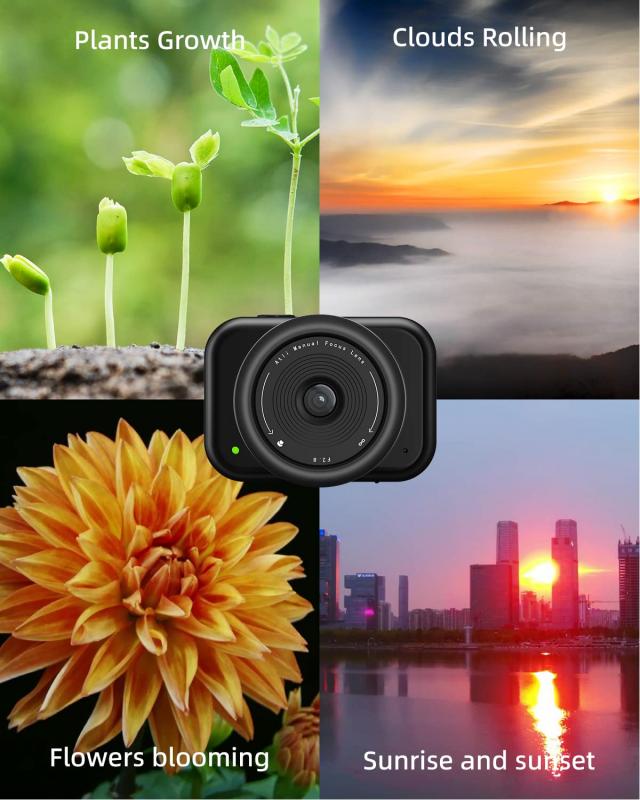
Before diving in, decide on what you want to capture. Ideal time-lapse subjects include:
- Clouds drifting across the sky
- Traffic flow in a busy area
- Sunrise or sunset
- Night skies with stars
- Plants growing or flowers blooming
Analyze the motion and duration of your subject. A fast-moving subject (e.g., traffic) may only require minutes of shooting, while a slow-moving subject (e.g., clouds) may require hours.
2. Set Camera Interval and Duration
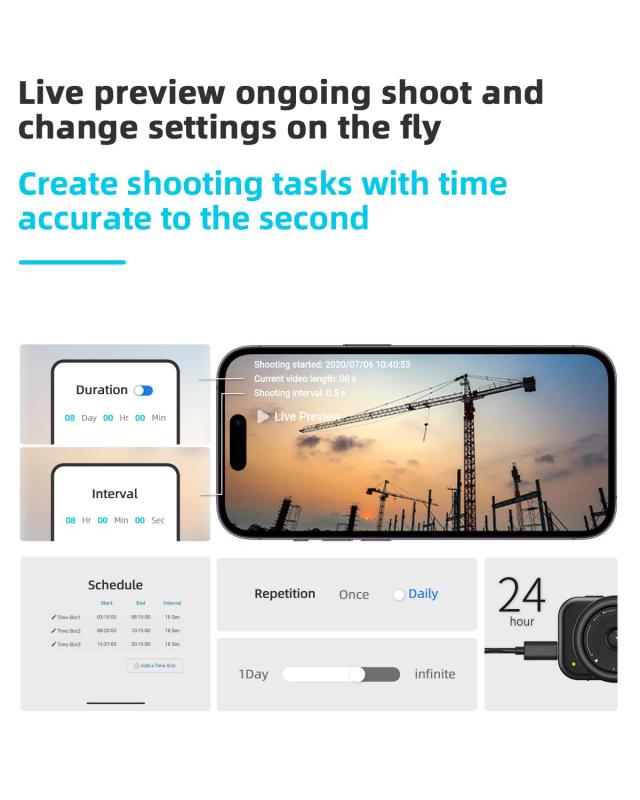
Next, determine how frequently you want each frame to be captured (interval) and the total duration of your shoot. These depend on your subject. For instance:
- Fast-moving clouds: 2-5 seconds between shots
- Slow-moving stars: 20-30 seconds between shots
- Growing plants: Several minutes or hours between shots
Use this simple formula to estimate the number of shots you’ll need:
```
Total Shots = (Final Video Length in seconds) × (Frames Per Second)
```
For example, if you want a 10-second video at 30 fps, you’ll need 300 shots. Adjust your shooting interval and totals accordingly.
3. Compose Your Frame
Set up your tripod and frame your subject. Ensure the horizon is level, and consider applying the rule of thirds for a balanced composition.
4. Lock in Exposure Settings
Switch your camera to manual (M) mode. Automatic settings can make exposure fluctuate between shots, leading to inconsistency in the final video. Here are key settings to adjust:
- ISO: Keep it as low as possible for a clean image.
- Aperture: Use a small aperture (higher f-number) for greater depth of field.
- Shutter Speed: Long exposures can create smoother motion but may cause motion blur. Experiment to achieve the desired effect.
5. Shoot in RAW Format
Shooting in RAW gives you more flexibility during post-processing. RAW files retain more detail and allow for better adjustments to brightness, contrast, and color.
6. Start Shooting
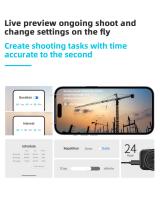
Program your intervalometer or in-camera time-lapse mode to begin the session, then let your camera do the work. Resist the temptation to touch the camera during the process to avoid introducing vibrations or inconsistencies.
7. Monitor Progress
If your session is a long one, periodically check on your camera to ensure it's still shooting, the battery hasn’t died, and storage space isn’t full.
---
Post-Processing: Turning Images Into a Time-Lapse
Once you’ve captured your images, it’s time to assemble them into a seamless time-lapse video.
1. Organize Your Files
Transfer your images to your computer and organize them in a single folder in the correct sequence. Rename files if necessary.
2. Edit and Process Images
If you shot in RAW, load your files into photo editing software like Adobe Lightroom. Apply adjustments (e.g., color grading, noise reduction, cropping) and synchronize these edits across all images in the sequence.
3. Export and Assemble
Export the processed images into JPEG format and use video editing software to combine them into a time-lapse video. Popular options include:
- Adobe Premiere Pro
- Final Cut Pro
- LRTimelapse (specifically designed for time-lapse creation)
Set the playback frame rate (e.g., 24, 30, or 60 fps) to control the speed of your final video.
4. Add Music or Effects (Optional)
Music, transitions, or effects can enhance your time-lapse video and make it more engaging for your audience.
---
Common Challenges and How to Overcome Them
1. Flickering
Flickering in time-lapse sequences occurs when exposure varies slightly between frames. This can be minimized by:
- Shooting in manual mode
- Keeping the aperture constant (use "lens twist" technique if needed)
- Using software like LRTimelapse to smooth exposure changes
2. Battery & Storage Issues
Long sessions can quickly drain batteries and fill memory cards. Use fully charged batteries, consider external power sources, and bring high-capacity memory cards.
3. Weather Changes
Weather can be unpredictable, especially for outdoor shoots. Check forecasts in advance, but prepare for sudden changes (e.g., rain, wind). Always protect your gear.
4. Unsteady Tripod
Wind or ground vibrations can make your tripod shake. Use a heavy, stable tripod or weigh it down with sandbags for added stability.
---
Conclusion: Patience and Practice Lead to Mastery
Time-lapse photography may seem intimidating at first, but it becomes simpler and more rewarding with practice. Start small—capture a short traffic scene or a morning sunrise—and gradually progress to more complex subjects like night skies or multicamera setups. Experiment with different intervals, compositions, and settings to discover your unique style.
Above all, enjoy the process. Time-lapse photography teaches you patience and encourages you to appreciate the beauty of unnoticed or overlooked moments. With creativity, preparation, and persistence, you’ll soon be crafting time-lapse videos that leave viewers amazed by the artistry of time in motion.


