How To Voice Recording?
Voice recording is an essential skill in various professions and personal projects, whether you're creating an audiobook, conducting interviews, producing a podcast, or recording music. Despite its prevalence, many people are unfamiliar with how to achieve high-quality recordings using the tools available to them. In today’s digital era, voice recording has never been more accessible, thanks to advances in mobile devices, specialized software, and professional recording equipment. In this article, we'll break down everything you need to know about recording clear, professional-grade voice audio—covering preparation, hardware, software, techniques, and how to avoid common pitfalls.
---
Introduction to Voice Recording
Voice recording, at its core, is about capturing audio as cleanly and accurately as possible. The better your preparation and equipment, the better the result will be. Modern technology allows almost anyone to record high-quality audio without the need for a full studio setup, but regardless of the tools you use, foundational practices remain critical.
With this in mind, getting started with voice recording begins with understanding the primary elements of the process: your recording environment, the equipment you'll need, and choosing the right software for your project.
---
Step 1: Preparing for Recording
Good preparation is half the work when it comes to producing professional-quality audio recordings. Before hitting the record button, here’s what you need to do:
1. Optimize Your Recording Space
Your environment plays a huge role in sound quality. Even the best microphone can suffer from unwanted noise or echo if you’re recording in an acoustically poor space.
- Eliminate Background Noise: Choose a quiet area where disturbances like traffic, household noises, or weather won’t interfere. Switch off fans, air conditioners, and other noisy appliances.
- Minimize Reflections and Echo: Sound bouncing off walls and windows can create reverb. To combat this, record in a space with soft furnishings like carpets, curtains, or even blankets draped over walls.
- Use a Vocal Booth (Optional): If you’re serious about sound quality, you can invest in a portable vocal booth or create a makeshift one using pillows or foam padding.
2. Prepare Your Voice
Your voice is the most important instrument in voice recording. Ensure it sounds its best by:
- Staying hydrated (drink water, but avoid sugary or caffeinated drinks).
- Warming up beforehand (light vocal exercises help).
- Refraining from smoking or eating dairy, as these can hinder clarity.
---
Step 2: Choosing the Right Equipment
1. Microphones
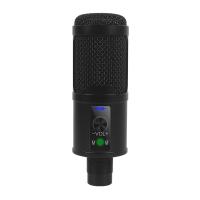
Your microphone is the cornerstone of voice recording. There are three main types to consider, each with its own advantages:
- USB Microphones: Affordable and easy to set up, ideal for beginners and casual projects like podcasts.
- Dynamic Microphones: Robust, versatile, and great for live or louder environments.
- Condenser Microphones: These are highly sensitive and deliver studio-quality sound, perfect for professional voiceover work or singing.
2. Pop Filter or Windscreen
A pop filter is used to combat plosive sounds (like harsh "P" and "B" sounds) that can distort recordings. It’s an inexpensive tool that significantly contributes to the quality of your audio.
3. Soundproofing Materials
As mentioned earlier, tools like acoustic panels or foam can reduce noise pollution and improve sound isolation.
4. Audio Interface (Optional)
If you’re using an XLR microphone, you’ll need an audio interface to connect the microphone to your computer. It also ensures high-quality signal conversion.
5. Headphones
A good set of closed-back headphones is essential for monitoring your audio during and after recording. Closed-back designs prevent sound from leaking out and being picked up by the microphone.
6. Recording Device
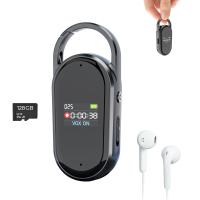
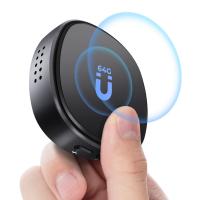
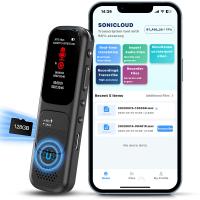
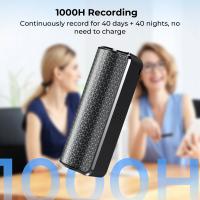
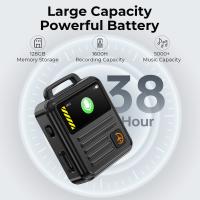
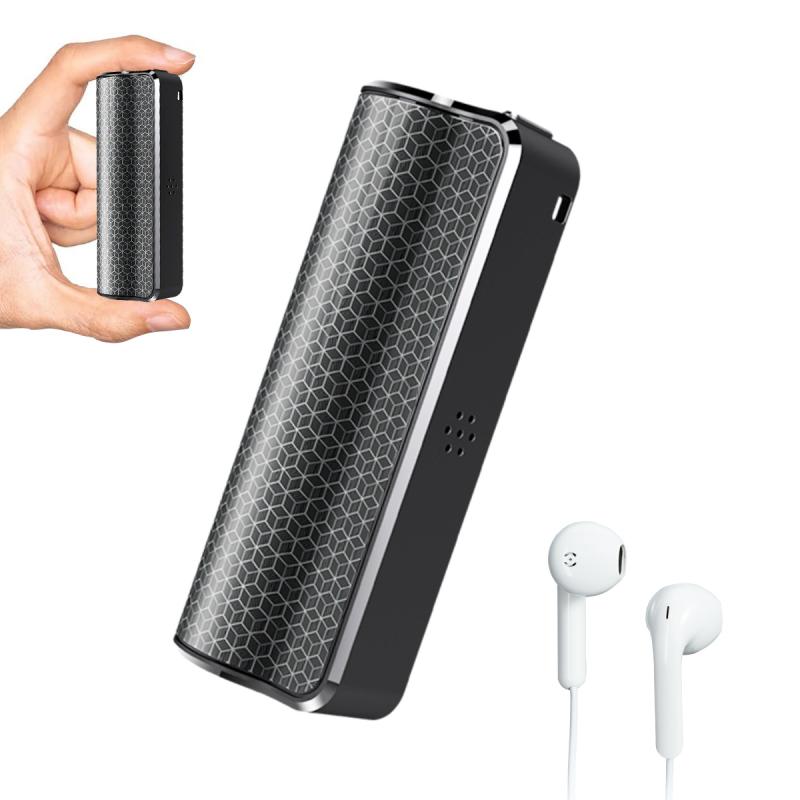
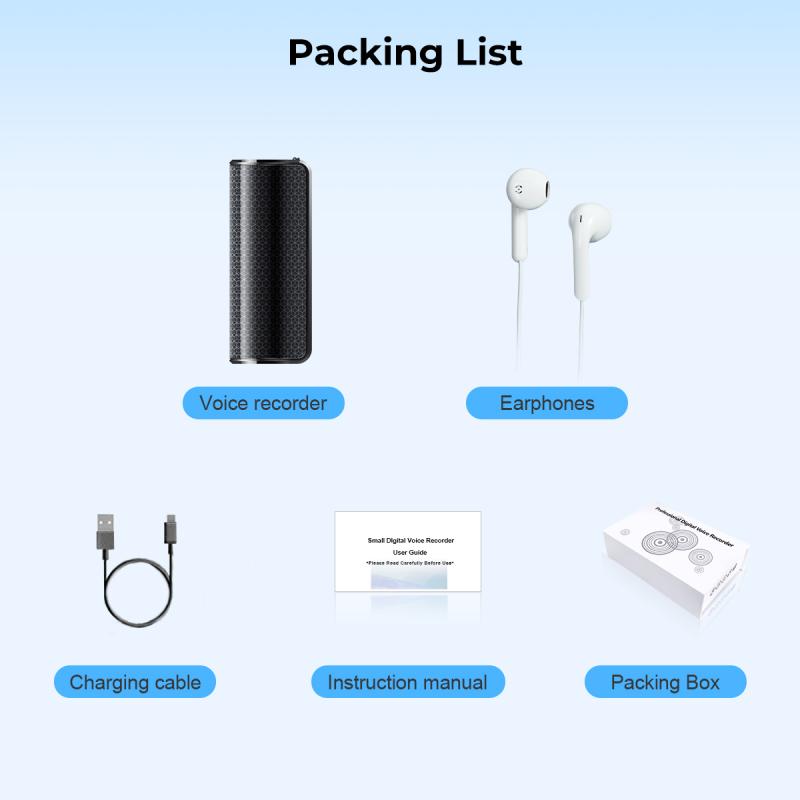
Whether you’re using a computer, smartphone, or digital recorder, ensure your chosen device supports high-definition audio recording.
---
Step 3: Selecting and Setting Up Your Software
Most voice recording projects require editing to eliminate errors, enhance the sound quality, and add a professional touch. To achieve this, you'll need digital audio workstation (DAW) software. Popular choices include:
1. Audacity: Free and beginner-friendly, Audacity is a fantastic option for basic recordings and edits.
2. Adobe Audition: Geared toward professionals, this software has advanced tools and features for sound design.
3. GarageBand (Mac users): This comes pre-installed on macOS and offers great functionality for a variety of users.
4. Reaper: Known for its affordability and efficiency in handling complex audio projects.
Once you’ve chosen your software:
- Adjust the sample rate and bit depth (often 44.1kHz/16-bit or higher for professional results).
- Enable noise reduction, if available, to filter out subtle background hums.
- Do a test recording to ensure proper input levels and software compatibility.
---
Step 4: Practical Recording Techniques
Once you’re prepared with your environment, equipment, and software, you can focus on effective recording techniques:
1. Microphone Positioning
The position of the microphone relative to your mouth significantly influences how your voice will sound:
- Maintain a consistent distance of 6-12 inches from the microphone.
- Position the microphone slightly off-center to reduce popping or excessive breath noises.
- If you tend to move as you speak, use a shock mount or boom arm to keep the microphone steady.
2. Proper Posture and Delivery
- Sit or stand with good posture to allow your diaphragm to expand fully.
- Speak naturally and steadily without rushing. Pausing periodically makes editing easier.
- Adjust your tone to suit your purpose—whether it’s a conversational podcast or a formal narrated project.
3. Monitor Your Levels
Monitor your audio levels as you record. Peaking (where the volume exceeds the limit and causes distortion) should be avoided at all costs. Ideally, aim for levels between -6 dB and -3 dB.
4. Record in Take Chunks
Rather than trying to nail everything in one go, record in smaller sections to minimize mistakes. This approach makes editing easier.
---
Step 5: Post-Production Basics
Once your recording is complete, the editing and enhancement phase begins. Here’s how to polish your work:
1. Noise Removal: Use software tools to remove unwanted background noise.
2. Equalization (EQ): Adjust the frequencies to balance your voice and make it sound richer.
3. Compression: Reduce volume differences between loud and quiet moments for a more consistent sound.
4. Reverb or Effects (Optional): Apply effects sparingly to suit the tone of your project.
5. Trimming and Fine-Tuning: Remove silences, awkward pauses, or any slip-ups.
Finally, export your recording in the appropriate format for your target audience (e.g., WAV for high quality, MP3 for smaller file sizes).
---
Troubleshooting Common Recording Problems
Avoiding mistakes during recording saves time in post-production. Here are common issues and how to address them:
- Background Noise: Use a noise gate or noise suppression tool during or after recording.
- Plosive Sounds: If these persist despite a pop filter, adjust your microphone placement.
- Distorted Audio: Reduce the input gain on your interface or soften your voice if results sound clipped.
---
Tips for Long-Term Success
- Invest in better gear as your projects advance.
- Practice speaking techniques to refine your delivery.
- Use tutorials and online courses to learn advanced DAW skills.
- Solicit feedback to improve your audio storytelling or vocal performance.
---
Voice recording is both a technical and creative process, and achieving high-quality outcomes depends on preparation, the right tools, and practical techniques. Whether you're just starting out with a basic setup or venturing into professional audio production, consistency and attention to detail are paramount.
By optimizing your recording environment, choosing the right microphone, applying core techniques, and leveraging software, you’re well on your way to producing crisp, professional-grade audio. With practice and dedication, you can turn your voice recordings into polished projects that resonate with your audience.

