How To Use Usb Flash Drive Voice Recorder?
# Mastering the Basics: How to Use a USB Flash Drive Voice Recorder Effectively
Voice recorders are valuable tools that allow you to capture audio for various purposes—whether it's during a lecture, an interview, a meeting, or even for personal note-taking. Add to this the convenience of a USB flash drive, and you have a compact, multipurpose device that functions as both a recording tool and a storage unit. While these devices are growing in popularity, many users are unsure how to maximize their functionality. If you've ever felt confused about using a USB flash drive voice recorder, this comprehensive guide will streamline the process for you.
What is a USB Flash Drive Voice Recorder?
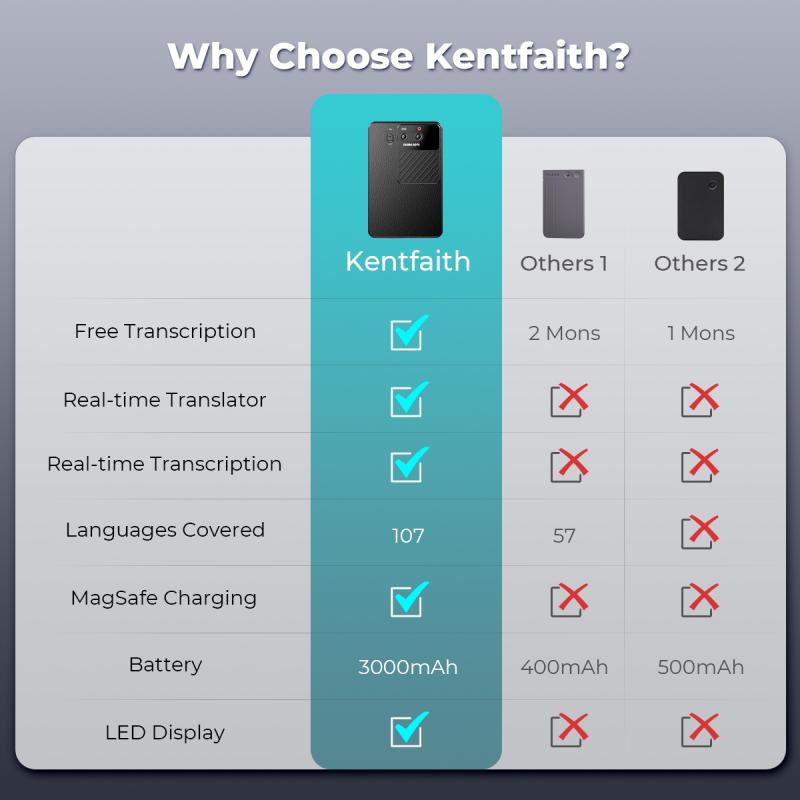
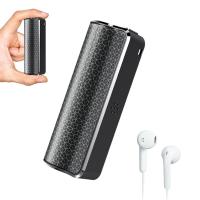
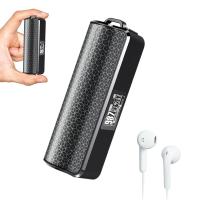
A USB flash drive voice recorder is essentially a hybrid device that combines the capabilities of a voice recorder with the portability and storage capacity of a USB flash drive. It is compact in size, lightweight, and usually disguised as a regular USB stick. This device enables users to record audio in various settings discreetly and then later transfer the data to a computer effortlessly for storage, transcription, or further analysis.
---
Getting Started: Step-by-Step Guide
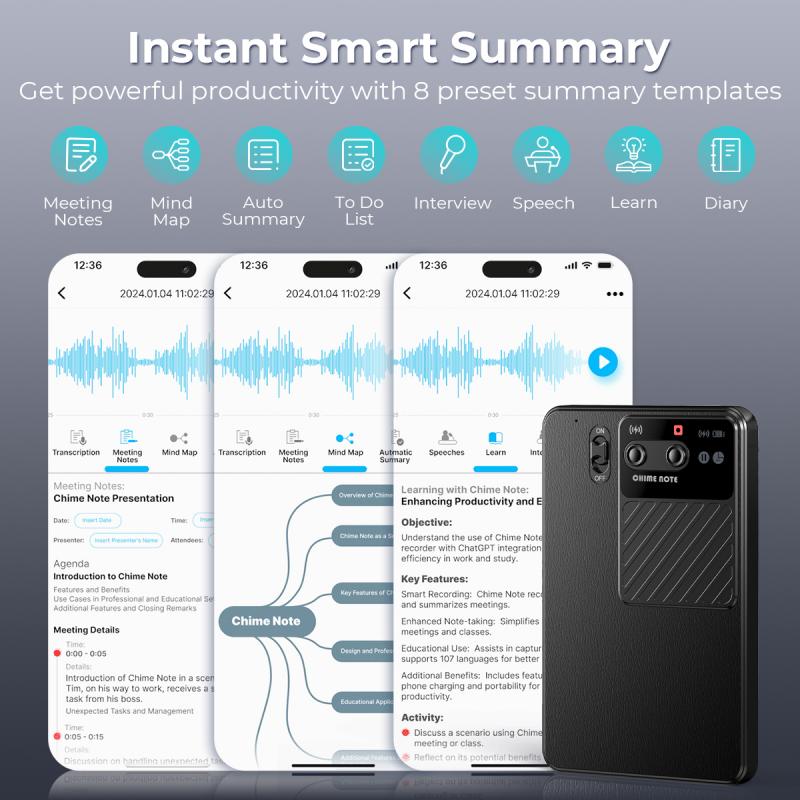
1. Familiarize Yourself with the Device
Before using your USB flash drive voice recorder, take a moment to read the instruction manual provided by the manufacturer. While these devices are typically user-friendly, key details such as button placement, LED indicators, and specific functionality can vary between models.
Most USB voice recorders will come with:
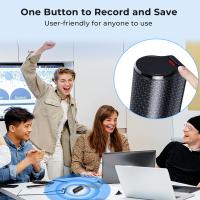
- Power/Record Button: Often a single on/off switch or button to start and pause recording.
- LED Indicators: Lights that signal the recording status (active, paused, or stopped) and battery status.
- USB Connector: The standard plug to transfer data or charge the device.
Ensure that you know how to operate these basic controls before proceeding further.
2. Charge the Device Fully
For optimal performance, fully charge the device before its first use. A USB flash drive voice recorder is usually charged using the USB connector when plugged into a computer, power bank, or wall adapter. A full charge often ensures uninterrupted recording and better battery life. Charging times vary but generally range from 1 to 3 hours depending on the device model.
3. Insert the Device Where Needed
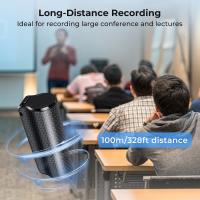
Once your USB voice recorder is charged, position it in the environment where you'll be recording. Place it near the source of the audio to ensure the sound is effectively captured. For instance:
- If you're recording a personal lecture or seminar, keep it on the desk or podium.
- For interviews or note-taking, position it centrally between speakers.
- Utilize the discreet design for covert situations as needed.
4. Start Recording
Activating the recording feature is usually as simple as flipping a switch or pressing a button. Many devices will have an LED light flashing or glowing steadily to indicate it is actively recording. If the LED turns off (depending on the design), it’s also a feature incorporated for stealth recording.
Keep in mind:
- Ensure the surroundings are relatively quiet to avoid unnecessary background noise.
- Verify that the recorder is placed at an appropriate distance from the sound source.
5. Pause or Stop the Recording
When you're done recording or need a break:
- Press the same button to pause or stop the recording.
- Some devices auto-save recordings when they stop; others may require manual saving. Read the instruction manual to confirm how yours works.
Stopping the recording frees up the hardware so you can switch to file management or playback, which is our next step.
6. Transfer Files to Your Computer
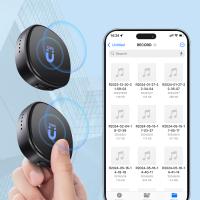
After completing your recording session, the USB flash drive feature comes into play. Plug the device into your computer’s USB port. As the device is detected, it will typically show up as an external storage drive.
Steps to transfer files include:
- Open the drive folder to view the recorded audio files. Most devices create a default folder for recordings.
- Copy and paste the desired files to your computer for storage or editing.
- Use audio software if needed (e.g., Audacity, Adobe Audition, or even the default media player) to playback, edit, or transcribe your recordings.
7. Format or Clear Older Files Regularly
To ensure the device has sufficient memory for future recordings, delete recordings that are no longer needed or store them on an external hard drive. Some USB flash drive voice recorders automatically delete older files when the memory is full, but this functionality depends on the model.
---
Key Tips for Effective Use

While using your USB flash drive voice recorder is relatively straightforward, the following tips can enhance your experience:
1. Label Folders and Files on Your Computer:
It can be challenging to sift through many recordings if they are not named or organized systematically. Create a system to name file folders based on date, event, or content type.
2. Regular Maintenance:
Periodically update the firmware (if applicable) to improve performance and clear any glitches. Also, inspect the device for physical damage or dirt that might interfere with performance.
3. Learn Audio Enhancement Basics:
In some cases, recordings may not be perfect due to environmental noise or distance from the sound source. Use free or paid audio editing tools to amplify voices, reduce noise, or clean up sound quality. Audacity, for example, is an excellent tool for basic audio enhancement.
4. Privacy and Legal Considerations:
Always ensure you comply with local laws governing voice recordings, particularly when recording other people. Many countries and states require consent from at least one or all involved parties before making audio recordings.
---
Common Issues and Troubleshooting

1. Device Won’t Turn On:
- Cause: Low battery or malfunction.
- Solution: Recharge the device fully. If it still doesn't work, check the manual to reset it or contact customer service.
2. Poor Audio Quality:
- Cause: Distance from sound source, low-quality microphone, or environmental noise.
- Solution: Minimize surrounding noise, decrease the distance to the recording subject, or experiment with audio enhancement software.
3. Files Not Showing on the Computer:
- Cause: Compatibility issues or file corruption.
- Solution: Try using a different USB port or computer. If the issue persists, use recovery software to salvage the files.
---
Why Choose a USB Flash Drive Voice Recorder?
1. Portability:
These devices are lightweight and compact, making them perfect for professionals, students, and anyone on the go.
2. Dual Functionality:
Acting as both a voice recorder and a USB drive, they simplify your workflow by combining two useful tools in one.
3. Discretion:
The inconspicuous design lets you record discreetly, which is valuable in sensitive situations.
4. Ease of Use:
Unlike complicated audio setups, USB flash drive voice recorders are beginner-friendly, with quick plug-and-play functionality.
---
Final Thoughts
A USB flash drive voice recorder is an excellent choice for anyone seeking a straightforward, reliable way to record audio without investing in elaborate equipment. Whether you’re a journalist working on an interview, a student capturing lecture notes, or a professional documenting meeting discussions, this device can cater to your needs.
Mastering its use involves understanding the core functionalities, practicing proper maintenance, and incorporating additional tools and techniques where needed. With this guide in hand, you’re now equipped to maximize the potential of your USB flash drive voice recorder and integrate it seamlessly into your daily activities.


