How To Use The Wireless Lavalier Microphone?
In today’s fast-paced world of content creation, vlogging, podcasting, and virtual communication, clear audio is often as important—if not more important—than clear visuals. Wireless lavalier microphones, commonly known as lapel microphones, have emerged as a reliable and portable solution for capturing high-quality, professional audio. Whether you’re delivering a presentation, recording a tutorial, shooting an interview, or conducting a live stream, wireless lavalier microphones help to eliminate cumbersome wires while ensuring crystal-clear sound.
If you’ve purchased or are planning to use a wireless lavalier microphone and are unsure how to make the most of it, then this article is for you. Here, we’ll break down step-by-step how to use a wireless lavalier microphone, address some of the most common challenges, and provide tips for achieving the best audio quality in various scenarios.
---
Choosing the Right Wireless Lavalier Microphone
Before learning how to use a wireless lavalier microphone, it’s critical to ensure you’ve picked the right model for your needs. Lavalier microphones come in a variety of styles, each catering to different audio requirements. Consider factors such as:
1. Use Case: Will you be using the microphone for interviews, live events, YouTube videos, or live streaming? Different use cases may require specific features like noise cancellation or multi-channel support.
2. Connection Type: Determine whether you need a microphone compatible with your smartphone, camera, laptop, or audio recorder. Some wireless models connect via Bluetooth, while others use receivers that plug into the device’s audio input.
3. Frequency Range and Signal: Choose a microphone with a reliable wireless range. For larger spaces, UHF or 2.4 GHz transmission is ideal for avoiding interference.
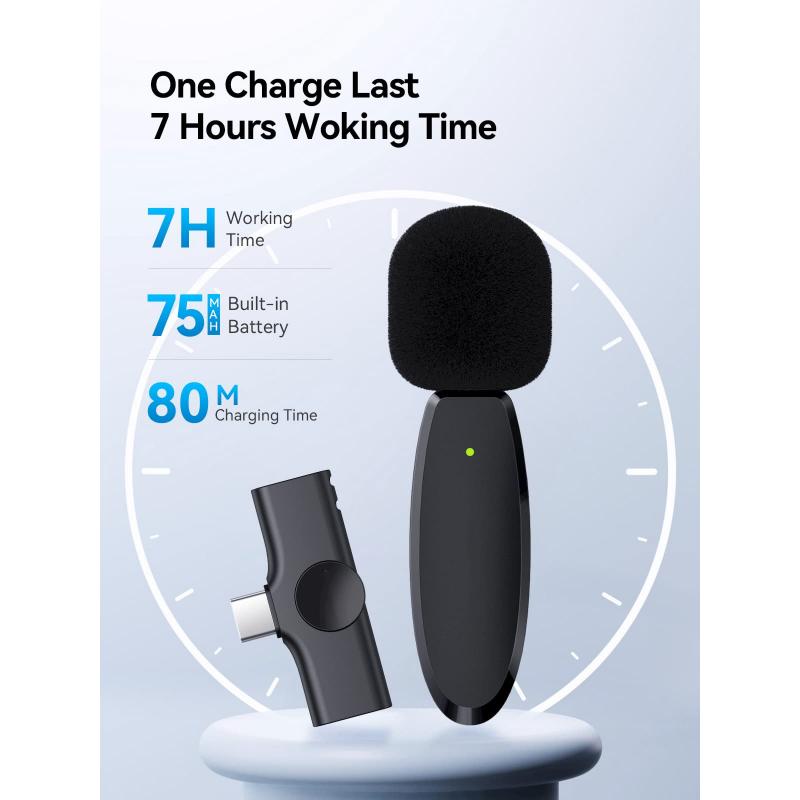
4. Battery Life: Ensure the microphone’s transmitter and receiver have enough battery life for your typical usage.
Once you have the right microphone, it’s time to dive into setup and usage.
---
Step 1: Unbox and Charge the Microphone
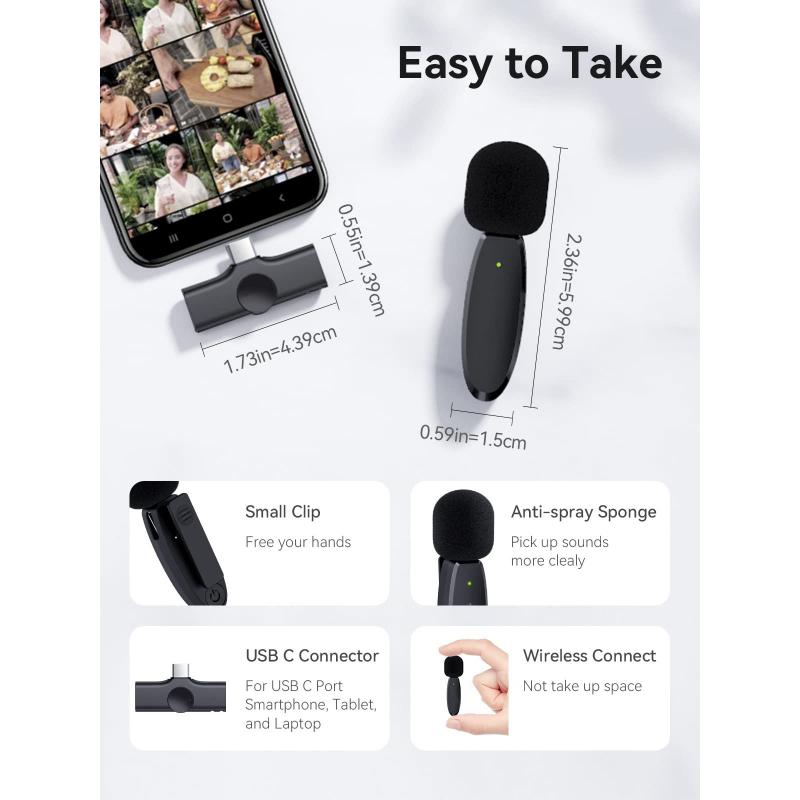
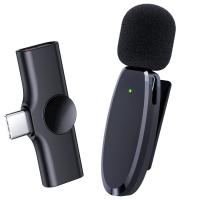
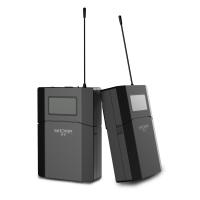
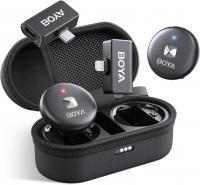
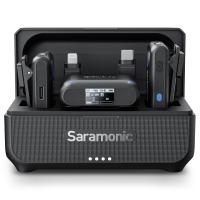
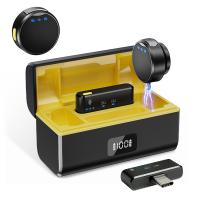
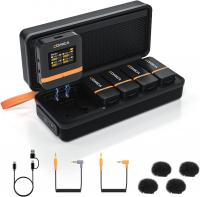
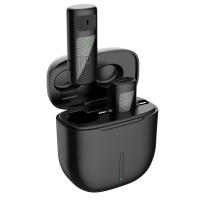
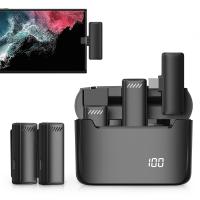
Start by unboxing your wireless lavalier microphone and inspecting the components. A standard setup includes these parts:
- The Lavalier Microphone (the small clip-on mic you attach to clothing)
- A Transmitter (connected to or built into the microphone, responsible for sending audio signals wirelessly)
- A Receiver (connected to your recording device, responsible for receiving the transmitted audio)
- Charging Cables or Batteries
- Adapters for different device connections (optional)
Charge both the transmitter and receiver before use. This ensures they will work seamlessly during recording. Many newer models have built-in rechargeable batteries, while others may require replaceable AA or AAA batteries.
---
Step 2: Pair and Connect the System
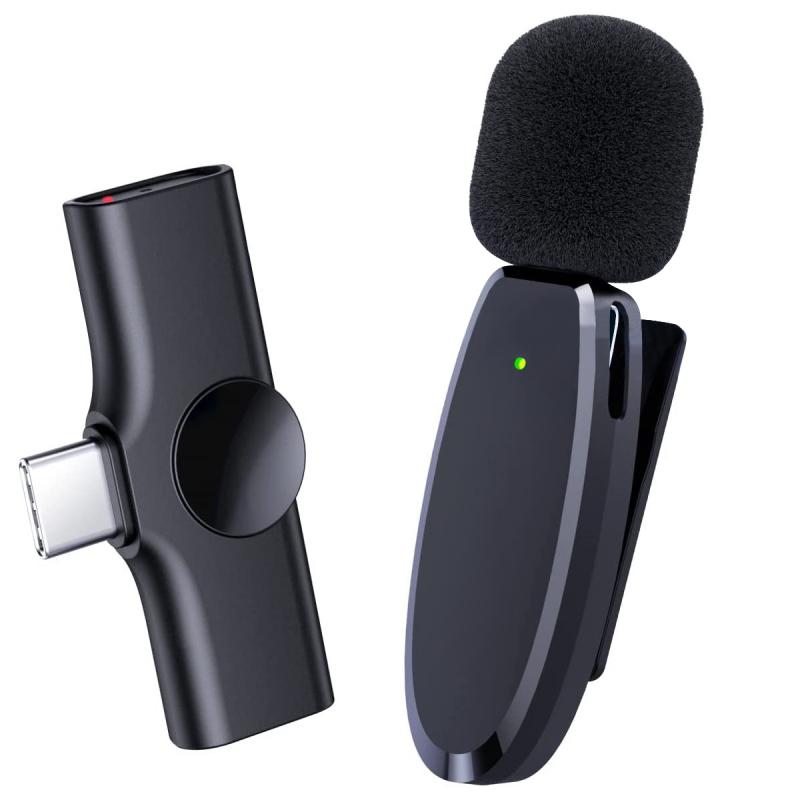
Wireless lavalier microphones rely on a connection between the transmitter and the receiver. Follow these steps to pair them:
1. Turn On Both Devices: Power on the transmitter and receiver. Look for status lights to confirm they’re powered up.
2. Pair the Devices: Some systems will automatically pair the transmitter with the receiver once powered on, while others may require manual pairing. Refer to the manufacturer’s instructions for specific details.
3. Test the Signal: Ensure the transmitter and receiver are communicating by performing a test. Speak into the microphone while connected to your device, and check whether the sound is being captured.
Tip: If the transmitter and receiver fail to connect, there may be interference from other wireless devices. Switch to a different frequency channel if your device supports it.
---
Step 3: Attach and Position the Microphone
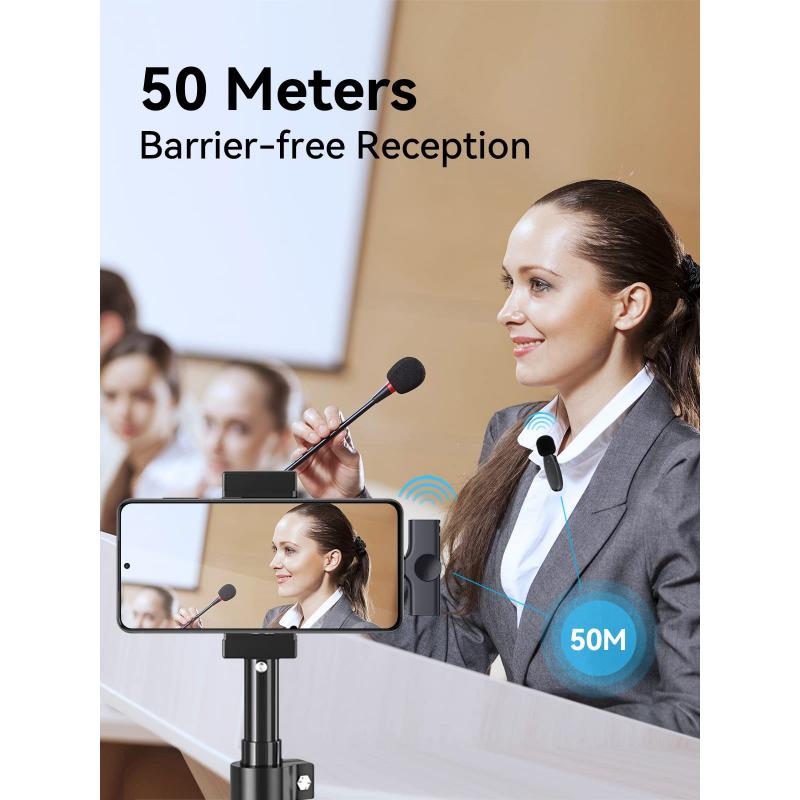
The placement of your lavalier microphone makes a significant difference in sound quality. To properly attach and position it:
- Clip the Microphone Smartly: Attach the microphone to your clothing about 6-10 inches below your mouth. This ensures it captures clear audio while avoiding breathing noises.
- Avoid Fabric Rustling: Ensure the microphone doesn’t rub against clothing or accessories, as this can cause unwanted noise during recording.
- Conceal the Mic If Necessary: If you’re looking for discretion, consider concealing the mic under a collar or shirt. Use windshields or foam covers if you’re recording outdoors to reduce wind noise.
Pro Tip: Avoid placing the microphone too close to your mouth, as this can lead to distortion, or too far away, as this can result in weak audio.
---
Step 4: Connect the Receiver to Your Device
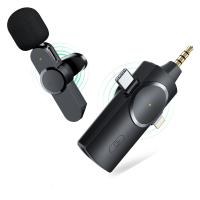
The next step is to connect the receiver to your recording device. This could be a smartphone, DSLR camera, laptop, or audio recorder. Most wireless lavalier microphones provide flexibility by offering different receiver connections, such as:
- TRRS or TRS Connectors: For smartphones, laptops, or cameras with a 3.5mm audio input.
- USB or USB-C: For compatibility with laptops, tablets, or modern smartphones.
- XLR Plug: For professional audio interfaces or mixers.
Ensure the receiver’s output matches the input of your selected device. Once connected, select the microphone as your audio source in the device’s settings.
---
Step 5: Test, Monitor, and Adjust
Now that everything is set up, perform a test recording. Speak into the microphone and listen to the audio playback to identify any potential issues. Here are key factors to evaluate:
- Volume Levels: Ensure the audio is neither too soft nor too loud. Most lavalier microphones allow you to adjust the gain settings on the transmitter or receiver for optimal volume.
- Clarity: Watch for background noise, static, or interference. Consider using noise reduction tools or moving to a quieter location if background disruption is noticeable.
If your recording allows for real-time monitoring, wear headphones to listen to the audio as it’s being captured. This helps you catch issues immediately instead of after recording.
---
Step 6: Start Recording
Once you’re satisfied with the setup and audio quality, you’re ready to start recording. Whether you’re capturing a live performance, filming a tutorial, or conducting an online meeting, the wireless lavalier microphone will give you the freedom to move around without compromising audio quality.
---
Common Troubleshooting Tips
Using a wireless lavalier microphone can result in challenges, but most issues are easy to fix. Here’s how to troubleshoot common problems:
1. No Sound Captured:
- Ensure the transmitter and receiver are turned on and paired properly.
- Verify the receiver is securely connected to your recording device.
- Check the device’s audio input settings.
2. Background Noise or Static:
- Change the frequency channel if interference is present.
- Move away from Wi-Fi routers, phones, or other wireless devices that could cause interference.
3. Low Volume Output:
- Adjust the gain settings on the transmitter and receiver.
- Ensure the microphone is positioned correctly and that nothing is blocking it.
4. Battery Issues:
- Always charge the devices before extended use.
- Carry spare batteries for backup.
5. Distorted Audio:
- Lower the input gain to avoid clipping or distortion caused by a high input signal.
---
Tips for Optimal Usage
Maximizing the performance of your wireless lavalier microphone requires more than just proper setup. Consider these additional tips for the best possible results:
- Reduce Echo: Use your mic in spaces with minimal echo or add soft furnishings to absorb sound.
- Maintain Line of Sight: Many systems work more reliably when there’s a direct line of sight between the transmitter and receiver.
- Protect Against Wind and Weather: Use foam windscreens or furry windshields when recording outdoors to shield the mic from wind noise.
- Store Properly: Protect your microphones and transmitters from damage by storing them in a padded carrying case.
---
Wireless lavalier microphones are a game-changer for anyone seeking professional audio quality with ease of movement. Whether you’re a content creator, instructor, public speaker, or casual user, understanding how to use, position, and troubleshoot your wireless mic ensures a seamless recording experience every time.
By following the steps outlined in this guide, you can set up your microphone efficiently, capture clear and crisp audio, and tackle common challenges with confidence. Proper usage and care not only make your recordings sound more professional but also extend the lifespan of your equipment. So go ahead and let your voice take center stage—without wires holding you back!

