How To Use Selfie Ring Light?
A selfie ring light is an indispensable tool for anyone who wants to take high-quality photos, record videos, or engage in virtual meetings with excellent lighting. This versatile accessory brightens your subject evenly, minimizes shadows, and provides a professional appearance that enhances the overall quality of your images or videos. Ring lights are widely used by makeup artists, content creators, vloggers, and even remote workers, but if you're new to using one, you might have questions about how to make the most out of it. In this comprehensive guide, we’ll explain the benefits of using a selfie ring light, walk you through its setup process, and provide tips to optimize lighting for your specific needs. Let’s dive in!
Why Use a Ring Light?
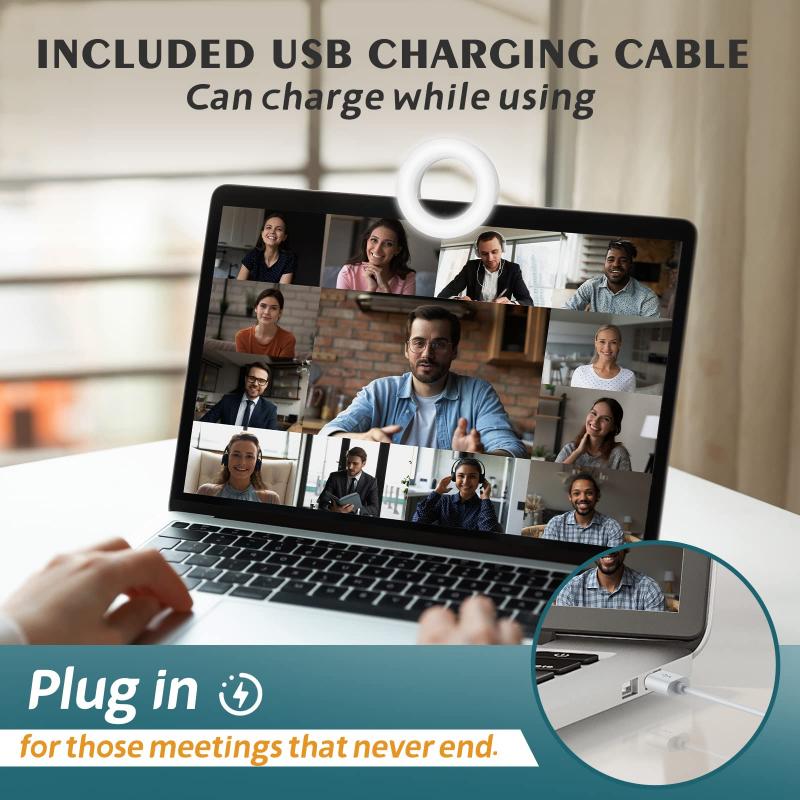
Before discussing how to use a selfie ring light effectively, let’s briefly touch on why it’s become so popular. Here are some of the key reasons:
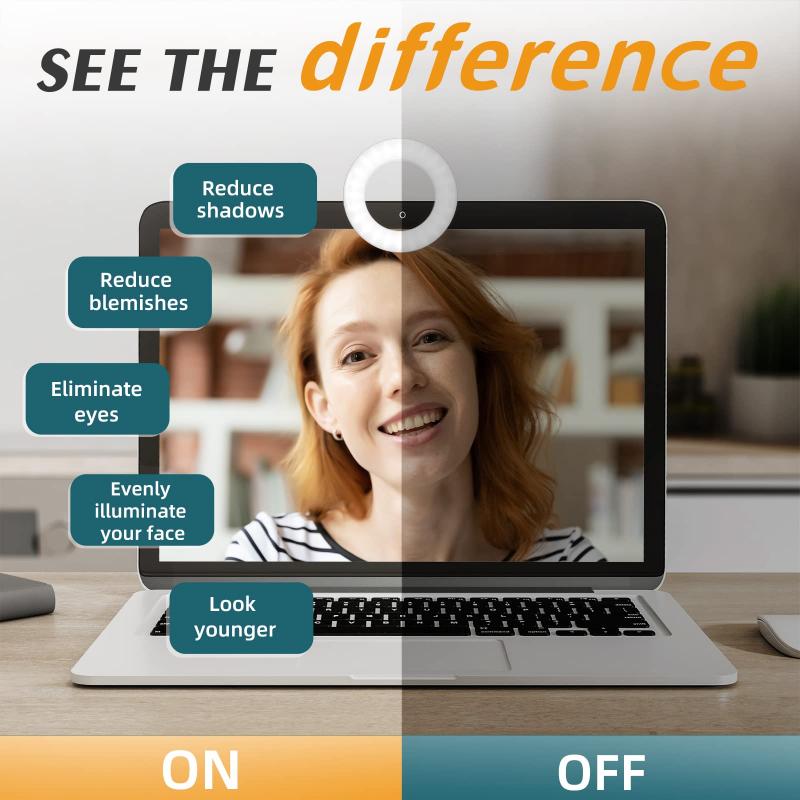
1. Even Lighting: Ring lights provide uniform light that reduces harsh shadows on your face or subject. This feature is especially useful for selfies, makeup tutorials, and product photography.
2. Professional-Quality Images: The soft glow created by a ring light enhances facial features, creates a natural shine, and gives your photos or videos a polished, professional look.
3. Eye-Catching Catchlights: Ring lights produce beautiful circular reflections in the eyes, helping your visuals stand out.
4. Adjustable Brightness and Tone: Most ring lights offer adjustable brightness levels and multiple color temperature settings, allowing you to adapt lighting to suit different environments.
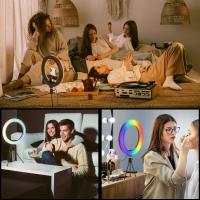
5. Multiple Uses: Whether you're recording videos at home, doing live streams, taking indoor photography, applying makeup, or attending Zoom meetings, a selfie ring light is a multi-purpose lighting solution.
Now that you know the benefits, let’s move on to setting up and using your ring light effectively.
---
Step-by-Step Guide to Using a Selfie Ring Light
1. Choose the Right Ring Light for Your Needs
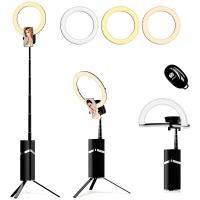
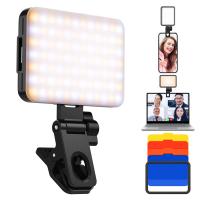
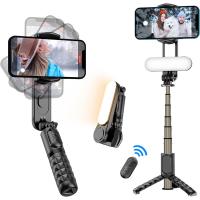
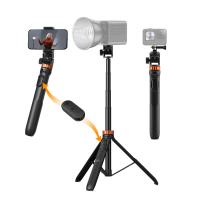
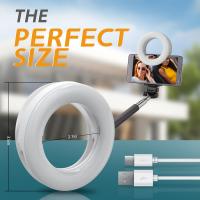
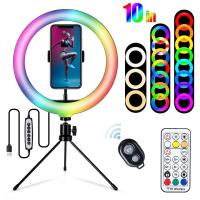
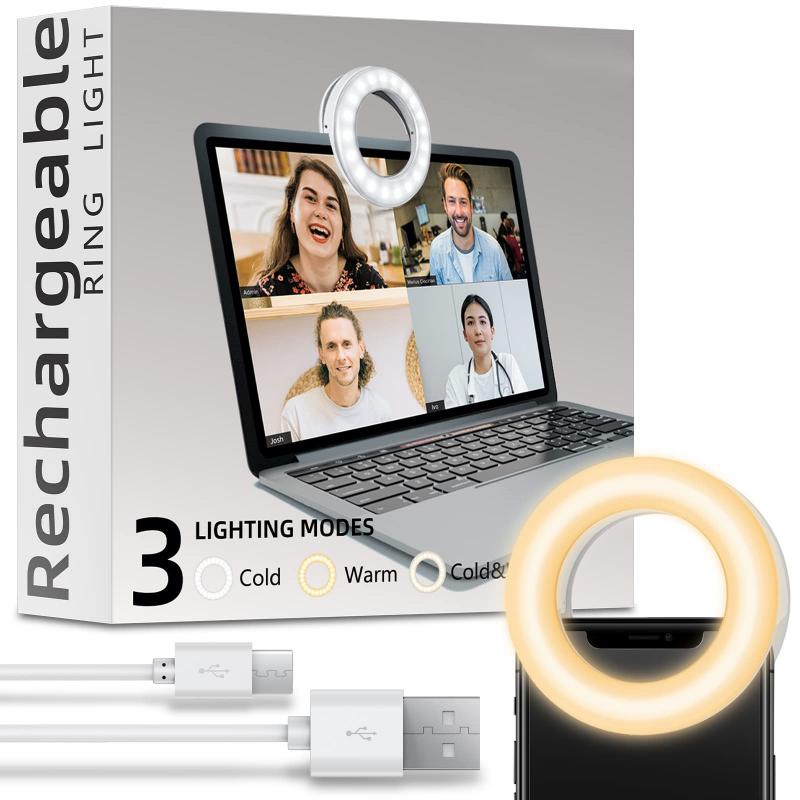
Before setting up, it’s important to select the right ring light. Selfie ring lights come in varying sizes, with diameters ranging from smaller clip-on lights (ideal for smartphones) to larger models (better for professional use). Some include phone holders, while others may have tripods or extendable mounts. Check for these features based on how you plan to use it.
Pro Tip: If you film longer videos or need flexibility, invest in a ring light with adjustable brightness settings, USB or power outlet compatibility, and an adjustable mount.
2. Set Up the Ring Light
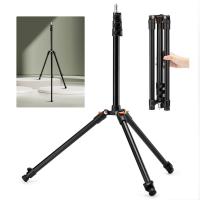
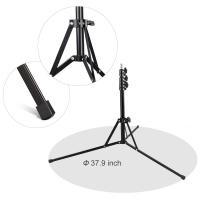
If your ring light comes with a tripod or stand, extend the stand to your desired height and secure it. For clip-on ring lights, simply attach the device to your phone, tablet, or laptop. For larger models, connect the ring to its tripod and ensure it is stable before proceeding.
Most ring lights are powered via a USB cable, battery pack, or wall adapter, so make sure you have a power source nearby to plug it in.
- Position the ring light roughly at eye level if you're using it for selfies, videos, or virtual meetings.
- For makeup application or detail shots, place it slightly above eye level for a flattering top-down glow.
---
3. Adjust Settings for Optimal Lighting
Most ring lights have various brightness and color temperature settings (typically warm, neutral, and cool). These allow you to adjust the light to different environments or moods. Use the control buttons on the device to set the lighting mode and brightness to fit your needs.
Recommendations for Lighting Settings:
- Cool White Light (5,000-6,500K): Ideal for creating natural light, especially for makeup or photography. Great for imitating daylight.
- Warm Light (2,700-3,500K): Perfect for creating a cozy, subtle glow for evening videos or photos.
- Neutral Light (3,500-4,500K): Balanced illumination, ideal for professional-looking headshots or videos.
The right setting depends on the context of your shoot and the atmosphere you want to create. Try out different modes to determine what works best for you.
---
4. Position Your Camera or Smartphone
If your ring light includes a smartphone holder or camera mount, attach your device securely into the center of the ring. This positioning eliminates uneven light distribution and ensures your footage has a balanced, well-lit result.
When placing your phone or camera:
- Orient the device so its lens is just slightly above the center of the ring for direct focus.
- Test the angle by taking a few trial shots or videos to confirm that your subject is evenly lit.
---
5. Control Shadows and Glare
One of the main advantages of a ring light is its ability to minimize shadows. However, improper positioning or lighting setup can still lead to unwanted effects. To avoid this:
- Place the light directly in front of you rather than to the side.
- If possible, use a white backdrop to reflect light evenly and reduce shadow intensity.
Pro Tip: If your ring light has glare or reflection issues (e.g., glasses glare), experiment by moving the light slightly higher or lower from your eye level until the reflection disappears.
---
6. Experiment with Angles and Distances
Ring light results depend on your proximity to the light source. If you’re too close, the brightness might wash out your features, and if too far away, the light might not be noticeable. Generally:
- Stay 1 to 2 feet away from the ring light for softer, diffused illumination.
- Tilt the light at different angles to find your most flattering look.
---
Tips for Specific Activities
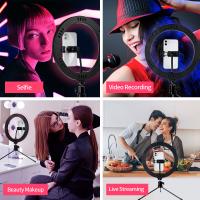
For Selfies:
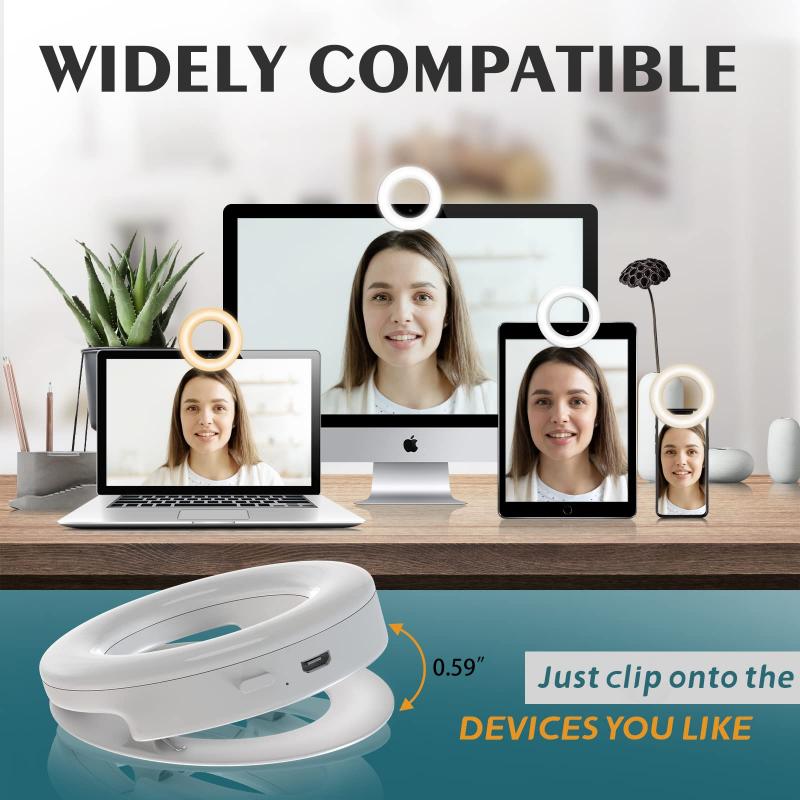
- Use the front-facing camera of your smartphone and place it in the center of the ring light.
- Use warm or neutral lighting for indoor settings.
For Video Calls or Streaming:
- Opt for a neutral or cool white light to give the appearance of natural daylight.
- Ensure your background isn’t too bright, as it may compete with the light.
For Makeup Application:
- Use bright, cool white light to mimic daylight and see the true colors of products.
- Position the light above your face for direct illumination.
For Photography or Content Creation:
- Use the brightest setting to capture the finest details.
- Experiment with ring light placement to create unique lighting effects, such as “halo lighting.”
For Remote Meetings:
- Choose a less-intense brightness to avoid overly harsh lighting.
- Keep the focus on your face by minimizing distractions from your surroundings.
---
Care and Maintenance of Your Ring Light
To ensure longevity and consistent performance:
1. Clean Regularly: Use a dry microfiber cloth to wipe dust and smudges from the ring light.
2. Store Properly: When not in use, store the light in a dry, room-temperature environment to prevent any damage.
3. Avoid Overheating: Don’t leave the light on for extended periods unnecessarily, as overheating may reduce its lifespan.
By following these steps, your ring light will remain functional for years without any issues.
---
A selfie ring light is more than just a trendy accessory; it has become an essential tool for enhancing visual quality in today’s content-driven world. Whether you're a professional creator, an aspiring influencer, or someone seeking better lighting for virtual meetings, understanding how to properly use a ring light can lead to dramatic improvements. From setting it up to selecting optimal settings and tweaking angles, mastering this tool is easier than you might think.
The key is to experiment and practice. Play with different angles and settings to find the perfect combination that works for your specific needs. With time, using a ring light will become second nature, enabling you to create stunning photos, videos, and online experiences effortlessly. Now, go ahead and let your brilliant light shine!

