How To Use Screw In Lens Hood?
The Complete Guide to Using a Screw-in Lens Hood for Maximum Photography Results
When you invest in photographic accessories, you're likely looking for tools that improve your image quality, enhance functionality, and safeguard your camera gear. Among these tools, the screw-in lens hood stands out as a practical and often essential accessory. It protects your lens, reduces unwanted light artifacts such as lens flare, and allows you to shoot cleaner images in a wide range of lighting conditions. However, many photographers, especially beginners, might not fully understand how to properly use a screw-in lens hood or how it compares to other types of lens hoods. This article will walk you through everything you need to know about screw-in lens hoods, their installation, benefits, and tips for making the most of this simple yet invaluable piece of equipment.
What is a Screw-in Lens Hood?
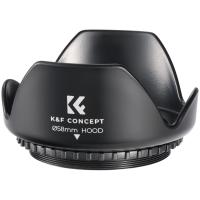
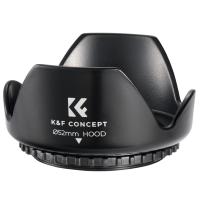
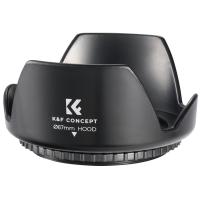
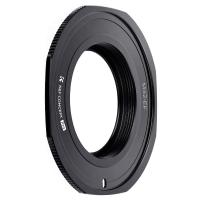
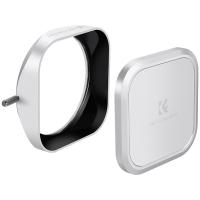
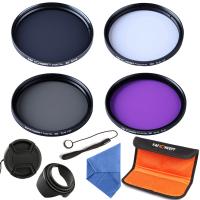
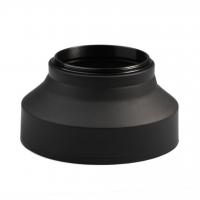
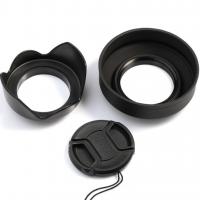
A screw-in lens hood is an external device designed to attach directly to the threading on the front of your camera lens. Like other lens hoods, its primary functions are:
1. Minimizing Lens Flare and Glare: It blocks stray light from hitting the lens surface, which can impair image quality or create distracting light artifacts in photos.
2. Protecting the Lens: It adds an extra layer of physical protection against accidental bumps, scratches, or weather elements.
3. Improving Contrast and Colors: By reducing stray light, a lens hood helps increase contrast and enhance color saturation in your photos.
Unlike petal or bayonet-style hoods that clip onto a lens mount, screw-in lens hoods are fastened using threads, providing a secure and stable fit. They’re often used with prime lenses, telephoto lenses, and even some wide-angle lenses to gain all these advantages.
Why Choose a Screw-in Lens Hood?
So, why should you choose a screw-in lens hood over other options? There are several key advantages to consider:
- Firm Attachment: Once installed, a screw-in lens hood remains tightly affixed to the lens, making it less likely to loosen or detach accidentally.
- Simplification: It’s designed for universal compatibility as long as the thread size matches, so it doesn’t matter what brand or model lens you’re using.
- Compact Design: Screw-in hoods are typically sleek and don’t interfere with filters or front lens caps.
- All-Purpose: They serve their purpose across multiple types of photography, whether you’re shooting outdoors under intense sunlight or indoors in controlled lighting.
Step-by-Step Guide: Using a Screw-in Lens Hood
If you're new to using screw-in lens hoods or unsure whether you're properly attaching and using one, follow these simple steps:
1. Check the Lens Diameter
Before purchasing or using a screw-in lens hood, you must confirm the diameter of your lens. The diameter is often indicated on the front or side of your lens, typically marked with a “Φ” symbol (which represents the lens thread size in millimeters). For example, a lens might display something like "Φ58mm," meaning it’s compatible with 58mm screw-in accessories.
2. Match the Correct Hood Size
Once you know your lens diameter, purchase a screw-in lens hood that specifies compatibility with your lens thread. It’s crucial to ensure that the size exactly matches to enable proper attachment.
3. Prepare the Lens
Before installing the lens hood, make sure your lens is clean and devoid of any dust or dirt that might interfere with the hood’s threading or connection. If the lens is already fitted with a filter, such as a UV or polarizing filter, confirm that the hood can thread onto the filter's outer threads without destabilizing either component.
4. Screw the Hood Onto the Lens
- Align your screw-in lens hood with the threading at the front of the lens (or the filter if you’re using one).
- Gently rotate the hood clockwise until it screws securely into place. Avoid overtightening, as this could damage the threading on your lens or make removing the hood difficult later. It just needs to feel snug and secure.
5. Verify Proper Orientation
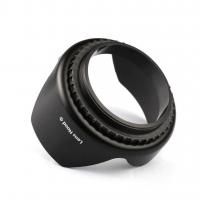
Ensure that the lens hood is fitted straight and aligned, particularly if it’s custom-shaped (e.g., a tulip or flower hood that has a specific alignment for maximum effectiveness). For most screw-in hoods, the circular design ensures even coverage, so orientation typically isn’t a significant concern.
6. Attach a Lens Cap (Optional)
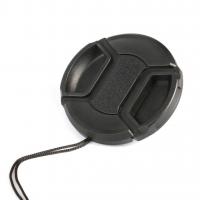
Some screw-in lens hoods are designed to accommodate lens caps on their outer edge, allowing you to keep your lens protected when it’s not in use. If your lens hood has this feature, reattach the lens cap directly onto the hood.
Tips for Using a Screw-in Lens Hood Effectively
To get the most out of your screw-in lens hood, consider these best practices:
1. Keep it On for Outdoor Photography
Whenever you shoot outdoors—whether under direct sunlight or overcast skies—use your lens hood. Even under cloudy conditions, stray light can still diminish image quality.
2. Use it to Protect Your Lens
Even if lighting conditions don’t seem to require a hood, you can still use it as a form of lens protection. A well-attached hood shields your lens from scratches, bumps, or other physical damage.
3. Watch for Vignetting
When using a screw-in hood with wide-angle lenses, ensure that the hood’s shape and size won’t cause vignetting (dark edges or corners) in your frame. If vignetting occurs, consider purchasing a shorter or shallower hood designed specifically for wide-angle use.
4. Avoid Unnecessary Removal
Screw-in lens hoods are sturdy, but constant attaching and removing can eventually damage the threading on the lens or hood. Only remove the hood when it’s absolutely necessary, such as when packing your gear in tight spaces or attaching alternative accessories.
5. Bundle With Filters
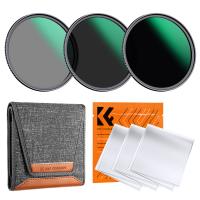
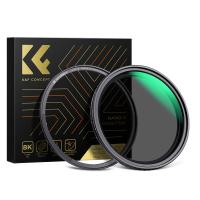
A screw-in hood can work seamlessly with most lens filters, such as UV, ND, or polarizing filters. This dual-use setup gives you optical benefits while still protecting your lens. Just make sure you’re installing components in the right order: filter first, then hood.
Common Challenges and Troubleshooting
If you encounter issues while using or attaching your screw-in lens hood, here’s how to resolve them:
- Difficulty Screwing the Hood On: Confirm that the hood’s threads are clean and undamaged. Avoid forcing the hood, as cross-threading could permanently damage the connection.
- Hood Stuck After Use: If the hood seems difficult to unscrew, use a rubber grip or a threading tool, applying gentle even force to avoid damaging the lens.
- Lack of Fit With Other Accessories: When stacking filters or other accessories onto the lens, ensure compatibility and avoid excessive height that exceeds the threading depth.
Final Thoughts
A screw-in lens hood is a straightforward yet essential tool for photographers of all skill levels. By minimizing unwanted light, reducing lens flare, and protecting your lens from physical damage, it offers significant functional and aesthetic benefits. While installation and use may seem simple, taking the time to ensure proper fit, alignment, and care will help prolong the life of both your accessory and your lens.
Whether you’re capturing landscapes, portraits, or action shots, a screw-in lens hood can make a noticeable difference in photo quality. Next time you step out with your camera, don’t overlook this small but mighty accessory—it might just be the unsung hero of your shoot.

