How To Use Monopod With Shutter?
## How to Use a Monopod with a Shutter: A Complete Guide
Photography and videography have become more accessible than ever, thanks to advancements in tools and technology. For avid photographers and content creators, stabilizing devices like monopods have become essential tools for shooting crisp photos and smooth videos. Combining a monopod with a shutter release mechanism unlocks even more versatility and precision for your photography.
If you’ve just purchased a monopod and are wondering how to maximize its usefulness with a shutter release, this guide is here to walk you through every step. Below, we’ll delve into the fundamental aspects of using a monopod with a shutter release, address common challenges, and share practical tips to achieve the best results.
---
Understanding the Monopod and Shutter Setup
Before diving into specific techniques, it’s essential to understand what each component offers to your photography:
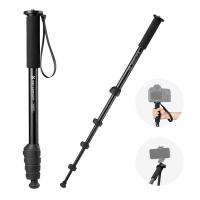
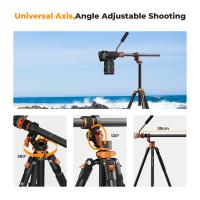
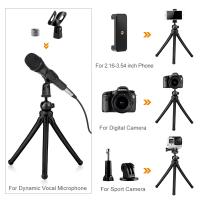
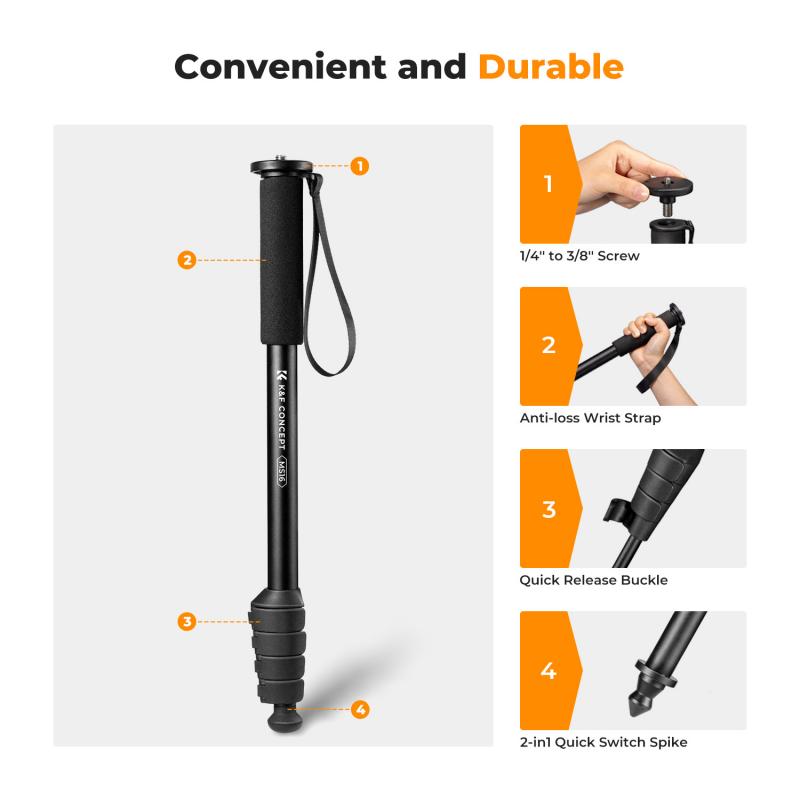
- Monopod: A monopod is a single-legged stand designed to stabilize your camera or smartphone. Unlike a tripod, which provides complete stability by standing on three legs, a monopod is more portable and ideal for dynamic shooting, where flexibility and agility are key.
- Shutter Release Options: The shutter release mechanism allows photographers to capture photos without physically pressing the camera’s button. This feature prevents camera shake and ensures sharper images. Shutter releases can be:
- Wired: A cable connects the shutter release to the camera or smartphone.
- Wireless/Bluetooth: A remote or app sends signals to activate the shutter.
- Built-in: Modern monopods often integrate Bluetooth shutter buttons for easy pairing with smartphones.
---
Benefits of Using a Monopod with a Shutter Release
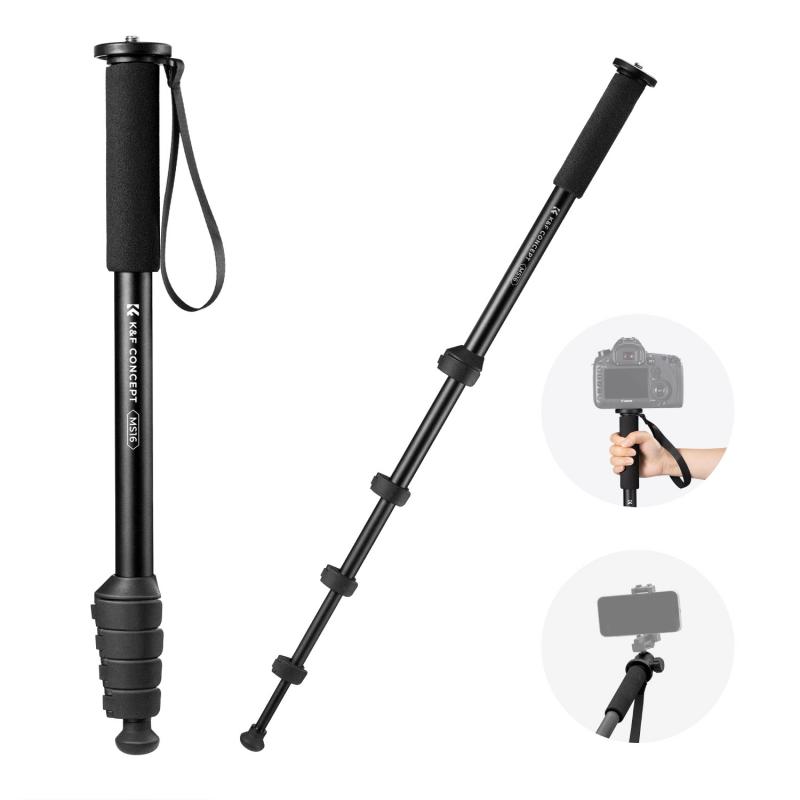
When combined, a monopod and shutter release offer several advantages for photographers and videographers:
1. Improved Stability: The monopod stabilizes your camera to minimize motion blur, which is especially beneficial in low-light or telephoto situations.
2. Reduced Camera Shake: The remote shutter release ensures the camera remains still when taking photos, so you no longer need to press the shutter physically.
3. Enhanced Composition: Monopods allow you to experiment with unique angles (e.g., low-to-ground photography) while keeping your hands free to operate the shutter without disrupting the setup.
4. Portability: Together, the monopod and shutter setup are lightweight and compact, making them ideal for travel or outdoor photography.
5. Convenience for Self-Portraits and Group Shots: With a shutter release, you can easily take selfies or group pictures at a distance without relying on timers.
---
Step-by-Step Guide: Using a Monopod with Shutter Release
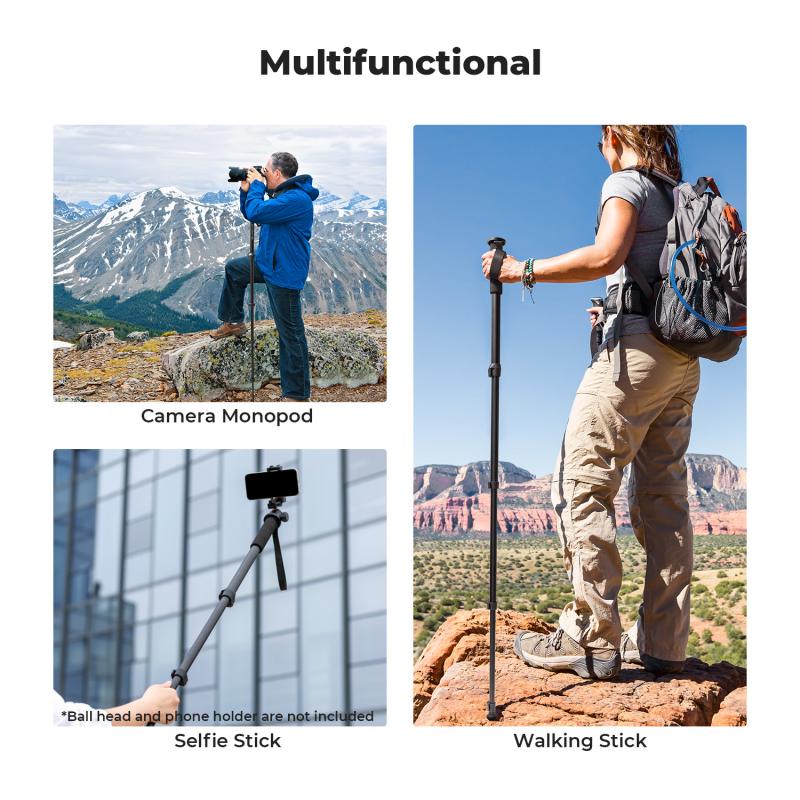
Step 1: Assemble the Monopod
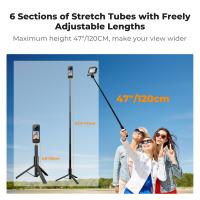
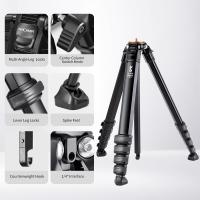
- Extend the monopod to your desired height. Make sure the leg locks are securely fastened to prevent instability.
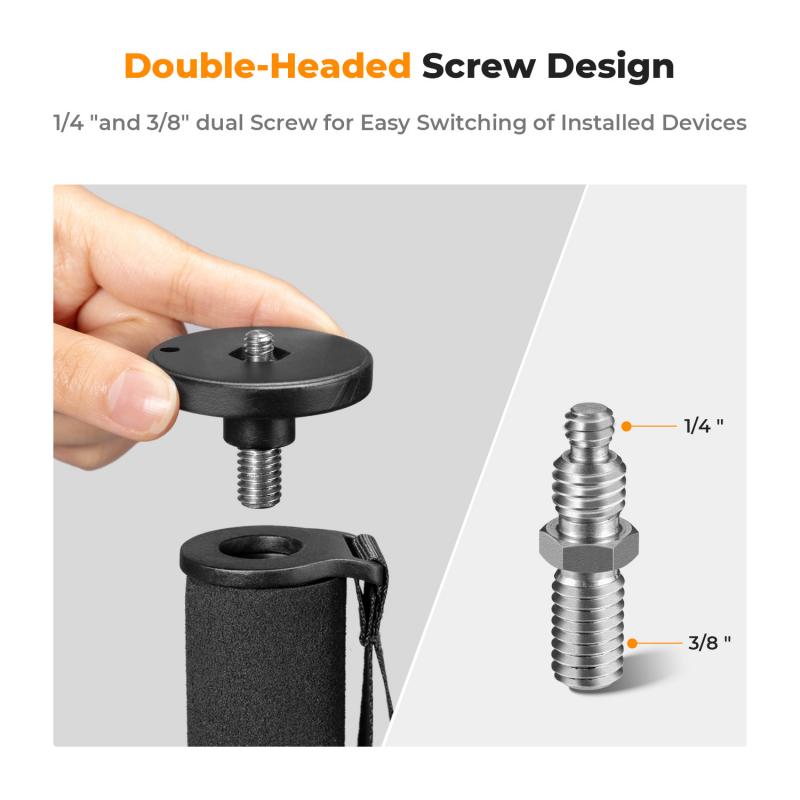
- Attach your camera, smartphone, or action camera to the monopod using the mounting platform or adapter (e.g., smartphone holders or quick-release plates). Ensure the setup is balanced.
Step 2: Connect the Shutter Release
- Wired Option: Plug the shutter release into the camera’s designated port. Check your camera’s manual if you’re unsure where the connection is located.
- Bluetooth Wireless Option:
1. Turn on the Bluetooth shutter remote and pair it with your smartphone or compatible camera. Follow the pairing instructions specific to your device.
2. Test the connection by pressing the shutter to see if the camera responds.
Step 3: Choose Your Shooting Mode
- Set your camera to the desired shooting mode (e.g., Single Shot, Continuous Shooting, or Timer). For still photography, ensure the camera settings match the scene (e.g., ISO, aperture, and shutter speed for low-light or fast-moving subjects).
- If using a smartphone, adjust focus and exposure using your camera app before taking the shot.
Step 4: Position the Monopod
- Hold the monopod firmly and plant its base on a stable surface (e.g., the ground or a flat ledge).
- For additional stability, lean the monopod slightly forward or lock the base against your foot. This setup provides more control and prevents unwanted movement.
Step 5: Use the Shutter Release
- Using the shutter release eliminates the need to tap the camera or smartphone directly. Simply press the remote button to capture your shot.
- For long-exposure photography, lock the shutter button (on some remotes) to keep the camera's shutter open for extended periods.
Step 6: Review and Adjust
- After taking a shot or recording a video, review your footage for sharpness and proper framing. Make necessary adjustments to monopod height, camera angle, or focus settings, and repeat as needed.
---
Additional Tips for Optimal Use
1. Experiment with Angles and Perspectives: Monopods allow for creative angles, such as overhead shots, low-to-ground perspectives, or dynamic wide shots. Don’t be afraid to adjust the monopod’s height or tilt to capture intriguing compositions.
2. Stabilize Further with Your Body: While the monopod helps with stability, you can anchor it against your body for added steadiness. Using your torso or leg to brace the monopod minimizes side-to-side wobbles.
3. Perfect for Long-Exposure Shots: Combine a monopod and wired shutter release for long exposures (e.g., light trails or star photography). This setup keeps the camera steady while minimizing unintentional vibrations.
4. Pair with a Tripod Base for Added Flexibility: Some advanced monopods come with mini tripod bases, allowing you to stabilize the monopod more effectively on flat surfaces. This is especially useful for time-lapse videos or stationary shooting.
5. Practice for Best Results: The first few attempts might feel awkward, but practice makes perfect. Over time, you’ll be able to set up the monopod, connect the shutter, and capture scenes more efficiently.
---
Solving Common Problems
Issue 1: Shutter Release Doesn’t Connect
- For Bluetooth remotes, ensure the device is properly charged or has fresh batteries. Check if Bluetooth is enabled on your smartphone or camera.
- Wired shutters may require a specific cable for your camera model. Double-check compatibility before purchase.
Issue 2: Camera Feels Wobbly on the Monopod
- Use a properly sized adapter or mounting plate.
- Tighten all screws and locks on the monopod to secure the setup.
- Ensure the monopod is securely planted before shooting.
Issue 3: Difficulty Framing Shots
- Adjust your monopod height gradually and stabilize with both hands. For even more control, use grid lines available in most camera apps or viewfinders.
- A smartphone or camera with an articulating screen can make framing easier at unconventional angles.
---
Why This Setup Matters
For photography and content creation enthusiasts, a monopod coupled with a shutter release isn’t just a convenience—it’s a game-changer. Whether you’re shooting portraits, landscapes, wildlife, or vlogs, the setup boosts your ability to capture stable and high-quality visuals with minimal effort. Unlike a bulkier tripod setup, the portability and simplicity of this arrangement make it a top choice for professionals and hobbyists alike.
---
Using a monopod with a shutter enhances your shooting capabilities by combining stability and remote control. With this guide, you’ve learned how to set up, adjust, and make the most of this dynamic duo. From enabling creative compositions to reducing camera shake in challenging environments, the monopod-shutter setup empowers you to take your photography and videography to new heights.
Now it’s time to grab your gear, head out, and capture the perfect shot! With practice and experimentation, you’ll quickly become adept at achieving professional-grade imagery with just these two lightweight tools.


