How To Use Lens Adapter On Phone?
Using a lens adapter on your smartphone can open up a wide range of creative possibilities for both amateur and professional photographers. Lens adapters enable your smartphone camera to mimic the functionality of high-end DSLRs or mirrorless cameras by allowing you to add external lenses, such as wide-angle, macro, fisheye, or telephoto lenses. This process can significantly enhance the quality of your photos and videos, allowing you to overcome some of the inherent limitations of built-in smartphone cameras.
In this article, we’ll explore the world of phone lens adapters, including how they work, how to use them effectively, and why they might be beneficial for your mobile photography needs. We'll also troubleshoot some common challenges and provide tips for getting the most out of your lens adapter.
---
What Is a Lens Adapter for Phones?
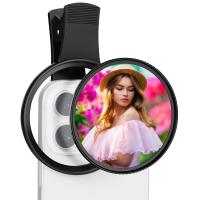
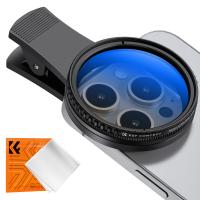
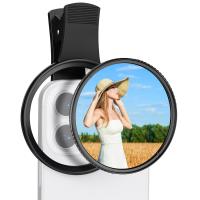
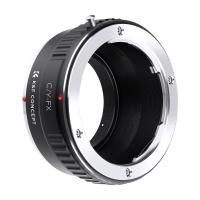
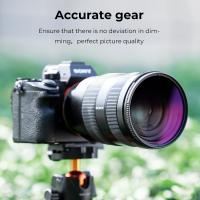
A lens adapter for phones is an accessory designed to attach external lenses to the camera of a smartphone. These lenses do not replace your phone's native camera lens but instead work in conjunction with it. By modifying how light enters the camera sensor, they help achieve specific effects or expand the creative potential of the device.
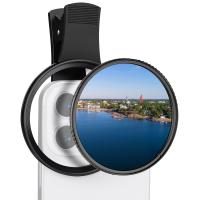
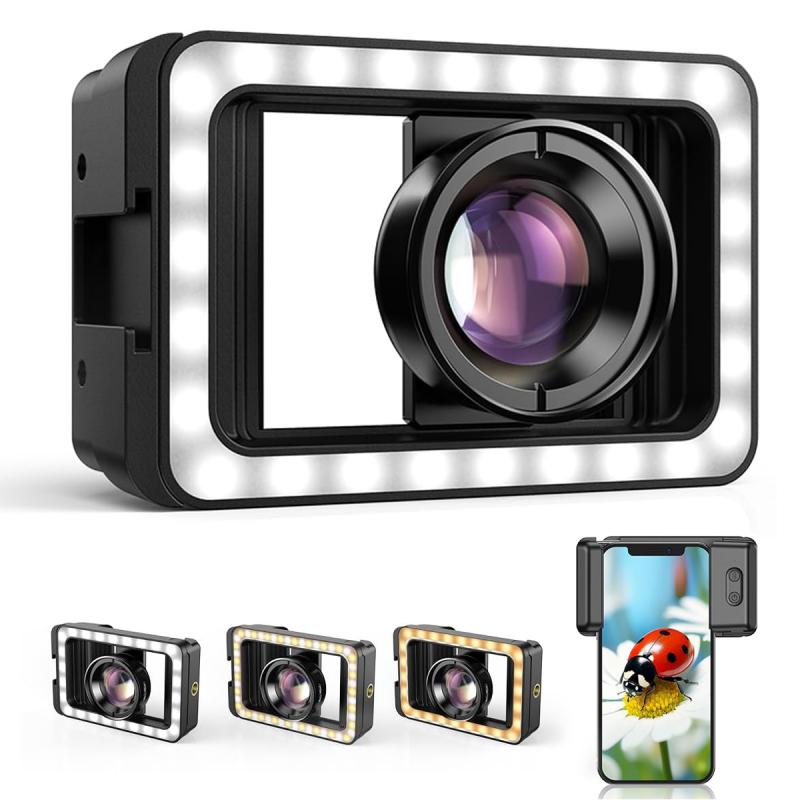
Most lens adapters consist of a mounting frame or clip that attaches securely to your phone and aligns the external lens with the built-in camera. Adapters can vary significantly in complexity and quality, ranging from simple clip-on solutions to more sophisticated mounting systems designed for specific phone models.
---
Benefits of Using a Lens Adapter on a Smartphone
Before diving into the practical steps, let’s look at why you’d want to use a lens adapter:
1. Enhanced Image Quality: External lenses can improve sharpness, detail, and the overall look of your photos.
2. Improved Versatility: Different lenses, such as wide-angle or macro, offer creative flexibility that isn't achievable with your phone’s standard camera setup.
3. Affordable Upgrade: Compared to buying a DSLR or mirrorless camera, using a lens adapter with your phone is cost-effective.
4. Compact and Portable: Lens adapters are small and easy to carry, making them ideal for travel photography.
5. Video Capabilities: Some adapters, such as anamorphic lenses, can create cinematic effects for video recording.
---
Step-by-Step Guide to Using a Lens Adapter on Your Phone
1. Select the Right Lens Adapter for Your Needs
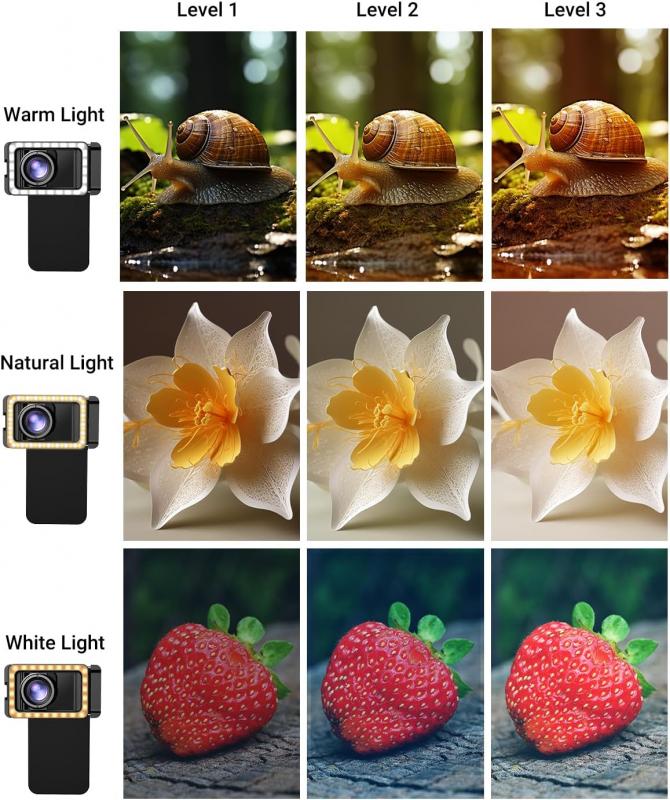
The first step is to choose a lens adapter and external lens that suits your photography goals. Here are a few common options:
- Wide-Angle Lens: Great for landscapes, architecture, and group shots.
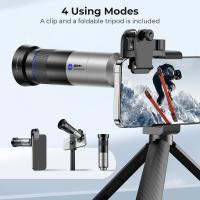
- Telephoto Lens: Ideal for zooming in without sacrificing sharpness.
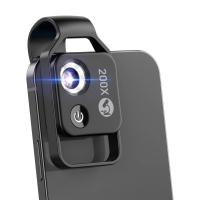
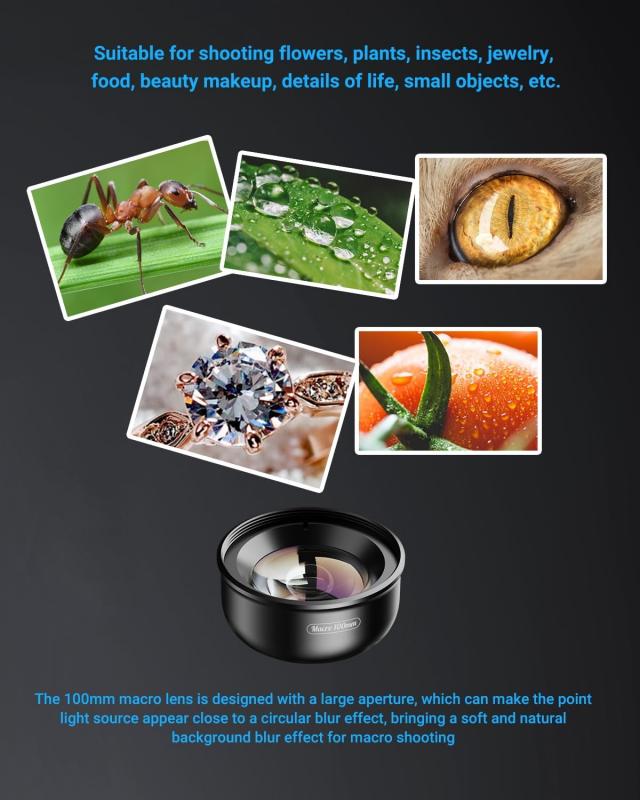
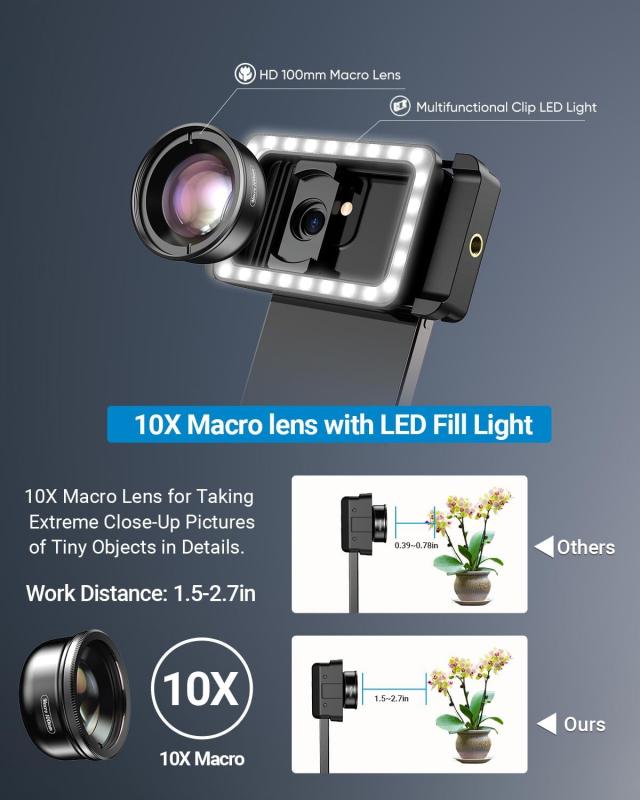
- Macro Lens: Used for capturing extreme close-ups of small subjects like plants or insects.
- Fisheye Lens: Creates a distorted, rounded view for a stylized aesthetic.
- Anamorphic Lens: Designed for cinematic videos, producing widescreen footage with lens flare effects.
Ensure that the lens adapter you purchase is compatible with your smartphone model and can accommodate its camera configuration (e.g., single, dual, or triple-camera setups).
2. Prepare Your Phone and Lens Adapter
Begin by cleaning both your smartphone camera lens and the external lens. Use a microfiber cloth or lens cleaner to remove dust, fingerprints, and smudges. Any obstruction on either lens can impact the final image quality.
At this stage, remove your phone case if it obstructs the alignment of the lens adapter. Some cases are compatible with lens systems, but in many instances, you’ll achieve a tighter fit without an additional layer between the adapter and the phone.
3. Attach the Lens Adapter
The attachment mechanism will vary depending on the lens adapter you’ve chosen. Common methods include:
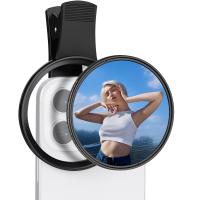
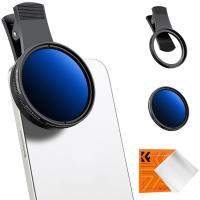
- Clip-On Adapters: These are simple and attach directly to your phone with an adjustable clip. Align the external lens over the phone’s camera lens carefully to ensure no light leakage or misalignment.
- Threaded Mounts: Some adapters use a screw-in mounting system and are often paired with phone-specific cases. These offer a more secure and precise fit.
- Magnetic Mounts: These adapters attach magnetically to a ring that adheres to your phone. While quick to install, they may shift slightly during use.
Follow the manufacturer’s instructions to secure the lens firmly and verify that it aligns correctly with the phone’s camera.
4. Adjust for Alignment and Focus
Check the alignment by opening your phone's camera app. The external lens should sit perfectly centered over the smartphone lens. Adjust it if you see dark edges (known as vignetting) or distortion in the frame.
Fine-tune the focus by tapping on the subject within the app. For macro lenses, you may need to move the camera closer to the subject until it focuses properly.
5. Take Test Shots
Before diving into a full photography session, take a series of test shots to evaluate the results. Look for sharpness, alignment, color accuracy, and any unwanted artifacts in your images. Test the lens in different lighting conditions to understand its capabilities and limitations.
---
Tips for Maximizing Your Lens Adapter’s Performance
Using a lens adapter requires some practice to achieve optimum results. Here are a few tips to help you get the most out of it:
Proper Lighting Matters
External lenses can sometimes reduce the amount of light entering your phone's sensor. To compensate, shoot in well-lit environments or use additional lighting (like a ring light) for low-light situations.
Use a Tripod for Stability
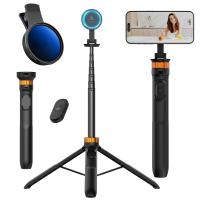
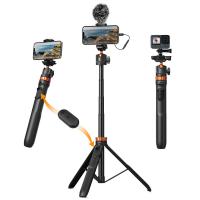
Some lens setups, especially telephoto options, may increase the likelihood of camera shake. Pairing your smartphone with a tripod ensures stability, resulting in sharper images.
Experiment with Camera Settings
Take advantage of your phone’s manual (Pro) mode to fine-tune settings like ISO, shutter speed, and white balance. These adjustments allow you to fully utilize the additional creative opportunities afforded by the lens adapter.
Watch Out for Lens Flare
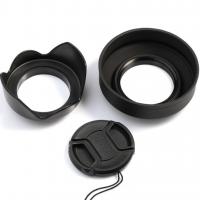
Some external lenses, particularly cheaper models, may introduce lens flare or ghosting when shooting in direct sunlight. Use a lens hood or position yourself strategically to avoid unwanted glare.
---
Common Issues and Troubleshooting
Even with the best lens adapters, users may encounter some challenges. Here’s how to address them:
1. Blurry or Distorted Images: Double-check the alignment of the external lens and ensure the camera lens is clean. Sometimes, adjusting the focus manually can resolve this issue.
2. Vignetting (Dark Edges): If you see dark corners in your images, the lens may not be centered properly, or the adapter may not be designed for your phone’s camera.
3. Adapter Slipping Off: Ensure that the adapter is securely fastened. If you’re using clip-on adapters, avoid jostling the phone during use. For those using magnetic mounts, verify that the adhesive ring is properly seated.
4. Low Quality with Budget Lenses: While affordable options are tempting, they may produce subpar results. Investing in higher-quality lenses ensures better clarity, durability, and reduced optical distortion.
---
Who Should Use a Lens Adapter?
While anyone can benefit from a lens adapter, they are especially valuable for:
- Travel Photographers: Lightweight and versatile, lens adapters are ideal for those capturing landscapes, cityscapes, or local details on the go.
- Content Creators: Vloggers and videographers frequently use anamorphic and wide-angle lenses for cinematic effects.
- Macro Enthusiasts: If you love photographing tiny details or textures, a macro lens adapter is indispensable.
- Budget-Conscious Creators: Lens adapters provide DSLR-like capabilities at a fraction of the cost.
---
A lens adapter is a powerful yet simple tool that can elevate your smartphone photography to the next level. By understanding how to use and maintain these accessories, you’ll unlock new creative possibilities and improve the quality of your images and videos. Whether you’re capturing landscapes on vacation, filming stunning videos, or experimenting with close-up details, a lens adapter is a worthy addition to your mobile photography kit. With proper alignment, good lighting, and some experimentation, the results can rival those of more expensive camera systems—proving that you don’t need a professional rig to take professional-quality photos. So grab a lens adapter, and start exploring the world of smartphone photography today!

