How To Use Ir Filter On Digital Camera?
Digital photography has led to countless advancements in capturing moments with precision and beauty, but one fascinating and increasingly popular technique is leveraging infrared (IR) filters for unique, ethereal imagery. By manipulating the ways light interacts with the camera’s sensor, IR photography offers photographers the ability to explore a different spectrum of light, creating visuals that are otherworldly and distinct. This article will guide you on how to use an IR filter with a digital camera to enrich your photography toolkit while addressing practical concerns that may arise throughout the process.
Understanding Infrared Photography

Infrared photography involves capturing images using the infrared portion of the light spectrum, which is not visible to the human eye. Most visible light exists within the wavelengths of around 400–700 nanometers. Infrared light, however, extends up to around 1,000 nanometers. This alters the way light interacts with surfaces, producing surreal and creative results.
For instance, foliage often appears bright white, while the sky becomes dark and dramatic. In portrait photography, skin tones can take on a porcelain-like quality. These signature effects make IR photography a favorite among experimental and artistic photographers who wish to create standout visuals.
Equipment You’ll Need
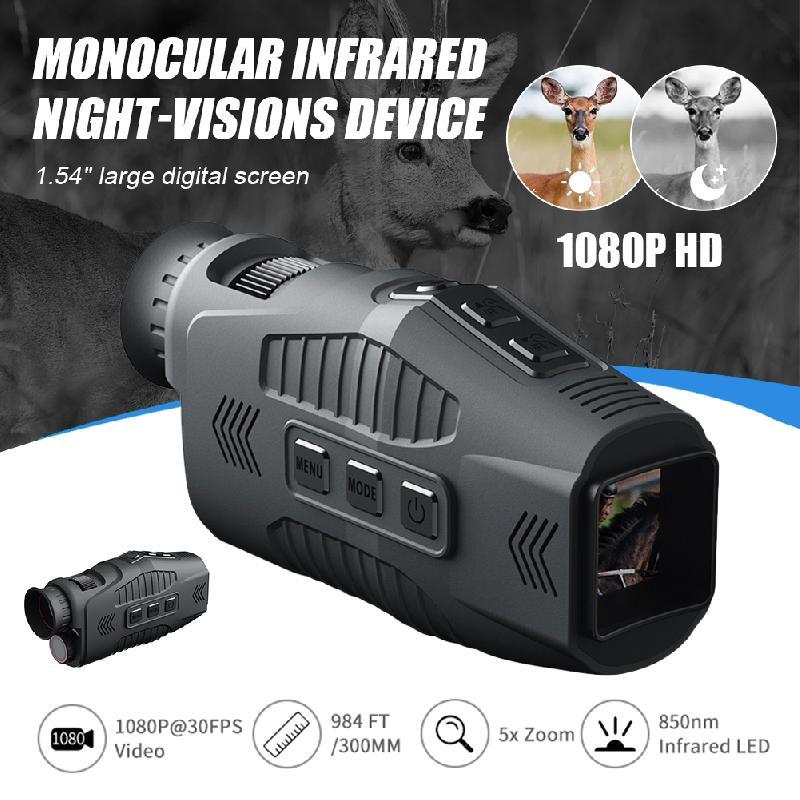
To use an infrared filter on your digital camera, you’ll need several specific tools and supporting gear. This checklist will help you get started:
1. A Proper Camera: Not all digital cameras are suitable for infrared photography. Most digital cameras have IR-blocking filters built into their sensors to prevent unwanted infrared light from affecting visible-light images. However, if your camera is able to record infrared light (or has been modified for this purpose), it can be used with an external infrared filter.
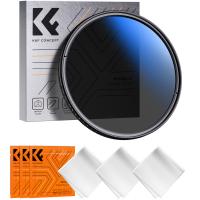
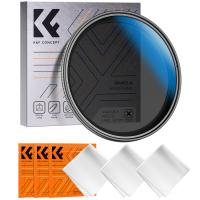
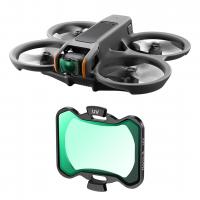
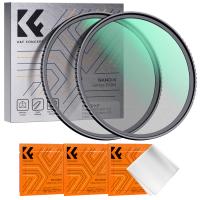
2. Infrared Filter: An IR filter blocks visible light while allowing only infrared light to pass through to the camera’s sensor. Popular options include Hoya R72, B+W 092, and 093 filters. Each filter allows different levels of infrared light and determines how “deep” into the infrared spectrum your image will go.
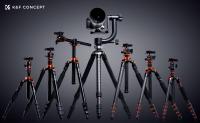
3. A Stable Tripod: Since shooting with an IR filter often requires long exposure times, a sturdy tripod is crucial to avoid motion blur.
4. Remote Shutter Release: To further minimize camera shake during long exposures, consider using a remote shutter release.
5. Neutral Density (ND) Filters (Optional): In very bright conditions, an ND filter can assist in maintaining longer exposures for greater creative flexibility.
Step-by-Step Process for Using an IR Filter
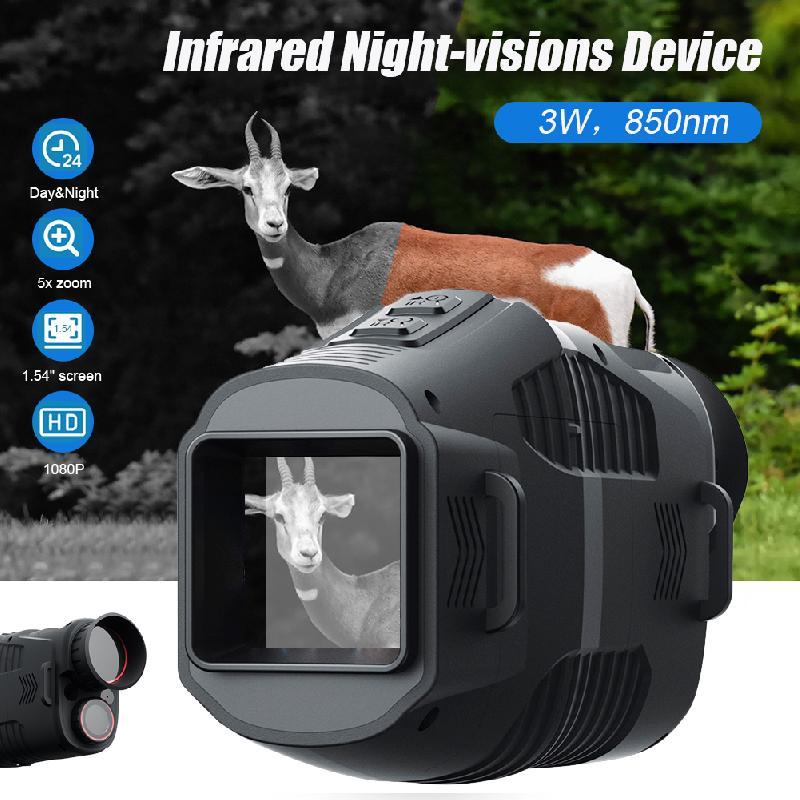
Using an IR filter with a digital camera requires patience and understanding of the unique characteristics of infrared photography. Follow these steps to achieve better results:
Step 1: Determine Camera Compatibility
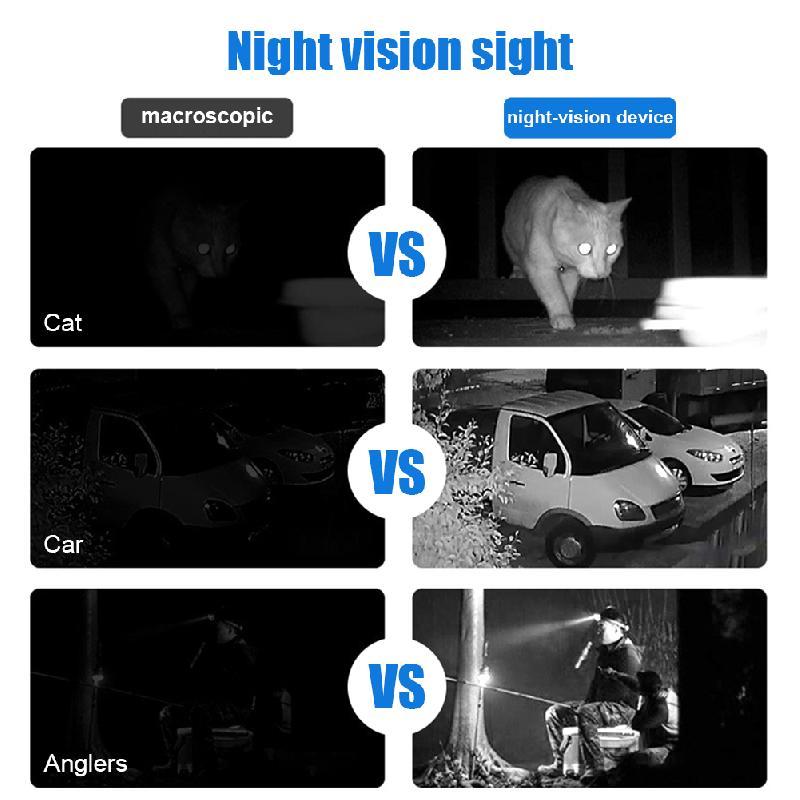
Before anything else, determine whether your camera is suitable for IR photography. Some digital cameras are notoriously resistant to infrared light due to strong internal IR-blocking filters over their sensors. A quick way to check: point a TV remote control at your camera’s lens and press a button on the remote. If you see the remote’s light as a bright point through your camera’s live view, your camera may capture some level of infrared light.
However, if you aim to pursue infrared photography seriously, you might consider having your camera professionally modified to remove the IR-blocking filter entirely. This modification ensures significantly better infrared sensitivity but dedicates the camera solely to IR work.
Step 2: Attach the IR Filter
Once you’ve confirmed that your camera can handle IR light, attach the infrared filter to your lens. Remember, IR filters block nearly all visible light, so once you attach the filter, your viewfinder or LCD may go dark. This makes pre-composing and focusing your shots prior to attaching the filter essential.
Step 3: Switch to Manual Focus and Compose Your Image
Infrared light focuses differently than visible light, which means autofocus may not yield accurate results when using an infrared filter. Switch your lens to manual focus, and use the camera’s live view (if available) to compose and adjust your focus for the desired shot.
Pro Tip: Start by composing and focusing your shot without the filter first. Then carefully screw the IR filter onto the lens without altering your composition.
Step 4: Adjust Camera Settings
Infrared photography generally requires slower shutter speeds and higher ISO due to reduced light sensitivity through the IR filter. Set your camera to manual mode and adjust the following settings:
- Shutter Speed: Be prepared to use slower shutter speeds, often several seconds or longer, depending on lighting conditions.
- Aperture: Choose a mid-range aperture (e.g., f/8 to f/11) to optimize sharpness and depth of field.
- ISO: Increase ISO as needed, but try to avoid excessive noise.
Additionally, test various combinations of settings to see what works best for your equipment and environment.
Step 5: Take a Test Shot
Take a test image to evaluate exposure and composition. If the image appears too dark, slow the shutter speed or raise the ISO to allow more light. Be mindful of blowouts or overexposure in the highlights, as these can be tricky to recover in post-processing.
Post-Processing Infrared Images
One of the most captivating aspects of IR photography is the surreal final result, but capturing the image in-camera is only half the journey. Post-processing plays a significant role in refining and enhancing the shot. Here’s how to approach processing your IR images:
1. Edit the White Balance: IR images often appear red or magenta straight out of the camera. Use post-processing software like Adobe Lightroom or Photoshop to adjust the white balance. Setting the white balance to accentuate the whites in foliage and the blues in the sky can dramatically improve the aesthetics of your photo.
2. Swap Color Channels: For color IR photography, many photographers perform a channel swap to produce the iconic "blue sky and white foliage" effect. This involves swapping the red and blue channels over in Photoshop (or similar applications).
3. Enhance Contrast and Details: Adjust the levels, shadows, and highlights to bring out details in your IR photography. Use clarity adjustments with care, and add subtle sharpening where necessary.
4. Convert to Monochrome: Some of the most dramatic IR images are monochromatic. Converting your photo to black and white can highlight textures and add artistic flair to your work.
Challenges and Tips
Infrared photography presents some unique challenges, but with forethought and practice, you can overcome them. Here are a few common challenges photographers face and practical tips for solving them:
- Focusing Issues: Infrared light focuses differently than visible light. Conduct trial-and-error tests with your lens to find its infrared focal point, or research lenses pre-calibrated for IR photography.
- Hot Spots in Images: Some lenses produce a “hot spot” of light in IR images. Test your lenses to identify ones that work well for infrared.
- Lengthy Exposure Times: For cameras unmodified for IR, exposure times can be lengthy, particularly in low-light conditions. Use a tripod and consider shooting during bright, sunny days for optimal results.
Applications for IR Photography
Once you’ve developed a strong feel for using an IR filter, consider how and where you can apply it creatively. Examples include:
- Landscape Photography: Transform scenes with bright, glowing foliage and dramatic skies.
- Architectural Shots: Highlight textures and unique contrasts in buildings and structures.
- Portrait Photography: Add a dreamy, ethereal element to photos of people and animals.
Infrared photography is an exciting and artistic medium that opens up a new world of creativity for photographers. By understanding how to correctly use an IR filter on your digital camera, you can experiment with surreal effects and push the boundaries of traditional photography. As with any new technique, patience and practice are the keys to success.
Start with the right equipment, plan your shots carefully, and give yourself plenty of room for creative exploration both in-camera and during post-processing. As you grow more confident in this space, the allure of infrared images will undoubtedly inspire you to create stunning, otherworldly photographs that captivate viewers.

