How To Use Endoscope Camera On Android?
In recent years, portable endoscope cameras have become increasingly popular as handy, versatile tools for inspecting hard-to-reach areas. Whether you're diagnosing issues in a car engine, inspecting plumbing lines, or simply exploring crevices that would otherwise be inaccessible, endoscope cameras have proven to be excellent devices. With Android smartphones becoming more powerful and adaptable, using an endoscope camera on your Android device can turn your phone into a practical diagnostic and inspection tool. However, many users encounter challenges when connecting and using an endoscope camera with their Android phones due to compatibility or setup difficulties. This article is a step-by-step guide to help you successfully use an endoscope camera on your Android device and troubleshoot common problems.
Understanding the Basics of an Endoscope Camera
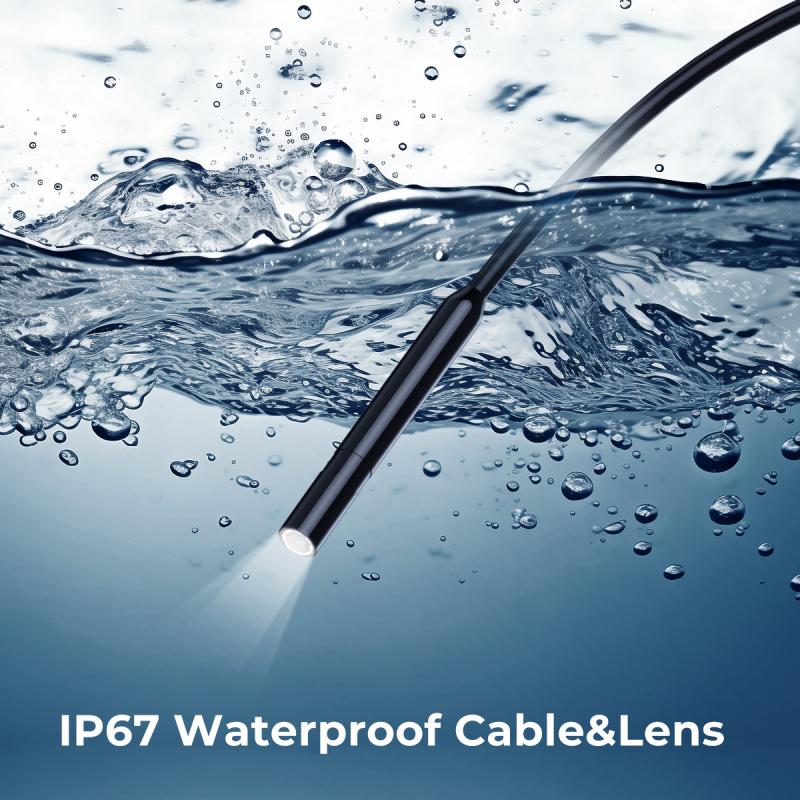
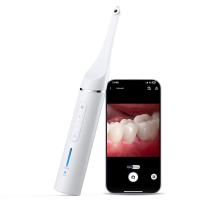
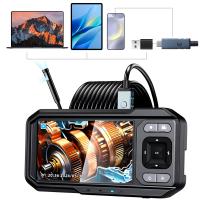
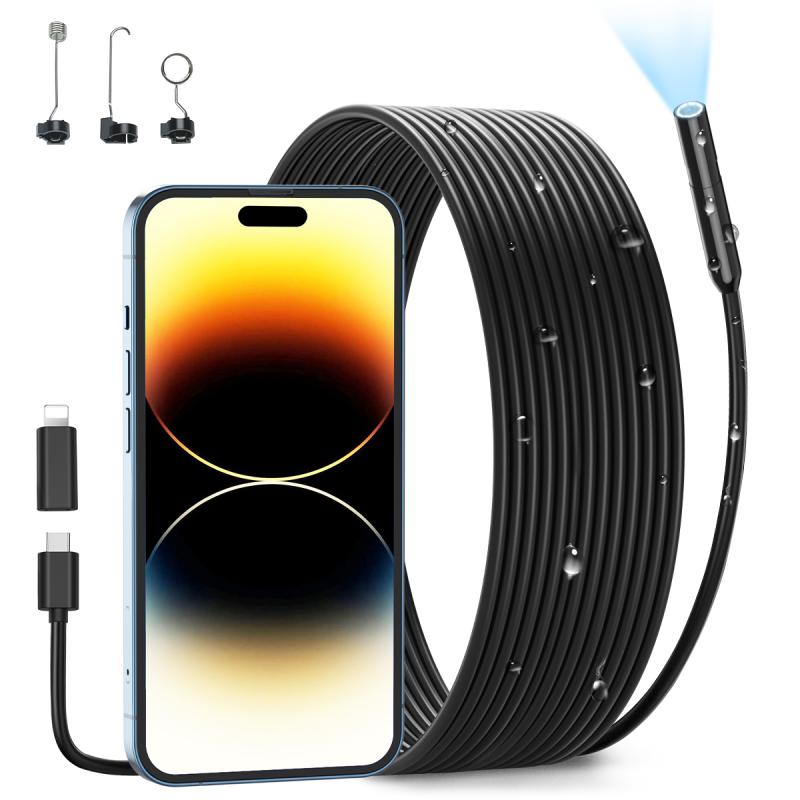
An endoscope camera is a small camera attached to a flexible or rigid cable, often with integrated LEDs for illumination. These cameras are connected to a viewing device such as a phone, tablet, or computer to provide a live feed of the area being inspected. The key feature of an endoscope camera is its ability to see into tight spaces that other cameras cannot easily reach.
Most portable endoscope cameras are equipped with a USB or micro-USB/USB-C adapter for easy plug-and-play functionality. They usually require a companion app, available on the Google Play Store, to display the camera feed and take photos or videos.
Things to Check Before You Start
Before using an endoscope camera, ensure the following:
1. OTG (On-The-Go) Support on Your Android Device: Not all Android devices support OTG functionality, which is essential for connecting external peripherals like an endoscope camera. Check whether your phone supports OTG by looking at the manufacturer's specifications or by downloading an OTG compatibility checker app from the Play Store.
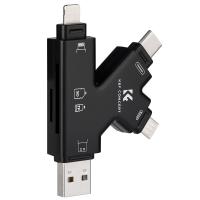
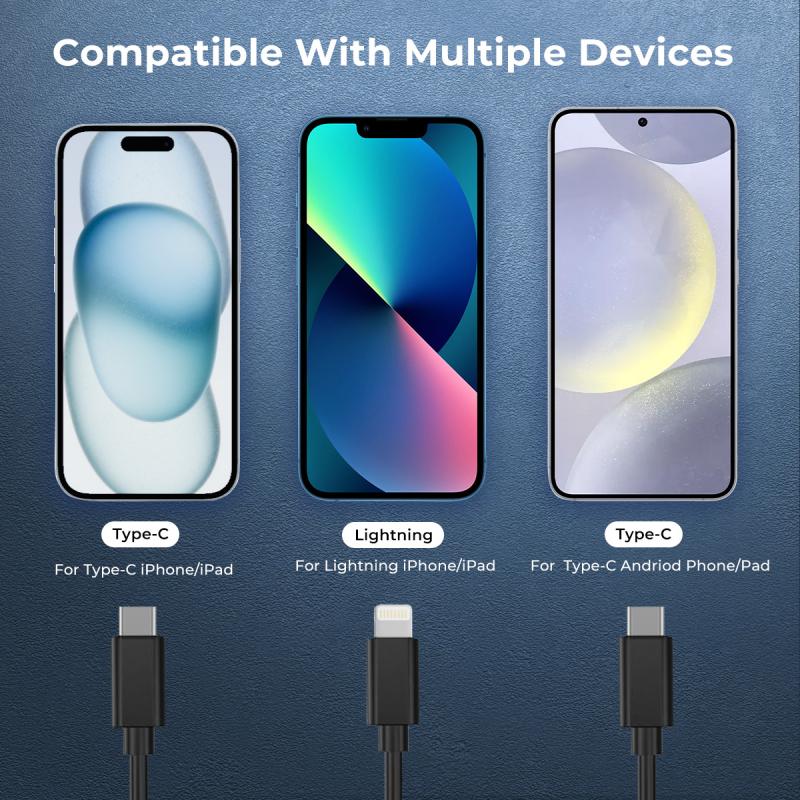
2. Camera Connection Type: Endoscope cameras are available in USB-A, micro-USB, or USB-C formats. Confirm that your camera's connector matches your phone's port. If not, you may need a USB-C to micro-USB adapter (or vice versa) or a USB OTG adapter.
3. App Compatibility: Most endoscope cameras require a specific app to display the live video feed. Check the user's manual or the camera's product page to find the recommended app and download it onto your phone. Some popular options include "USB Camera," "OTG View," or the manufacturer’s proprietary app.
4. Android Version: Ensure your Android version is compatible with the endoscope camera. Some older versions of Android may not work well with certain apps or OTG-enabled devices.
Now that you've checked the prerequisites, follow these steps to use your endoscope camera on Android successfully.
---
Step-by-Step Guide to Using an Endoscope Camera on Android
1. Connect the Endoscope Camera to Your Android Phone
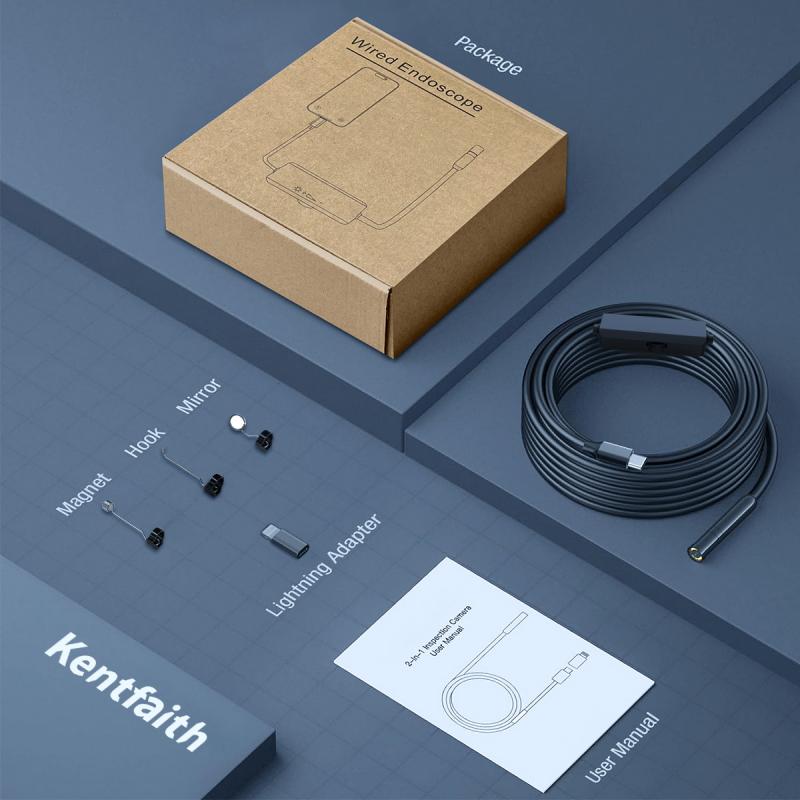
- Plug the endoscope camera directly into your phone’s USB port (USB-C, micro-USB, or via OTG adapter, depending on your device).
- Modern Android devices should recognize the camera automatically as a connected peripheral. Some will prompt you to select an app to manage the device.
A note here: If your phone does not recognize the device at this stage, make sure you have followed all the prerequisite checks mentioned earlier, especially OTG support.
2. Download and Launch a Compatible App
- Open the Google Play Store and search for the app recommended by the endoscope camera manufacturer. If none was specified, try third-party options like "USB Camera," "OTG View," or "HD Camera Pro."
- Install the app and give it the necessary permissions, such as access to storage and the camera.
3. Allow Necessary Permissions
When launching the app for the first time, you'll be prompted to grant permissions. These permissions are necessary for the app to display the video feed, save photos/videos to your storage, and access USB devices. Approve all required permissions to ensure proper operation.
4. Check the Live Feed
Once the app launches, connect to the endoscope camera, and it should display the live feed from the camera. You may need to select your device as the video source in the app settings if there are multiple connection options.
5. Adjust Settings for Better Performance
Most apps allow you to adjust brightness, focus, resolution, and video settings. Use these options to improve the clarity and usefulness of the video feed. Many endoscope cameras have a small adjustable wheel for LED brightness, so you can modify illumination to suit the inspection environment.
6. Capture Photos and Videos
If you want to document your findings, use the app's built-in controls to capture photos or record videos as needed. These files will typically be saved to your Android phone's storage, and you can access them through your phone’s gallery app.
---
Common Troubleshooting Issues
Sometimes users encounter problems when trying to set up or operate an endoscope camera on Android. Here are some common issues and how to fix them:
Problem 1: Endoscope Camera Not Detected
- Solution: Ensure OTG is enabled on your Android phone. Some devices have an "OTG" toggle in the settings menu, so check and activate it if required.
- Use a different app. Not every app works with every endoscope camera, so try alternatives like "USB OTG Checker" or specific apps recommended in your manual.
- Confirm that the cable is not damaged. A defective cable can hinder recognition by your phone.
Problem 2: App Crashes or Feeds Not Displaying
- Solution: Ensure that you have installed the latest version of the app, as outdated apps may not function properly.
- Uninstall and reinstall the app to resolve corrupted files or settings issues.
- Check that your Android version meets the app's compatibility requirements.
Problem 3: Poor Video Quality
- Solution: Verify that you are using a high-resolution endoscope camera. Some low-cost cameras have resolution constraints which result in blurry or unclear images.
- Adjust the LED brightness or external lighting to improve clarity.
- Check the focus adjustment on the camera itself, if available.
Problem 4: Phone Battery Drains Quickly
- Solution: Using an endoscope camera can consume significant battery power, especially if the device relies on the phone for power. Close other apps and reduce screen brightness to minimize battery drain. Consider using a power bank for additional charging during extended operations.
---
Applications of an Endoscope Camera with Android Devices
Endoscope cameras have a wide range of practical uses, particularly when paired with the portability and flexibility of an Android device. Here are some situations where these devices come in handy:
1. Plumbing Inspection: Diagnose blockages or leaks in pipes without dismantling the infrastructure.
2. Automotive Diagnosis: Inspect areas like the engine bay or interior components of vehicles without manual disassembly.
3. Home Maintenance: Check for pests, wiring issues, or other hard-to-see areas in your home.
4. DIY Projects: Access and assess inaccessible places for home improvement or similar tasks.
5. Medical and Outdoor Use: (Non-professional use) In some cases, these can be used to inspect tight spots in outdoor camping gear, hiking backpacks, or inaccessible nooks during expeditions.
---
Tips for Best Usage
1. Keep the Camera Clean: Ensure the camera lens is clean and free of dust or debris for the best image quality.
2. Use in Dry Environments: While many endoscope cameras are waterproof, avoid submerging them for prolonged periods unless they are certified for such usage.
3. Store Properly: Always store the camera in its designated case to prevent damage to the lens or cable.
---
Final Thoughts
Using an endoscope camera on an Android device is a simple yet powerful way to extend your phone's functionality for inspection tasks. By following the steps outlined above, you can quickly resolve compatibility issues, master the interface of your chosen app, and make the best use of your camera. Whether you're a professional mechanic or a curious DIYer, an endoscope camera can be a valuable addition to your toolkit, especially when connected to the ubiquitous Android smartphone.
While modern technology has made these tools easier to access and use, careful attention to settings, compatibility, and troubleshooting can ensure you get the best possible performance. With the right preparation, you'll unlock the full potential of your endoscope camera and your Android device.

