How To Use Digital Microscope On Android?
Digital microscopes have revolutionized our approach to magnification, making the process not only more portable but also interactive. The ability to connect these devices to Android smartphones has further democratized access to microscopic observation, enabling hobbyists, students, researchers, and professionals to analyze minute details with ease on a platform they already own. However, many users face challenges or are unaware of the steps to seamlessly integrate their digital microscopes with Android devices. This article will function as a comprehensive guide to understanding the setup, compatibility, applications, and troubleshooting involved in using a digital microscope on an Android device.
The Basics of Digital Microscopes
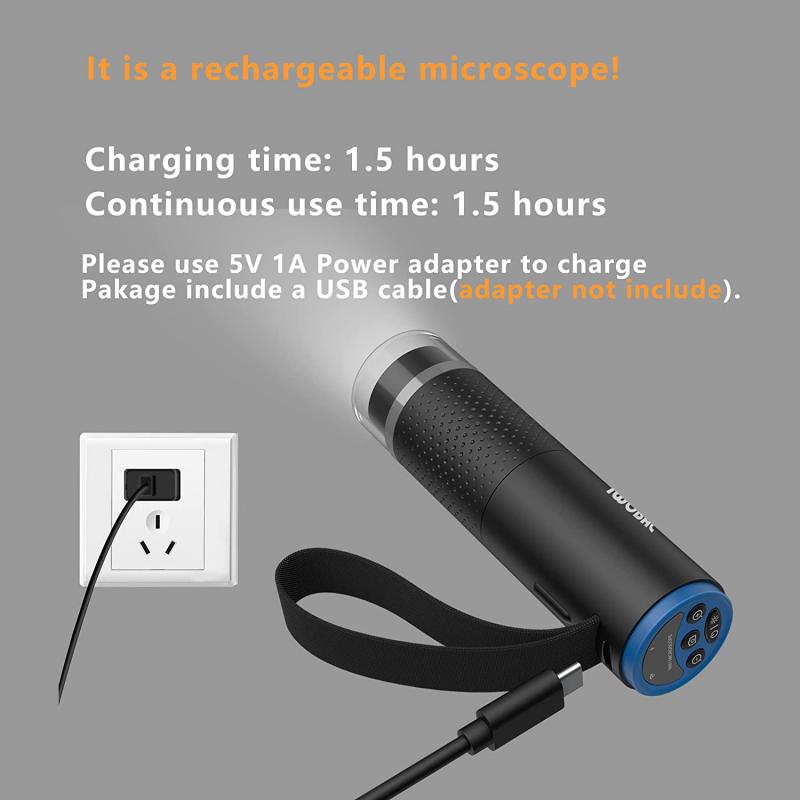
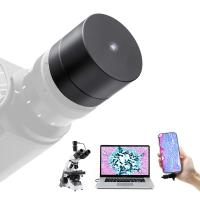
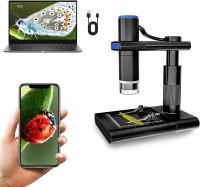
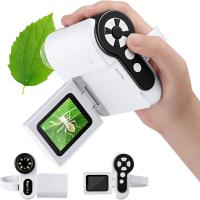
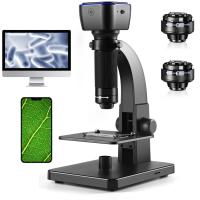
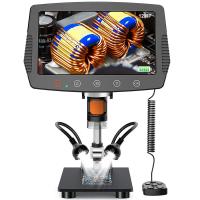
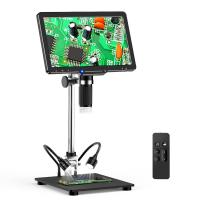
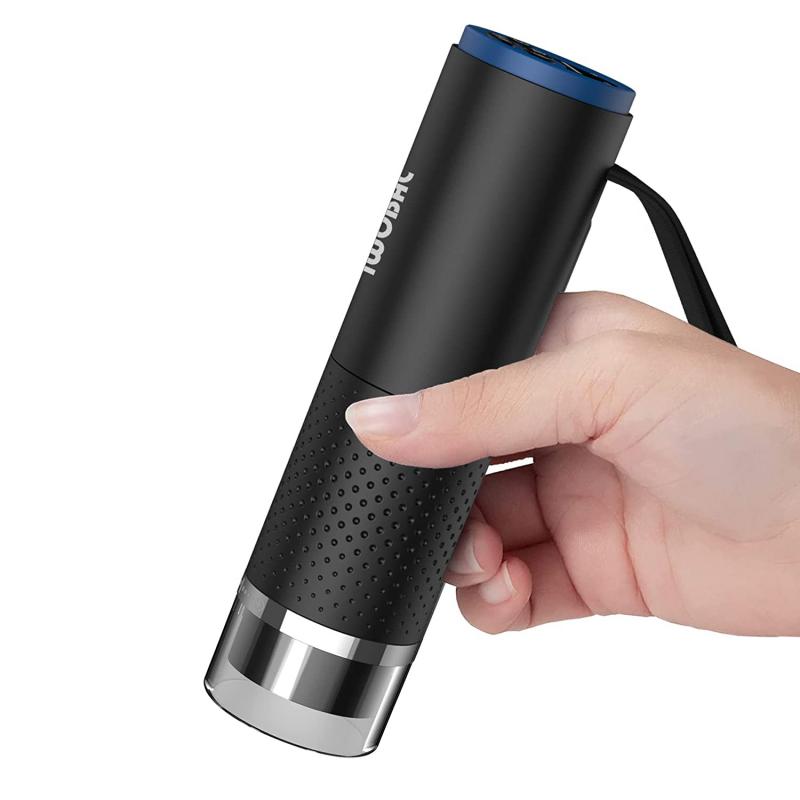
Digital microscopes replace the traditional eyepiece with a camera sensor that captures the magnified image and transmits it to a display, such as a computer, TV, or smartphone. They typically use USB or wireless (Wi-Fi or Bluetooth) connections, making it possible to interface with multiple device types. For Android users, this accessibility opens up opportunities for various applications, such as observing biological samples, inspecting electronics, identifying tiny components in crafting or repair work, and even conducting educational demonstrations.
Step-by-Step Guide to Using a Digital Microscope on Android
1. Check for Compatibility
- Before purchasing or using a digital microscope with your Android smartphone, ensure the microscope supports connectivity with Android devices. Most USB-based digital microscopes that support OTG (On-The-Go) will work with Android.
- Verify that your Android smartphone has OTG compatibility. You can do this by checking the device specifications or using apps like “USB OTG Checker.”
2. Choose the Right App
- Digital microscopes often come with their own proprietary apps or recommend third-party apps to display live microscope footage.
- Common apps include:
- USB Camera
- OTG View
- CameraFi
- Digital Viewer
- These apps facilitate real-time viewing, photo capture, and video recording of magnified images on your Android smartphone.
3. Connect the Microscope
Depending on whether your microscope uses a wired or wireless connection, follow these steps:
For USB Microscopes:
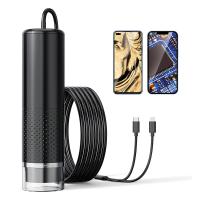
- Obtain the proper adapter if your Android phone has a USB-C or Micro-USB port. Look for OTG adapters that convert USB-A to your phone's port type.
- Plug the digital microscope into the adapter and connect it to the phone.
- Allow permissions if the app prompts you to access the connected device.
For Wi-Fi Microscopes:
- Connect the microscope to its power source.
- Check for the network name of your microscope’s Wi-Fi in your phone’s settings. Join this network.
- Open the recommended app, and you should see the live feed from the microscope.
4. Calibrate and Adjust
- Use the focus knob on your digital microscope to adjust the clarity of the magnified image. Some apps allow you to further tweak settings such as brightness, contrast, and color temperature.
5. Capture Images and Videos
- Use in-app features to take photos or record videos of your observations, which you can save or share as needed. These tools are especially useful for documenting inspections or creating content for educational purposes.
Applications of Digital Microscopes on Android
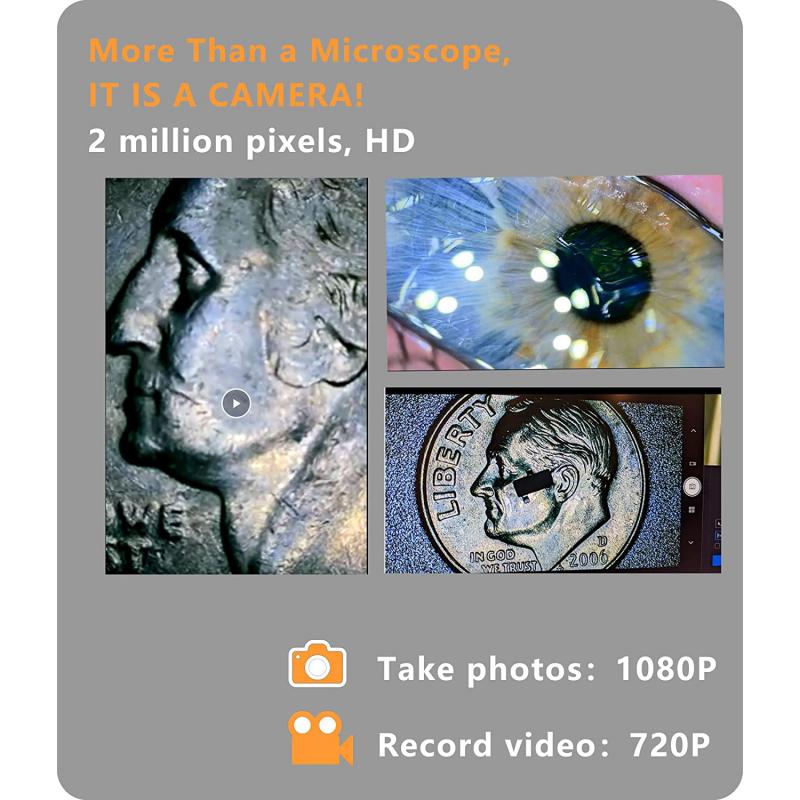
When connected to an Android device, digital microscopes can serve diverse purposes:
1. Education and Learning
- Biology students can observe cellular structures or dissect plant specimens at home or in the field.
- Teachers can demonstrate microscopic observations on a larger projection screen using their Android devices as a hub for sharing.
2. Electronic Repairs and Inspections
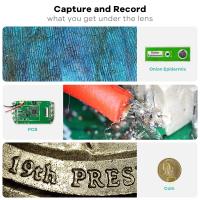
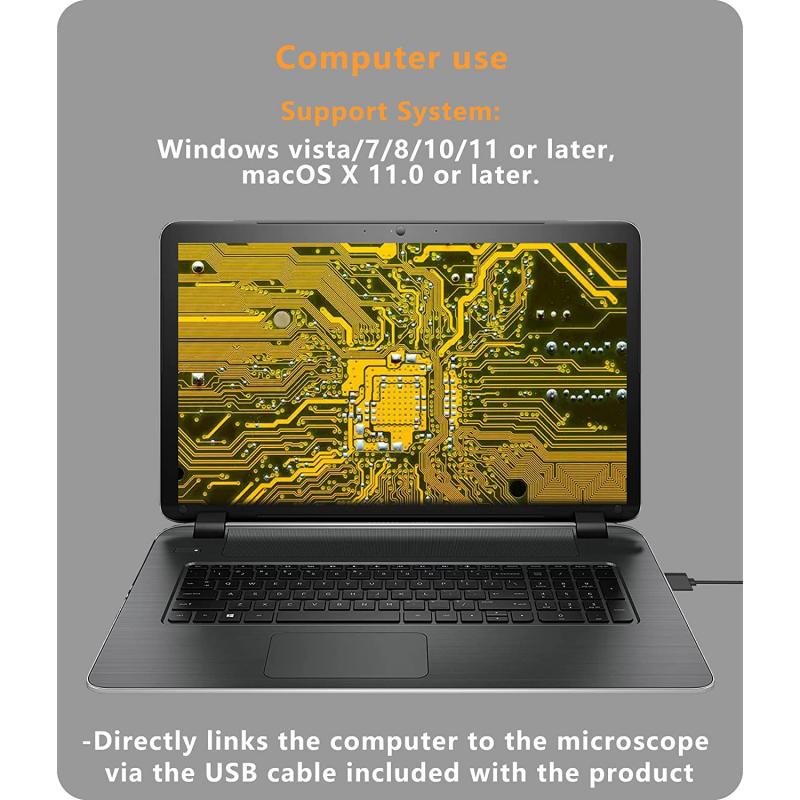
- Examine the solder joints on a circuit board or inspect connectors and microchips with clarity that the naked eye cannot achieve.
- Android integration allows portability, enabling technicians to conduct inspections on site.
3. Coin and Gemstone Identification
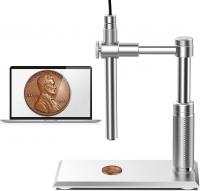
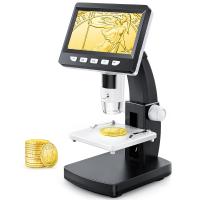
- Coin collectors use digital microscopes to assess mint marks and surface imperfections.
- Jewelers use magnification to evaluate gemstone cuts and grades before investment or repair.
4. DIY and Hobby Work
- Scrapbookers and crafters can utilize microscopes to handle precise designs, inspect small components, and refine their work.
- Watchmakers or model builders benefit from magnification to manage tiny gears, needles, and intricate parts.
5. Medical and Forensic Applications
- Healthcare professionals can use portable microscopes to examine samples in the field.
- Investigators can scrutinize tiny traces of evidence at a crime scene with the aid of Android devices.
Troubleshooting Tips
1. Device Doesn’t Recognize the Microscope
- Check that OTG is enabled on your Android device. Some phones have this feature turned off by default.
- Confirm that your adapter is functioning correctly and is compatible with OTG.
2. App Doesn’t Detect the Microscope Feed
- Ensure you’ve downloaded the correct app recommended by the manufacturer or one known to work with USB microscopes.
- Restart both the app and your phone.
- Try reconnecting the microscope and granting permissions again.
3. Image Quality Issues
- Clean the lens carefully with a microfiber cloth to remove smudges or dust.
- Confirm that the microscope’s focus is manually adjusted for the desired distance.
- Check settings within the app to optimize brightness and contrast.
Tips for Optimizing Microscopic Observations on Android
1. Invest in a Stable Stand: Many handheld digital microscopes can be shaky when used without support. Investing in a stand will improve stability and clarity for capturing images or videos.
2. Use Natural or Supplemental Lighting: Proper lighting can drastically enhance image quality. Consider using LED ring lights or placing the subject in a well-lit environment.
3. Regularly Update Apps: App updates often improve compatibility with newer Android devices and introduce features for better user experience.
4. Experiment with Magnification Levels: Most digital microscopes allow for variable magnification, so try different levels to determine what works best for the object you're analyzing.
5. Save and Back Up Observations: Android phones offer integration with cloud services like Google Photos or Drive, making it easy to store, organize, and share captured files.
The Future of Digital Microscopy with Android
With advancements in hardware and software, the functionality of digital microscopes continues to expand. Developers are integrating AI into microscopy apps, enabling capabilities like automatic object recognition, measurement tools, and intelligent focus adjustments. Android users are also benefitting from consistent updates to smartphone cameras and processing power, allowing them to handle higher resolutions and smoother live-streaming of magnified images.
As smartphone technology grows, digital microscopes are becoming viable tools not only for professionals but also for educators, hobbyists, and everyday consumers. With Android devices acting as user-friendly hubs for magnification and documentation, the merger of these technologies is likely to inspire more innovative applications and make microscopic observation an accessible and fun experience for all.
Connecting and using a digital microscope on an Android device may seem daunting at first, but with the right tools, apps, and techniques, the process becomes straightforward. By ensuring compatibility, using proper setup steps, and troubleshooting common issues, you can unleash the potential of a digital microscope for myriad applications, ranging from education to electronics repair. This synergy of smartphone convenience and microscopic precision puts powerful analysis tools in the palm of your hand, making it easier than ever to explore the hidden world of tiny details.

