How To Use Digital Camera For Photography?
Digital cameras have become a powerful tool for photography enthusiasts, professionals, and everyday users who want to capture memorable moments. While the basics of using a digital camera might seem straightforward, mastering its features and understanding the techniques required can significantly improve your photography skills. This guide provides a comprehensive overview of how to use a digital camera effectively, empowering you to take better photographs and unleash your creativity.
Understanding Your Digital Camera

Before diving into photography techniques, it's essential to familiarize yourself with your camera. Digital cameras come in various types—point-and-shoot, mirrorless, and DSLRs (Digital Single-Lens Reflex). However, regardless of the type, most digital cameras have similar features you need to understand:
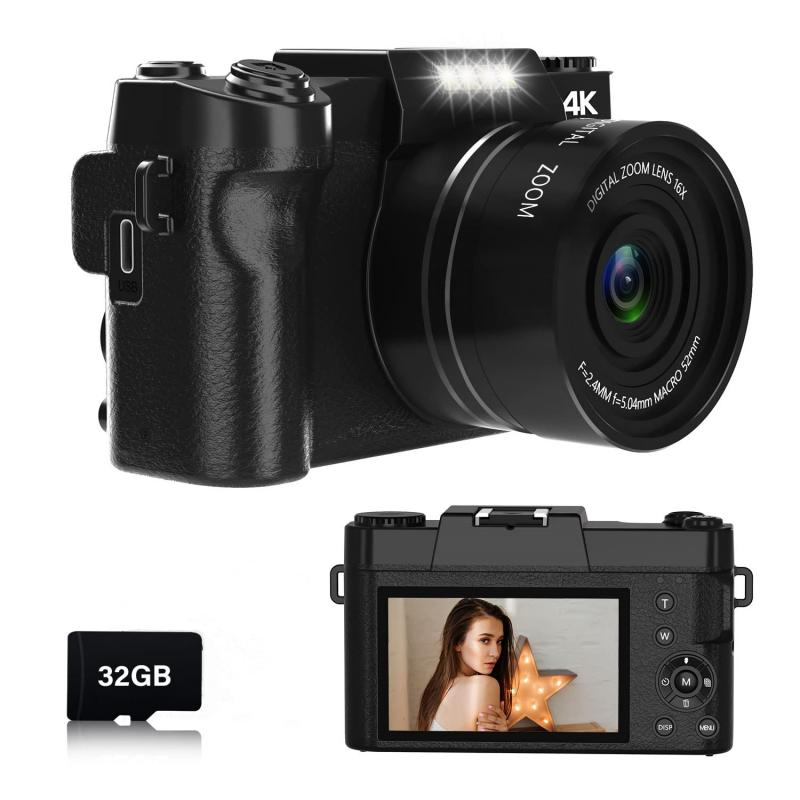
1. Lens: The lens captures light and directs it to the camera's sensor. You might have a fixed lens (common in point-and-shoot cameras) or interchangeable lenses (typically found in DSLRs and mirrorless cameras).
2. Viewfinder or LCD Screen: This displays what the lens captures, helping you compose your shot.
3. Mode Dial: Found on the top panel of most cameras, the mode dial allows you to select different shooting modes like Auto, Manual, Aperture Priority, and Shutter Priority.
4. Shutter Button: Pressing this button takes the photo. Half-pressing it generally focuses the shot.
5. Memory Card Slot: Digital cameras store photos on SD cards or similar memory storage devices.
6. Menu Button and Settings: Allows you to customize settings such as ISO, white balance, image format, and more.
By understanding these elements, you’ll gain better control over how your digital camera operates, setting the foundation for superior photography.
---
Step-by-Step Guide to Using Your Digital Camera
Step 1: Learn the Basics of Photography

At its core, photography relies on three main elements known as the exposure triangle:
- Aperture (measured in f-stops): Controls how much light enters the lens. A smaller f-stop number (e.g., f/2.8) means more light enters, creating a shallow depth of field. A larger f-stop (e.g., f/16) limits light and increases depth of field.
- Shutter Speed (measured in seconds or fractions): Determines how long light hits the camera sensor. A faster speed (e.g., 1/1000) freezes motion, while a slower speed (e.g., 1/30) captures motion blur.
- ISO (sensitivity to light): Lower ISO (e.g., 100) reduces noise and is ideal for bright scenes, while higher ISO (e.g., 3200) is better for low-light environments but can create grainy images.
Understanding how these three settings interact will fundamentally improve your control over your photographs.
---
Step 2: Start with Automatic Mode
If you're a beginner, start by using the Auto mode on the mode dial. In this setting, the camera selects the best aperture, shutter speed, and ISO for your scene. This is perfect for understanding how your camera behaves in various lighting conditions.
Pay close attention to the camera's choices. Over time, observing how it automatically adjusts settings will help you understand the rationale behind using specific configurations for different situations.
---
Step 3: Experiment with Semi-automatic Modes
Once you’re comfortable in Auto mode, switch to semi-automatic modes to gain more control over specific elements of your shot:
- Aperture Priority (A or Av): Lets you set the aperture while the camera adjusts the shutter speed and ISO. Use this for portraits or shots emphasizing depth of field.
- Shutter Priority (S or Tv): You control the shutter speed, and the camera adjusts the aperture and ISO. Ideal for action shots or motion blur effects.
These modes are perfect training grounds for transitioning into full manual mode later on.
---
Step 4: Master Manual Mode
In Manual mode (indicated as "M"), you have full control over all aspects of exposure. While intimidating at first, this mode provides unparalleled creative freedom. Here are some tips:
- Start with simple shots in good lighting. Set ISO to 100, choose an aperture (e.g., f/8), and adjust the shutter speed until your exposure indicator is balanced.
- Take test shots and adjust settings based on results. Gradually work your way into more complex scenarios, such as low light or high contrast environments.
Manual mode is the ultimate playground for pushing your creative limits.
---
Step 5: Explore Focus Techniques
Most digital cameras allow for two primary focus methods:
- Auto Focus (AF): Suitable for most situations. Cameras typically offer modes such as Single AF (for still subjects) or Continuous AF (for moving subjects).
- Manual Focus (MF): Gives you complete control over focus, which is essential for macro photography or artistic shots requiring specific focus points.
Experiment with focus modes depending on your style of photography. Use the focus ring on your lens (in manual focus modes) to fine-tune sharpness as needed.
---
Step 6: Utilize Composition Rules
Photography isn't just about technical expertise—strong composition can transform an ordinary photo into a stunning artwork. Follow these essential principles:
- Rule of Thirds: Imagine your frame divided into a grid of nine equal parts. Position your subject along these lines or at their intersections for balanced composition.
- Leading Lines: Use natural lines, like roads or pathways, to draw the viewer's attention toward the subject.
- Framing: Use objects (e.g., windows, arches, or tree branches) to frame your subject, adding depth to your image.
- Negative Space: Leave empty space around your subject to emphasize its presence or contrast.
By practicing these techniques, you'll develop an instinct for creating compelling visuals.
---
Leveraging Your Camera Features for Better Photos
Most modern digital cameras come with advanced features you should take advantage of:
1. Image Stabilization: Minimizes camera shake during handheld shooting.
2. White Balance Adjustment: Matches colors in your image with the tone of the light source. Experiment with presets like Daylight, Cloudy, Tungsten, and Fluorescent.
3. Burst Mode: Captures a series of images in rapid succession. Perfect for high-speed subjects, such as sports or wildlife.
4. RAW Shooting: Capture uncompressed photos in RAW format for maximum editing flexibility. RAW files are larger but retain more image data compared to JPEGs.
Explore your camera’s menu and manual to identify such features and utilize them intentionally.
---
Common Challenges and How to Overcome Them
1. Dealing with Low Light
Shooting in low-light conditions can lead to underexposure or blurry images. To address this:
- Increase the ISO to make your sensor more sensitive to light.
- Use a wider aperture (smaller f-stop number) to allow more light.
- Use a tripod to stabilize the camera for longer shutter speeds.
2. Capturing Motion
If motion blur is ruining your action shots:
- Increase shutter speed to freeze movement.
- Use Continuous Autofocus to track moving subjects.
3. Avoiding Overexposure
Bright environments can cause images to appear too white or "blown out." Use a smaller aperture (higher f-stop) or faster shutter speed to reduce the amount of light entering the camera.
4. Framing Your Subject
Distracting backgrounds or poorly centered subjects can take away from your photo’s impact. Use the rule of thirds to frame your subject effectively, and adjust your angle to isolate it from the background.
---
Post-processing and Finishing Touches
Once you’ve captured your photos, editing software like Adobe Lightroom, Photoshop, or even free tools like GIMP can enhance the quality of your images. Common adjustments include:
- Brightness and contrast tuning.
- Color correction and white balance adjustment.
- Cropping and straightening for better composition.
- Sharpening fine details and reducing noise.
Post-processing doesn’t have to mean altering the image beyond recognition—it’s about bringing out the best in your photo while maintaining its authenticity.
---
Using a digital camera for photography is both an art and a science. By understanding the camera’s features, mastering fundamental techniques, and experimenting with different settings and modes, you can elevate your photography skills to new heights

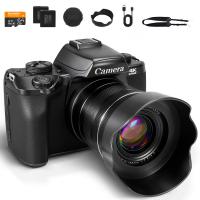
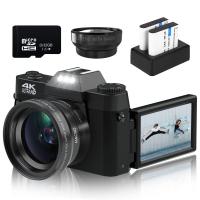
![4K Digital Camera for Photography & Video [Autofocus and Stabilisation] 48MP 16X Digital Zoom 3” 180° Flip Screen Vlog Camera with 32G SD Card, Flash 4K Digital Camera for Photography & Video [Autofocus and Stabilisation] 48MP 16X Digital Zoom 3” 180° Flip Screen Vlog Camera with 32G SD Card, Flash](https://img.kentfaith.com/cache/catalog/products/us/GW41.0065/GW41.0065-1-200x200.jpg)

