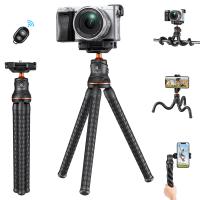
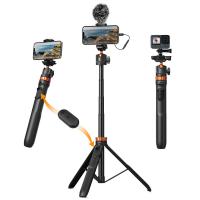
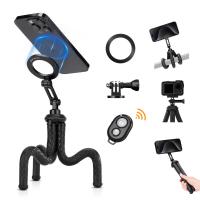
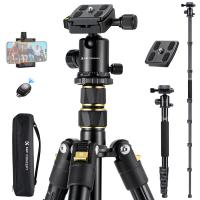
How To Use Bluetooth Remote For Tripod?
Mastering the Bluetooth Remote for Your Tripod: A Comprehensive Guide
As smartphone photography continues to gain popularity, so does the demand for tools that enhance the quality and ease of capturing photos and videos. One such indispensable tool is the Bluetooth remote for tripods. This small yet mighty gadget makes it easier to take hands-free shots—whether it’s a group selfie, a stunning landscape, or a professional product photo.
If you’re new to Bluetooth remotes or want to ensure you’re using one to its fullest potential, you’ve come to the right place. In this article, we’ll break down everything you need to know about using a Bluetooth remote with your tripod, going over setup, troubleshooting, and tips to improve your photography experience. By the end, you’ll be equipped to handle your Bluetooth remote like a pro.
---
Understanding the Bluetooth Remote for Tripods
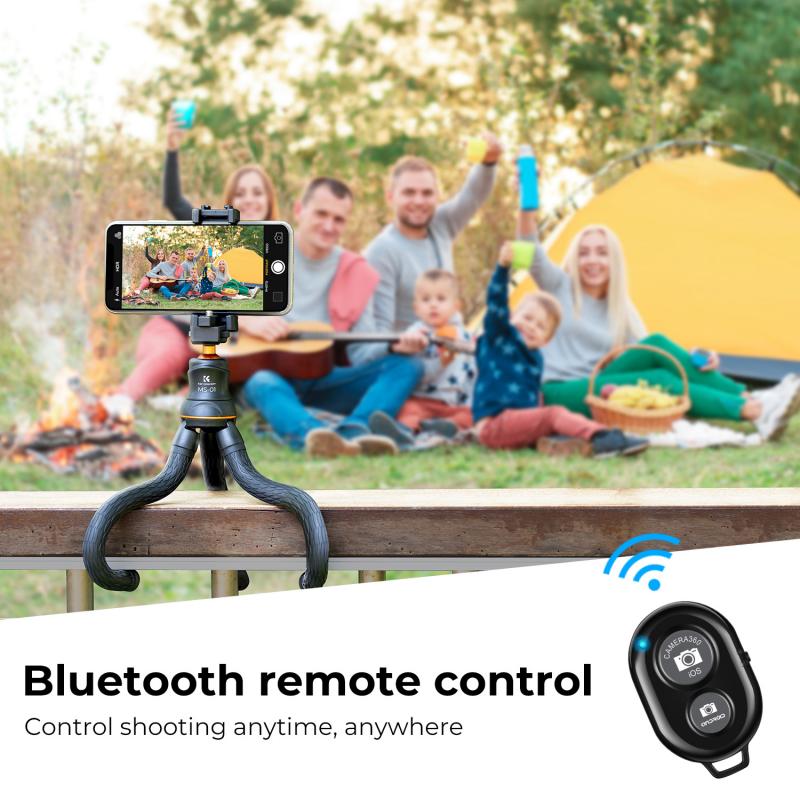
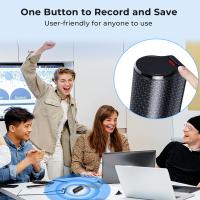
Before diving into how to use your Bluetooth remote, it’s important to understand its role. A Bluetooth remote is a small, wireless device that connects to your phone or camera through Bluetooth technology. It acts as a shutter release button, enabling you to take photos or start/stop video recording without manually touching your device. This is particularly helpful for avoiding camera shake and for scenarios where you need to control your device from a distance.
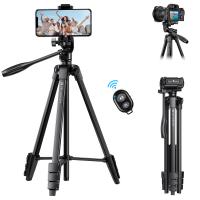
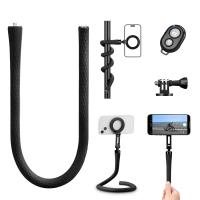
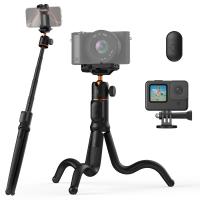
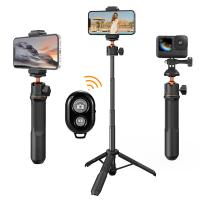
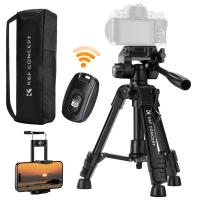
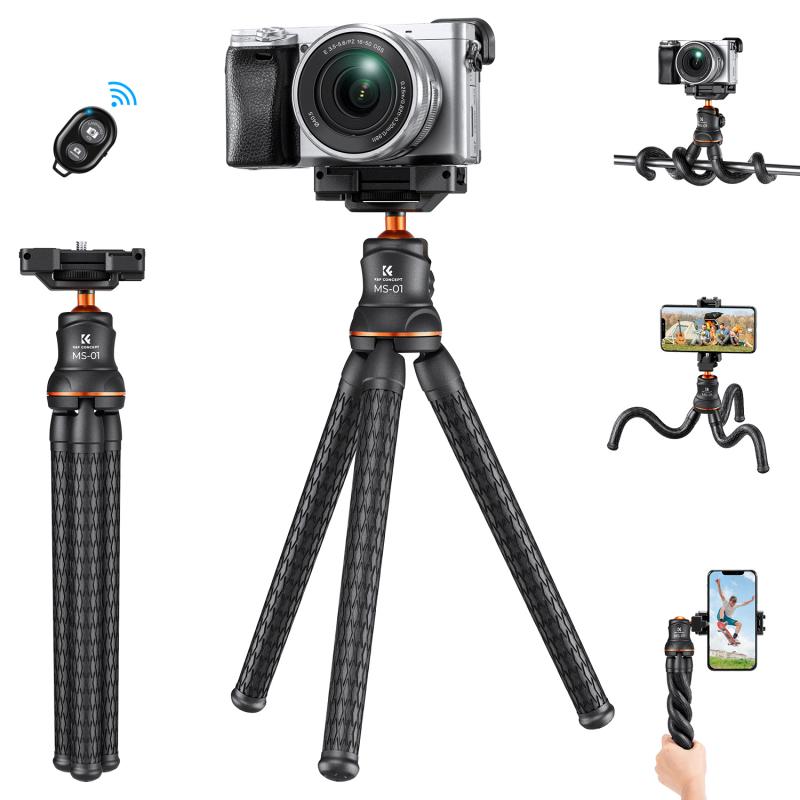
Most Bluetooth remotes are designed to pair seamlessly with tripods. Many tripods even come with a specific slot or holder for the remote, making it a convenient accessory for any photographer or content creator.
---
How to Use a Bluetooth Remote with Your Tripod
To fully unlock the potential of your Bluetooth remote, you’ll need to follow a clear step-by-step process to set it up and use it correctly. Here’s a breakdown:
1. Check Compatibility
Before diving into the setup, ensure that your Bluetooth remote is compatible with your smartphone or camera and with your tripod (if the tripod includes any specific mechanisms for holding or charging the remote). Most remotes are universally compatible with iOS and Android devices, but it’s a good idea to double-check the product specifications or manual.
2. Turn On the Bluetooth Remote
Locate the power or pairing button on your Bluetooth remote. In many models, this is a small, flat button that you need to press and hold for a few seconds. Upon turning it on, an LED light will typically blink to indicate it’s ready to pair with a device.
3. Enable Bluetooth on Your Device
To connect the remote to your smartphone or camera, you’ll need to activate Bluetooth on your device. Go to your phone’s settings and turn Bluetooth on. For most smartphones:
- On Android, this can be found under "Connections" or "Wireless & Networks."
- On iOS, Bluetooth is located in the "Settings" app.
4. Pair the Remote with Your Device
Once Bluetooth is enabled on your smartphone or camera, you should see a list of available devices. Look for the name of your Bluetooth remote (e.g., "BT Shutter" or "Bluetooth Remote") in the list. Select it, and wait for the pairing confirmation. Once connected, the remote’s LED light will typically stop blinking and will remain solid.
5. Secure Your Device to the Tripod
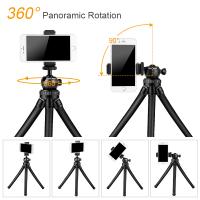
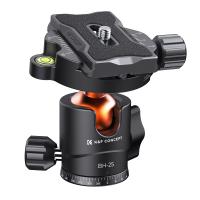
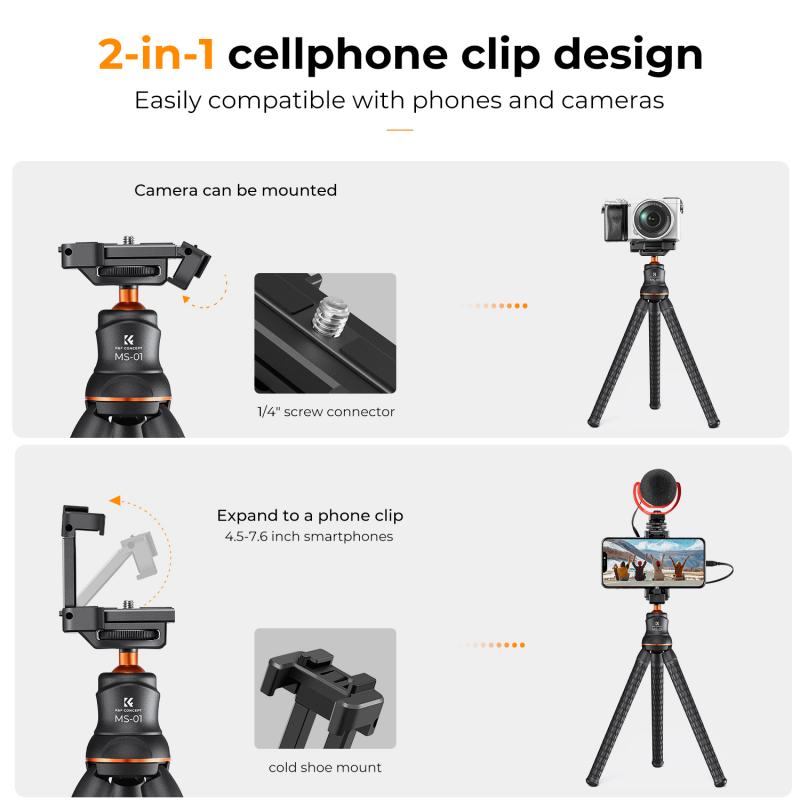
Attach your smartphone or camera to the tripod’s mount so that it is firmly in place. Make sure the device is positioned in the desired orientation (portrait or landscape) before locking it into position.
6. Test the Remote
Open the camera app on your smartphone or the relevant photography app on your device. Use the Bluetooth remote to test its functionality:
- Press the shutter button on the remote to capture a photo.
- If your device supports video, you can also start and stop recording using the same button or an additional button (if provided on the remote).
---
Tips for Getting the Most Out of Your Bluetooth Remote
Now that you know how to set up and use your remote, let’s dive into tips and tricks to enhance your overall experience. These strategies will not only improve the quality of your photos and videos but also make your workflow smoother.
1. Maximize Stability
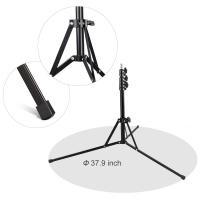
Make sure your tripod is placed on a stable and flat surface. Even with a Bluetooth remote, camera shake or uneven terrain can ruin a photo. If you’re outdoors, consider using weights or sandbags to stabilize the tripod.
2. Use a Timer Shortcut
Combine the remote’s functionality with the timer on your smartphone’s camera app. Setting a few seconds of delay after pressing the shutter button can give you time to adjust your pose or ensure the scene is perfectly framed before the shot is taken.
3. Check the Range
Most Bluetooth remotes have a range of around 10–30 feet (3–10 meters). Test the limits of your remote's range before a shoot to ensure it works effectively, especially if you're planning to capture shots from a distance.
4. Optimize Lighting
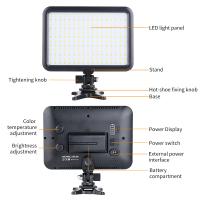
As with all photography, lighting plays a crucial role. Use natural light strategically or set up external lights to make your shots vibrant and professional-looking. A Bluetooth remote allows you to adjust lighting setups without disturbing your camera position.
5. Experiment with Angles
Using a Bluetooth remote gives you the freedom to experiment with unique angles without being confined to holding your phone or camera manually. Try placing your tripod in unconventional locations—such as on the ground for low-angle shots or on a higher surface for top-down views.
6. Clean the Lens
Before starting your shoot, make sure to clean the camera lens. This simple yet often neglected step can drastically improve the clarity and sharpness of your photos.
---
Troubleshooting Common Issues
As handy as Bluetooth remotes are, they aren’t immune to occasional hiccups. Here are solutions to some common issues you may encounter:
1. Remote Not Pairing
- Ensure your remote is powered on and in pairing mode.
- Check if the remote is already paired with another device. If so, disconnect it and try pairing again.
- Restart your phone or camera’s Bluetooth functionality.
2. Remote Not Responding
- Check the battery level of the remote, as a low battery can affect performance. Replace the battery if needed.
- Ensure your smartphone's camera app is active and running.
3. Connection Dropping
- Keep your remote and device within range.
- Avoid interference from other Bluetooth devices in the vicinity.
---
Why Use a Bluetooth Remote?
If you’re still wondering whether investing in a Bluetooth remote is worth it, let’s recap its benefits. It simplifies the process of taking photos and videos by allowing you to control your device hands-free. This is ideal for:
- Group shots without excluding anyone.
- Solo photography or vlogging.
- Long-exposure shots requiring absolute stability.
- Professional content creation requiring precise timing.
In addition, a Bluetooth remote provides flexibility and convenience, allowing you to take your photography skills to the next level with minimal effort.
---
Closing Thoughts
Mastering the use of a Bluetooth remote for your tripod can truly elevate your photography and videography game. Whether you’re capturing travel memories, boosting your social media content, or experimenting with artistic techniques, this small accessory has the power to transform how you operate your camera. With the tips and techniques outlined in this guide, you can unleash the full potential of your Bluetooth remote and take pictures with precision and ease.
Remember, practice makes perfect. Take your time to familiarize yourself with the remote, tripod, and your photography setup. As you gain confidence, you’ll discover the endless creative possibilities this technology enables. So, grab your tripod, power up your remote, and start capturing stunning, hands-free shots today!

