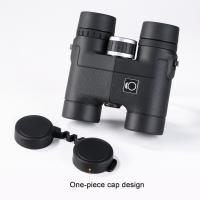
How To Use Binoculars For Stargazing?
Stargazing is one of humanity’s oldest and most fascinating pastimes—an intimate way to connect with the universe above. While telescopes are often seen as the primary tool for observing the stars, binoculars actually serve as an excellent, user-friendly entry point for those venturing into the world of astronomy. Their portability, affordability, and usability make binoculars a fantastic option for both amateur stargazers and seasoned astronomers alike.
If you’ve ever wondered how to use binoculars for a rich and rewarding stargazing experience, this article will provide you with a complete guide. From selecting the right pair of binoculars to refining techniques that help you locate celestial objects, we’ll explore everything you need to know to make the stars accessible, exciting, and awe-inspiring.
---
Why Binoculars Are Perfect for Stargazing
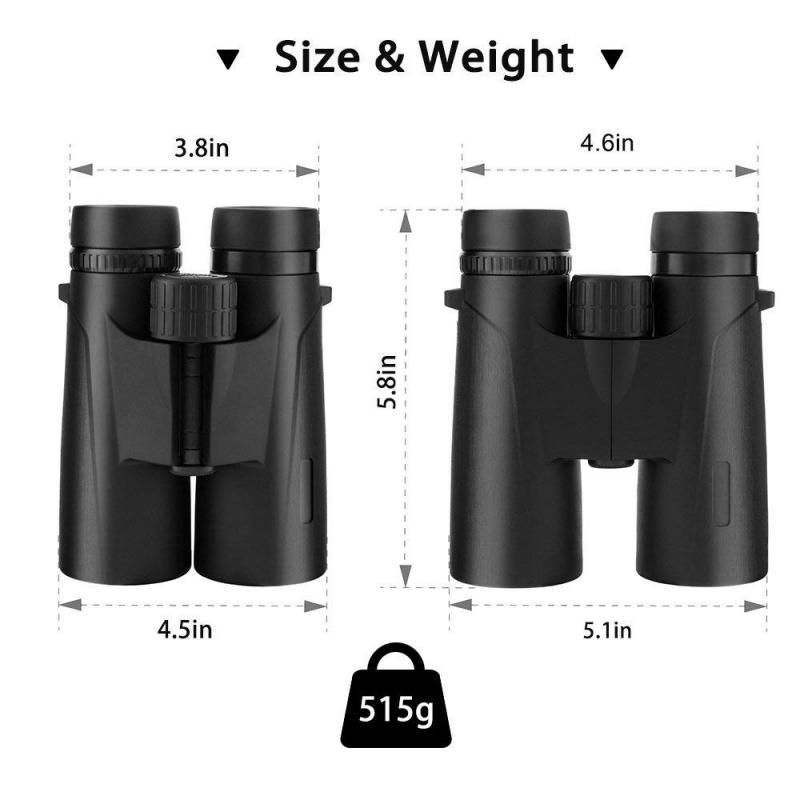
First, let’s explore why binoculars are an excellent tool for viewing the night sky. Unlike telescopes, binoculars are inexpensive, lightweight, and easy to use with no complicated setup. With binoculars, you’ll gain a wider field of view than with most telescopes, making it simpler to locate celestial objects, especially if you're just starting out.
Another crucial advantage is portability. Whether you’re observing from your backyard or taking a trip to a remote location with minimal light pollution, binoculars are easy to transport. Additionally, binoculars provide binocular vision (using both eyes), offering a more natural and immersive viewing experience compared to telescopes. This is especially helpful for beginners, as it reduces eye strain and enhances overall comfort while observing.
A good pair of binoculars can reveal star clusters, craters on the Moon, the Milky Way, planets like Jupiter and Venus, and even distant galaxies—all without the need for advanced knowledge of astronomy or expensive equipment.
---
Choosing Binoculars for Stargazing
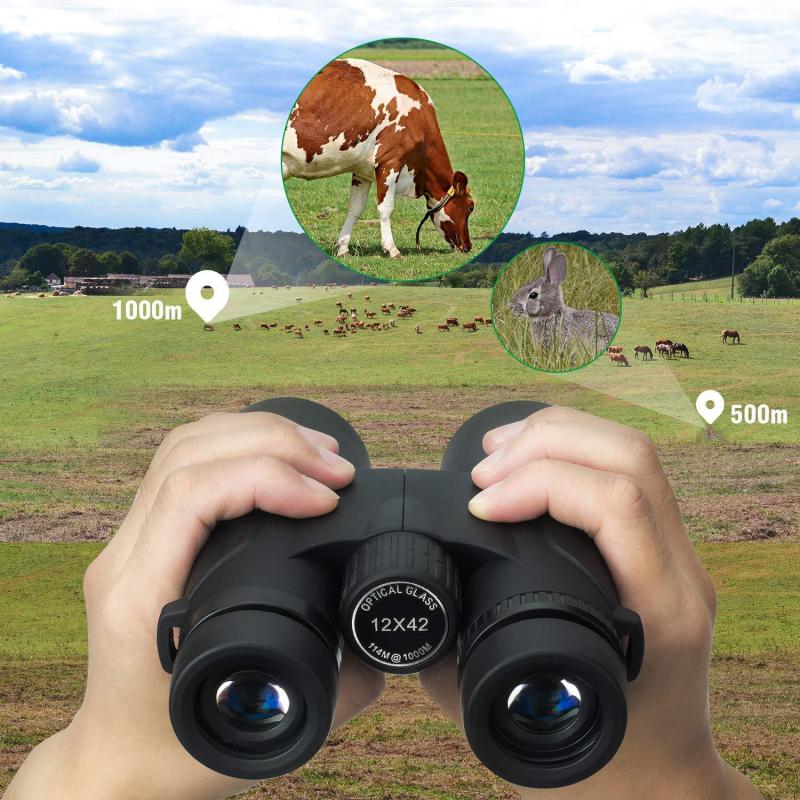
Not all binoculars are created equal, and not all are ideal for stargazing. Selecting the right pair is key to having a satisfying stargazing experience. Here’s what to look for:
1. Magnification and Aperture
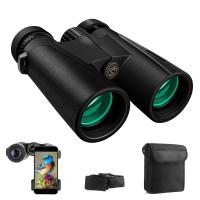
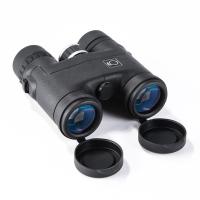
The two most critical specifications for binoculars are magnification and aperture. Magnification is indicated as the first number in a binocular description (e.g., 10x50), which tells you how much closer objects will appear. Aperture, indicated by the second number (e.g., 10x50), refers to the diameter of the objective lens in millimeters. A larger aperture allows more light to enter, which is essential for viewing faint celestial objects.
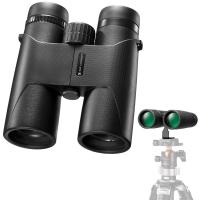
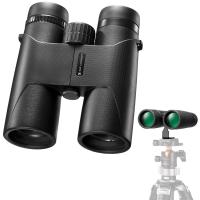
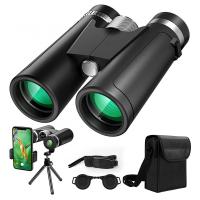
For stargazing, binoculars with a magnification of 7x to 10x and an aperture of 42mm to 50mm (e.g., 10x50 binoculars) strike the right balance between portability and light-gathering power. Anything more powerful often requires a tripod, as higher magnifications amplify hand tremors, making it difficult to keep the view steady.
2. Field of View
Field of view (FOV) is another crucial factor. It refers to the amount of sky you can see through the binoculars. A wide FOV (measured in degrees or feet at 1,000 yards) makes it easier to locate and track celestial objects, especially moving ones like satellites or meteors.
3. Optics Quality
Look for binoculars with fully multi-coated lenses, which reduce light loss and reflections while improving overall clarity and brightness. Prism types like Porro and roof prisms also impact optical performance. Porro prisms are more traditional but tend to offer better depth perception for stargazing.
4. Exit Pupil
The exit pupil refers to the circle of light visible when you hold binoculars at arm’s length. It is calculated by dividing the aperture by the magnification (e.g., a 10x50 pair of binoculars has an exit pupil of 5mm). For astronomy, a larger exit pupil (4-7mm) aligns well with the dilation of the human eye in dark conditions, making it easier to see faint celestial objects.
---
Preparing for a Night of Stargazing
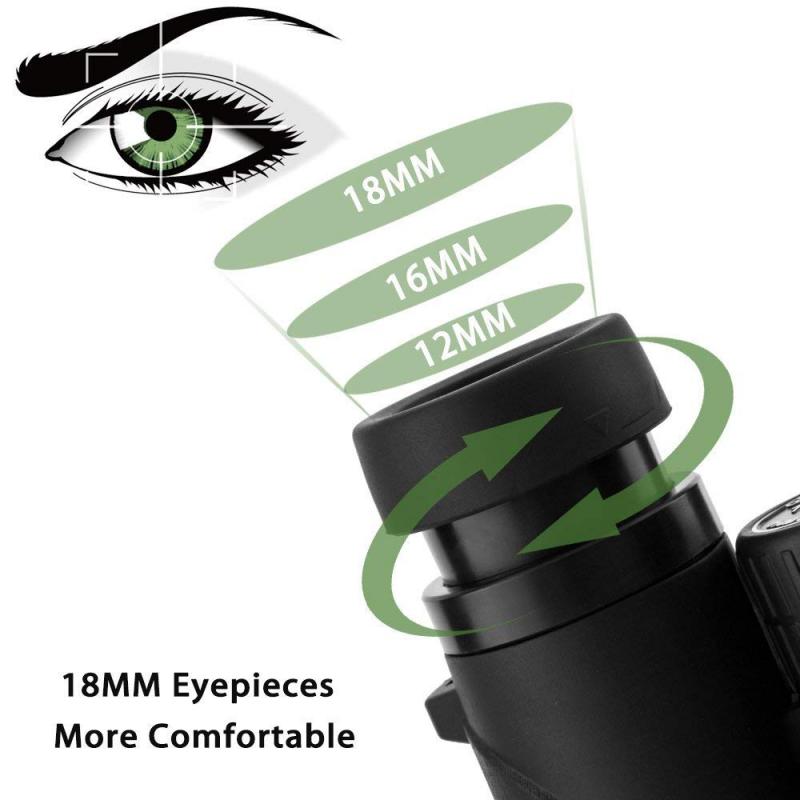
Once you’ve got your binoculars, preparation is the next step. Setting yourself up for success is crucial for an enjoyable and fruitful stargazing session.
1. Find the Right Location
Light pollution is the stargazer’s worst enemy. Urban areas with bright lights obscure many stars and celestial objects. Aim for a dark-sky location, preferably far from city lights. Bonus points if the area has an open horizon and is free of obstructions like tall buildings or trees.
2. Check the Weather
Clear skies are essential for stargazing. Use a reliable weather app or astronomy-specific tools to check conditions before heading out. Look for forecasts indicating minimal cloud cover and low humidity, which can obscure your view.
3. Plan What You Want to Observe
The night sky can feel overwhelmingly vast, so identifying key celestial targets beforehand helps to focus your observation. Mobile apps like Star Walk or SkySafari, as well as star charts and planispheres, are excellent tools for locating prominent constellations, planets, and deep-sky objects visible at a given time and date.
4. Allow Your Eyes to Adapt
Human eyes take 20-30 minutes to fully adapt to darkness. Avoid using brightly lit screens or flashlights. If you need light, use a red flashlight, as red illumination has minimal impact on night vision.
5. Bring Supporting Equipment
While one of the advantages of binoculars is their handheld portability, consider stabilizing your view with a tripod or a monopod for extended sessions. Neck straps and padding can also enhance your comfort while observing.
---
Techniques for Best Results
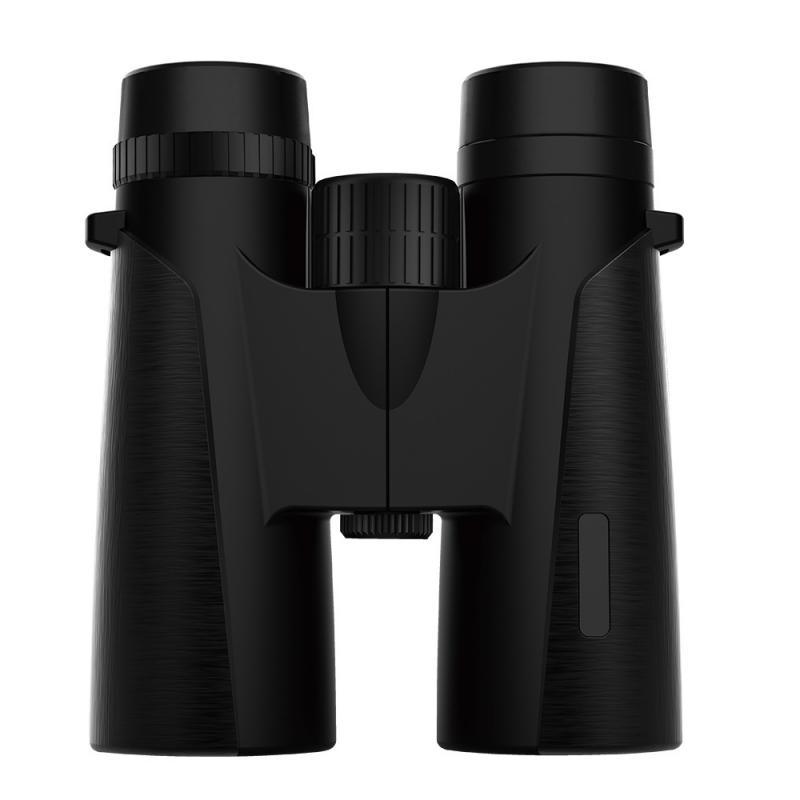
Using binoculars effectively for astronomy involves more than just pointing them at the sky. The following techniques will enhance your stargazing experience significantly:
1. Start with the Moon
The Moon is the easiest celestial object to locate and provides fantastic detail through binoculars. Look for craters, mountain ranges, and "seas" (large, flat plains of basalt). Observe it during a crescent or quarter phase to maximize contrast and shadow details.
2. Explore Constellations
Binoculars are ideal for scanning the rich star fields that make up prominent constellations. Compared to unaided eyes, binoculars help resolve far more stars within each constellation.
3. Locate Planets
Bright planets like Jupiter, Saturn, Venus, and Mars are excellent binocular targets. Jupiter’s four largest moons—Io, Europa, Ganymede, and Callisto—are often visible as tiny points of light near the planet.
4. Search for Star Clusters
The Pleiades (M45) is one of the most beautiful open star clusters visible in binoculars. Other notable clusters include the Beehive Cluster (M44) and the Double Cluster in Perseus.
5. Scan the Milky Way
From a dark-sky location, the Milky Way appears as a faint, cloudy ribbon stretching across the sky. Binoculars reveal its intricate star fields, dark lanes of interstellar dust, and numerous star clusters.
6. Follow Satellites and Meteors
Binoculars can track artificial satellites moving steadily across the heavens or zoom in on bright meteors during meteor showers. Be prepared to move quickly, as these objects are fast-moving!
7. Practice Sweep-and-Pause
Rather than moving your binoculars randomly, use a deliberate sweep-and-pause motion to scout areas of interest. Spend time observing a particular region to allow faint stars and details to come into view.
---
Troubleshooting Common Challenges
Stargazing with binoculars isn’t without its challenges, but most obstacles can be easily overcome.
- Shaky Views: Use a tripod, monopod, or even a makeshift stabilizer like resting your elbows on a car hood. Higher magnifications amplify even small hand movements, so a steady surface is invaluable.
- Difficulty Finding Objects: Begin with naked-eye alignment. Use landmarks like bright stars or the Moon to navigate, then raise your binoculars while keeping your target in the center of your vision.
- Neck Fatigue: Avoid prolonged periods of looking straight up. Lie on a reclining chair or blanket for added comfort.
---
Moving Beyond Binoculars
Once you’ve gained confidence and practice with binoculars,

