How To Use A Tripod With An Iphone?
In an era where most of us rely on smartphones for photography and videography, finding ways to maximize the potential of this tool has become essential. One of the most valuable accessories for an iPhone photographer or videographer is a tripod. Using a tripod with an iPhone allows for greater stability, sharper images, smoother videos, and a huge range of creative possibilities, from time-lapse photography to group shots without needing someone to hold the camera. However, learning how to use a tripod effectively with your iPhone isn’t always straightforward, especially with the variety of models, adapters, and mounting options available on the market today.
In this guide, we’ll discuss the practical steps on how to use a tripod with an iPhone, share the benefits of doing so, and explore common challenges and their solutions. Whether you’re a casual iPhone user or someone considering serious mobile photography, this article will give you the tools you need to elevate your skills.
Why Use a Tripod with Your iPhone?
Before diving into the how-to aspect, it’s important to understand why using a tripod with your iPhone is worth the investment. Here are just a few key benefits:
1. Stability: A tripod ensures your iPhone remains completely still, eliminating unwanted movement that results in blurry photos or shaky videos.
2. Professional Results: Certain shooting techniques, such as slow-shutter photography, long exposures, or filming content for professional projects, require the stability a tripod provides.
3. Convenience for Solo Creators: Tripods make it easy to take group photos or selfies without needing to rely on someone else. They’re also invaluable for solo creators, vloggers, and content producers who film themselves.
4. Creative Techniques: Using a tripod opens up creative shooting possibilities, such as time-lapses, panoramas, and astrophotography.
5. Reduced Fatigue: A tripod saves you from holding your phone for long periods during extended shoots or video calls, reducing physical strain.
With these benefits in mind, let’s look at how you can effectively use your tripod to achieve those results.
---
Step-by-Step Guide to Using a Tripod with an iPhone
1. Choose the Right Tripod for Your iPhone
Before you can get started, you need a tripod that works well with your smartphone. Tripods come in different sizes, types, and materials. Here’s what you should consider:
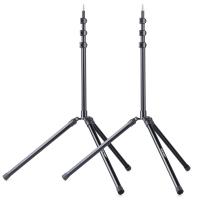
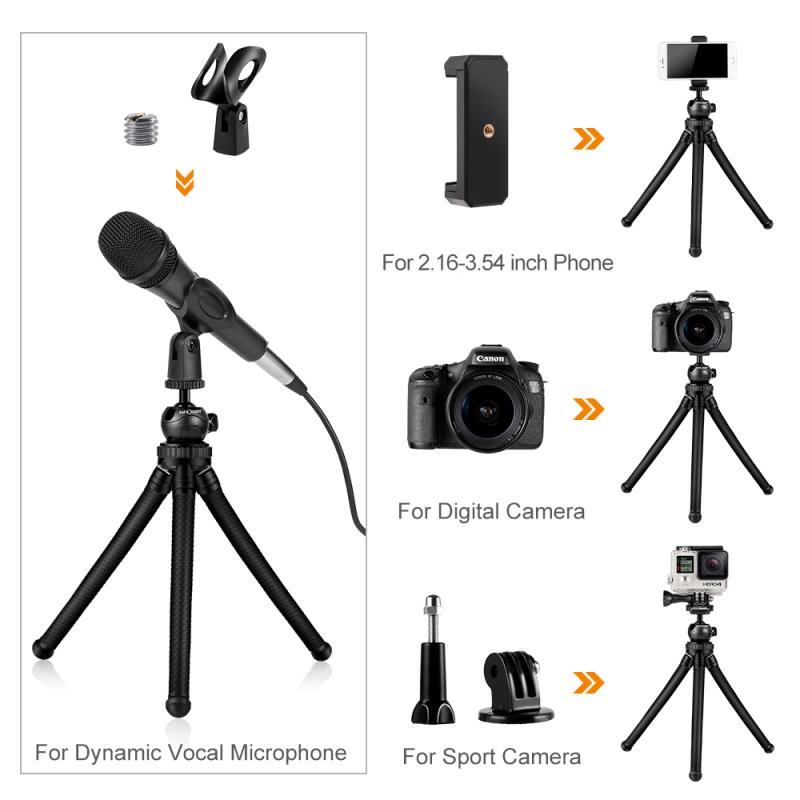
- Dedicated Smartphone Tripods: These lightweight, compact tripods are specifically designed for smartphones and are often portable and flexible.
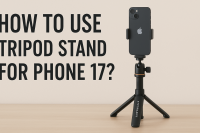
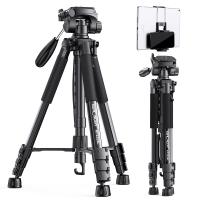
- Universal Tripods with Smartphone Mounts: Any standard camera tripod can be used with an iPhone, as long as you have a compatible phone mount that screws into the tripod’s 1/4-inch screw head.
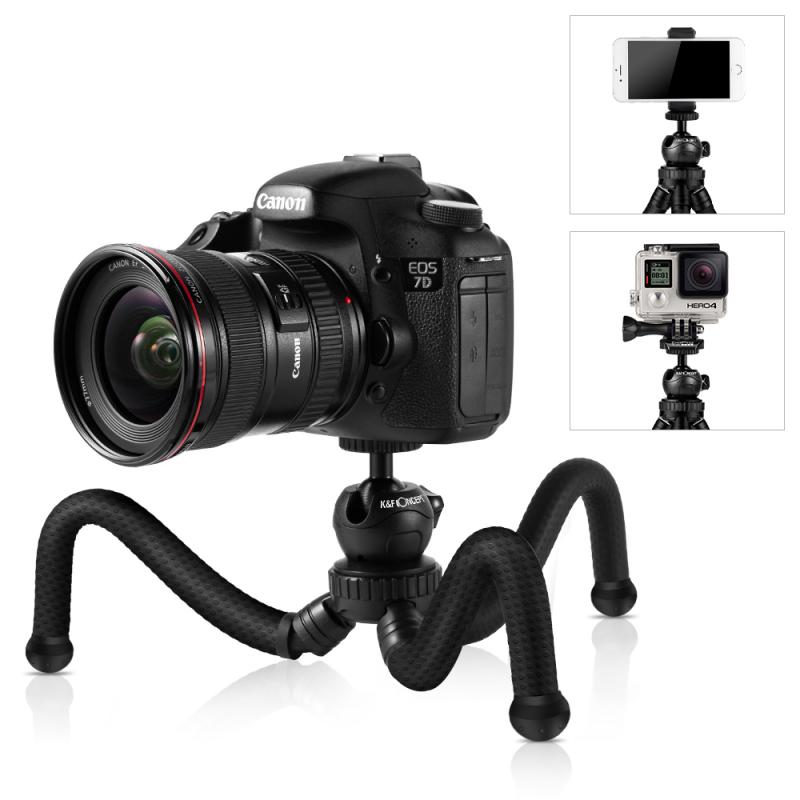
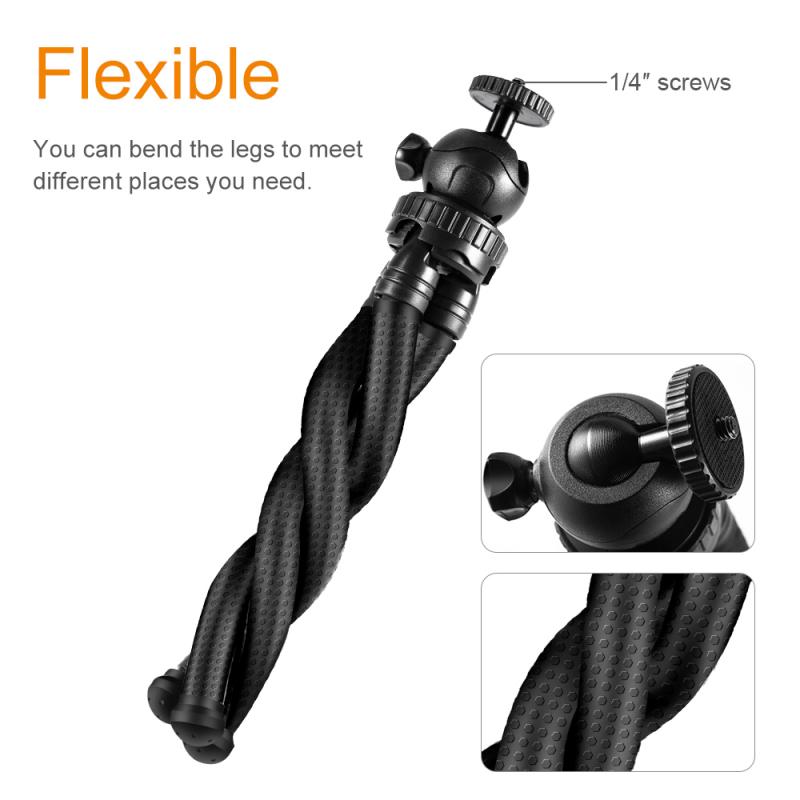
- Flexible Leg Tripods: These small, portable tripods have bendable legs, allowing you to mount your iPhone on uneven surfaces or wrap the legs around objects like trees or fence posts.
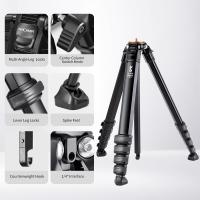
- Heavy-Duty Tripods: Ideal for professional use, these provide maximum stability and can support additional equipment, such as external lights.
2. Attach Your iPhone Securely
Most tripods require an adapter or mount to hold your iPhone securely in place. Here’s how to attach your phone:
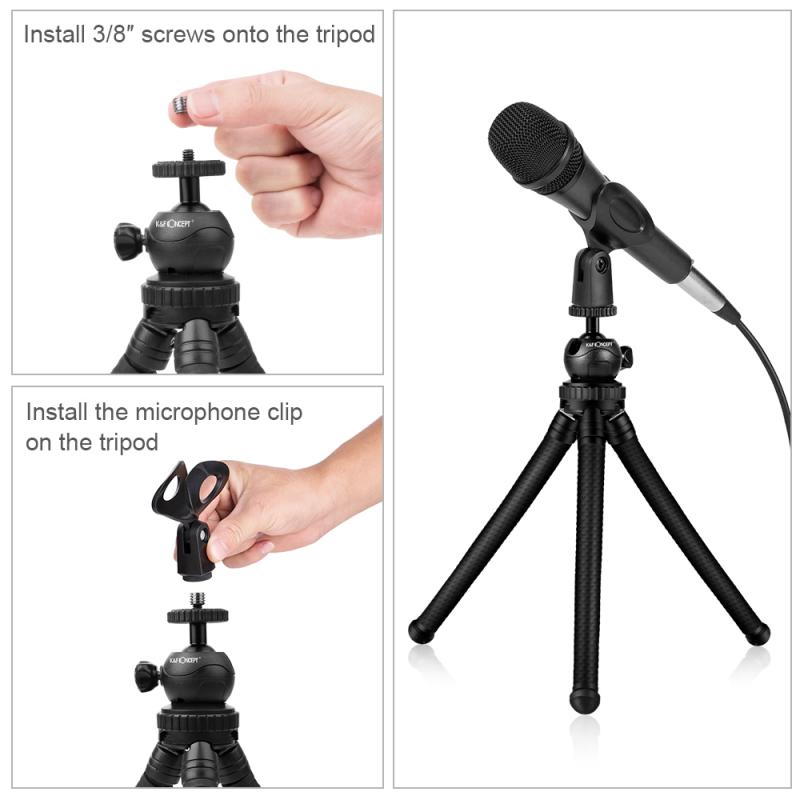
1. If your tripod came with a smartphone holder, screw or clip it onto the tripod head.
2. Slide or clamp your iPhone into the holder. Ensure the phone is centered to avoid tipping or imbalance.
Many modern mounts are adjustable, so they can fit a range of iPhone models, regardless of whether you have a bulky case attached. However, if you frequently use external lenses or accessories with your iPhone, ensure your mount accommodates the additional weight or size.
3. Adjust the Tripod Height and Angle
Position the tripod to match your creative vision. Adjust the height so the camera is at the eye level you prefer, whether you’re photographing a subject or filming yourself. Some tripods have adjustable legs, center columns, or pivoting heads for more angles and framing options.
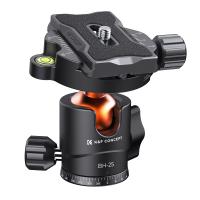
If your tripod includes a ball head, you can rotate or tilt the iPhone to find the perfect angle. This is particularly useful for creative shots, such as low-angle or overhead compositions.
4. Use a Remote Control or Timer
To avoid camera shake, consider using a remote trigger or your iPhone’s built-in timer function to capture photos and videos. Accessories like Bluetooth remote shutters are typically affordable and connect easily to your iPhone. Alternatively:
- Open the iPhone Camera app.
- Set the timer (3 seconds or 10 seconds) depending on your needs.
- Press the shutter button, and let the tripod do its job.
For video recording, you can simply activate recording through your iPhone and step into the frame.
5. Experiment with Advanced Features
While using a tripod, you can take advantage of several advanced shooting techniques to enhance your photography. Here are a few ideas:
- Time-Lapse Videos: Select the time-lapse mode in the Camera app, position the iPhone on the tripod, and let it record over an extended period to create mesmerizing clips.
- Long-Exposure Photography: Using long-exposure apps or the iPhone’s Night mode, create incredible light trails, starry skies, or silky-smooth waterfall effects without worrying about hand steadiness.
- Portrait Mode or Selfies: Frame yourself or your subject, enabling crisp, professional-looking portrait shots.
6. Pack and Store Your Tripod Properly
After use, fold the tripod carefully and ensure it’s safely stored to avoid damage. If you’re traveling, choose a lightweight or compact model that fits in your bag for portability.
---
Pro Tips for Using a Tripod with an iPhone
- Find a Stable Surface: Even with a good tripod, uneven ground can create instability. Always ensure all tripod legs are firmly planted.
- Use the Gridlines on Your iPhone: Turn on gridlines in the Camera app to help align your shots perfectly.
- Optimize for Lighting: Pair your tripod setup with a ring light or LED panel for consistent lighting, especially for video recording or low-light shooting.
- Keep Your Phone Secure: Double-check the phone’s grip in the tripod mount before beginning, especially if you’re shooting at extreme angles or outdoors in the wind.
---
Troubleshooting Common Challenges
1. iPhone Doesn’t Fit the Mount: If the adapter is too small or large for your iPhone, consider upgrading to an adjustable mount. Most modern mounts are designed to support a variety of phone sizes.
2. Tripod Wobbles: Ensure the tripod legs are fully extended, and the ground is even. For extra stability, attach a weight to the tripod’s center column (many tripods include a hook for this purpose).
3. Difficulty Using Remote: When pairing a Bluetooth remote with your iPhone, ensure Bluetooth is enabled in your settings. If you experience lag or connectivity issues, reconnect the device.
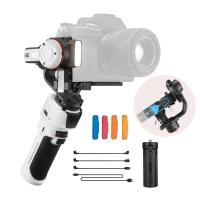
4. Limited Tilt or Rotation: If your tripod head restricts certain angles, consider investing in a tripod with a more versatile ball head or a gimbal for broader movement.
---
Final Thoughts
Using a tripod with your iPhone unlocks a world of creative possibilities. It gives you the freedom to explore advanced techniques, shoot with precision, and elevate the quality of your content. Whether you're a social media creator looking to produce polished videos or a hobbyist capturing the beauty of the world around you, a tripod can make a substantial difference.
The key is to choose the tripod and mount that suit your needs, learn the basics of setup, and experiment with various angles, settings, and techniques. Don’t forget to pair your tripod use with creative apps and accessories to further enhance your results. With a little practice and preparation, you'll be amazed at how much a simple tripod can transform your iPhone photography and videography.


