How To Use A Digital Voice Recorder?
Digital voice recorders are versatile tools designed to capture high-quality audio for various applications, including interviews, meetings, lectures, and personal notes. For individuals new to these devices, understanding how to operate one may seem daunting due to the range of features and settings they come with. This comprehensive guide will simplify the process, providing practical steps to maximize the utility of your digital voice recorder. Whether you're a student, journalist, or busy professional, mastering this device can save you time and help you efficiently capture and organize valuable information.
---
Step 1: Familiarize Yourself with the Hardware

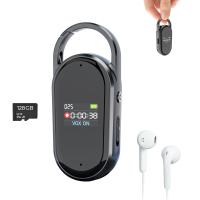
The first step to effectively using a digital voice recorder is to acquaint yourself with its components. Most devices will have the following basic elements:
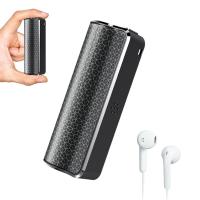
1. Buttons: These typically include record, stop, play, pause, forward, and rewind. Some advanced models also include dedicated buttons for menu navigation and specific functions such as bookmarking or voice activation.
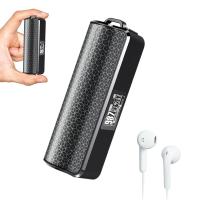
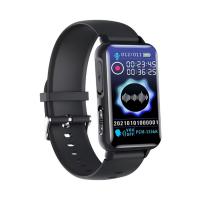
2. Display Screen: The screen provides essential information such as battery status, recording time, file names, and active settings.
3. Microphone(s): Most digital voice recorders are equipped with built-in microphones, although they may also allow for external microphones to improve audio quality in certain scenarios.
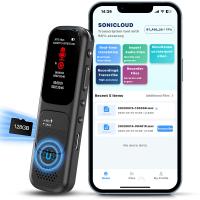
4. Memory System: Many recorders come with built-in storage capacity and often support expandable storage such as microSD cards.
5. Connectivity Ports: USB ports and headphone jacks are common for transferring files and monitoring playback.
Once you understand what each feature does, you can more confidently navigate the device during recording sessions.
---
Step 2: Prepare the Device
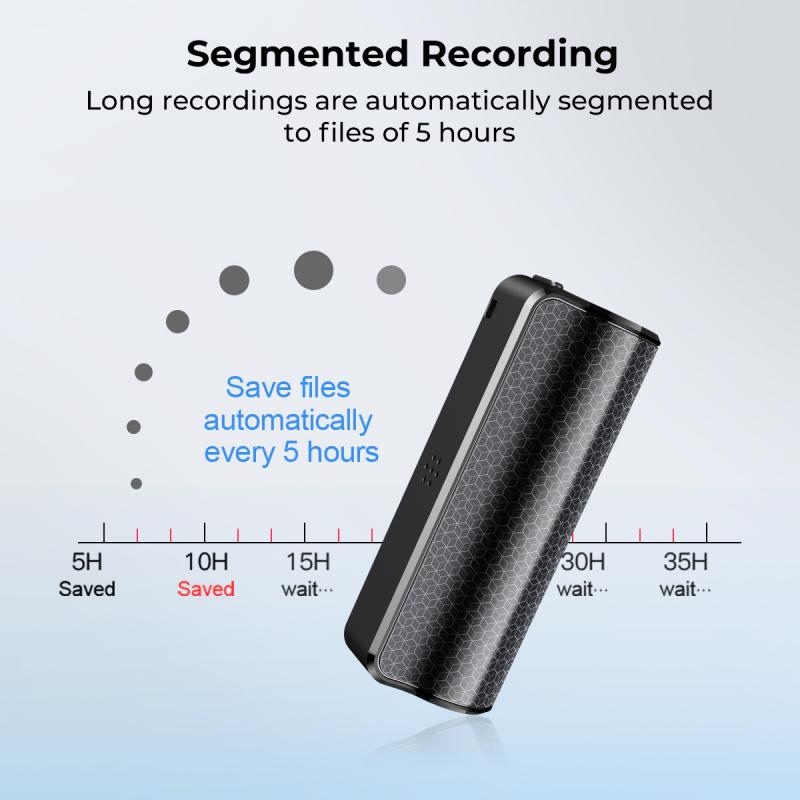
Before recording, ensure your digital voice recorder is ready for use by addressing these key preparations:
1. Install Power Supply: Insert batteries or ensure your device is fully charged. Battery-powered recorders often include backup capacities, while rechargeable models should be charged ahead of time.
2. Check Storage Space: Confirm there is enough memory to store new recordings. If your device supports memory cards, insert a card with sufficient free space.
3. Review Settings: Many recorders allow you to customize settings, such as sound quality, recording formats (e.g., MP3, WAV), and microphone sensitivity. High-quality audio takes up more space, so balance sound quality with storage capacity depending on your needs.
---
Step 3: Understand Recording Techniques
Basic Recording:
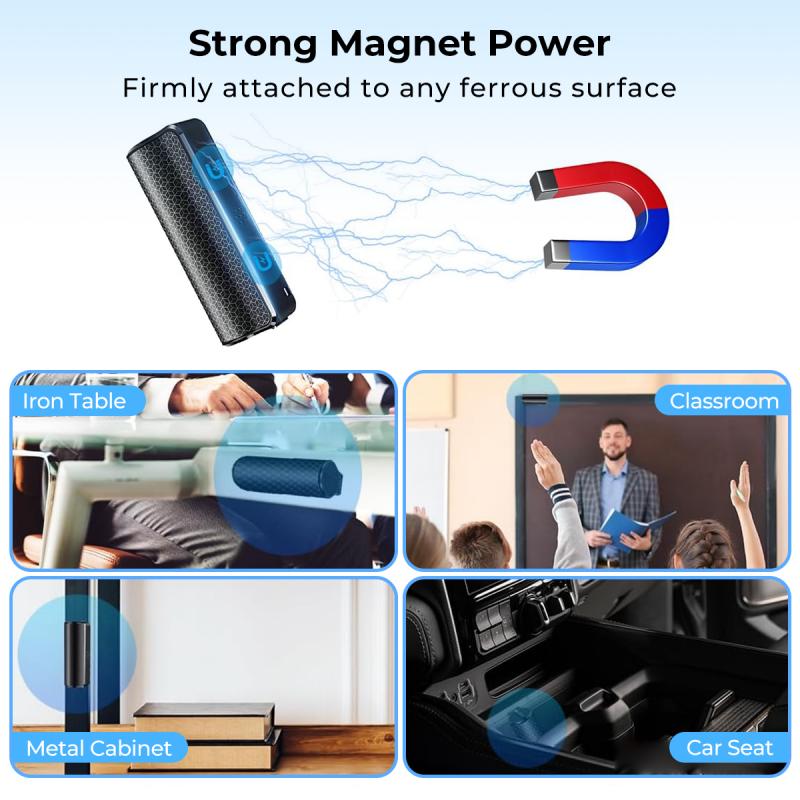
1. Place the recorder in a stable position with its microphone oriented toward the sound source.
2. Press the "Record" button and monitor the recording indicator (often a light or screen icon) to confirm the device is actively capturing audio.
3. Once recording is complete, press the "Stop" button to save the file.
Pro Tips for Enhanced Audio Quality:
- Distance Matters: Keep the recorder within 6–12 inches of the audio source for optimal clarity. Too far, and you'll pick up background noise; too close, and the sound may be distorted.
- Minimize Ambient Noise: Record in a quiet environment to avoid interference. For outdoor recordings, use a windscreen attachment or external microphone with noise-reduction features.
- Test Beforehand: Conduct a quick test recording to check sound levels. Adjust the microphone sensitivity if needed to capture clear audio without distortion.
---
Step 4: Manage and Organize Files
After creating recordings, managing and organizing the files is essential for easy access later:
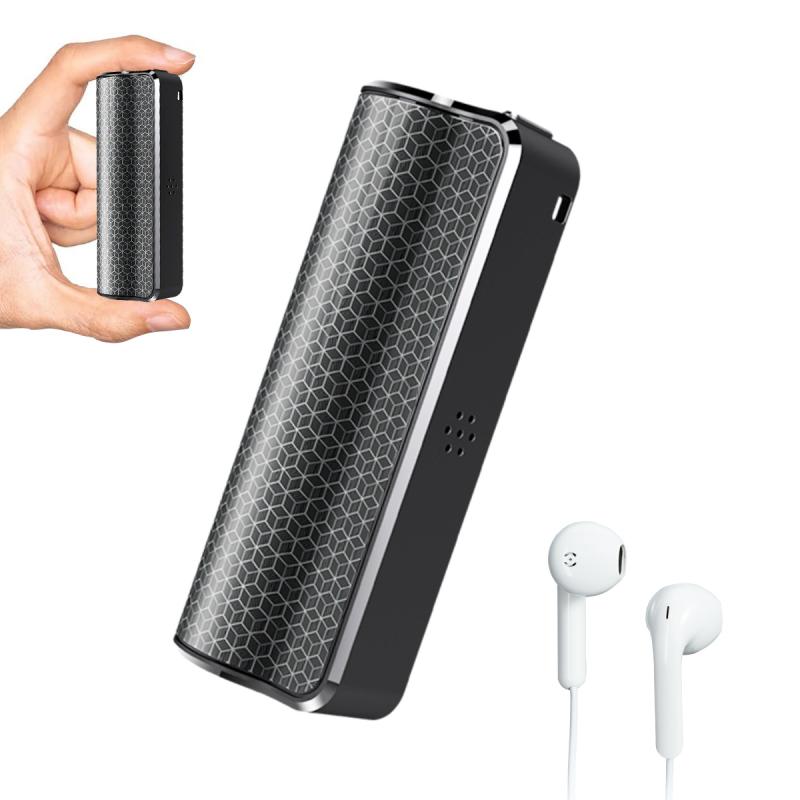
1. Play and Review: Use the playback function to ensure the recording is clear and complete.
2. Rename Files: Many recorders assign generic file names (e.g., REC001). Rename files with descriptive titles, such as “Team Meeting Jan 10,” to quickly locate them when needed.
3. Transfer to Other Devices:
- Connect the recorder to your computer using a USB cable to transfer files.
- Save backups of recordings in folders organized by date or topic.
- For cloud storage, upload files to services like Google Drive, Dropbox, or your preferred platform.
---
Step 5: Leverage Advanced Features
Most modern digital voice recorders come with additional functions that can significantly enhance your productivity:
1. Voice Activation: This feature starts recording automatically when sound is detected, conserving memory and battery life during silent periods.
2. Bookmarking: Allows you to flag specific moments in a recording for quick reference during playback.
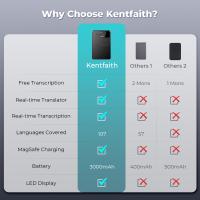
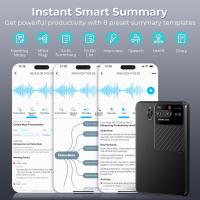
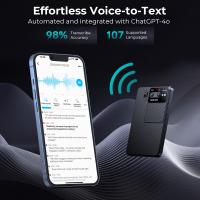
3. Transcription Software: Some advanced models have built-in transcription functionality or are compatible with software that converts audio to text, which can save time on manual note-taking.
4. Noise Cancellation: This setting improves audio clarity by minimizing background noise—perfect for environments with consistent ambient sound, like cafes or lecture halls.
---
Step 6: Maintain Your Recorder
To ensure your digital voice recorder performs reliably over time, follow these maintenance tips:
1. Store Properly: Keep the device in a protective case to avoid scratches, dust, and impact damage. Avoid exposing it to extreme temperatures or humidity.
2. Regularly Free Up Storage: Transfer old recordings to a computer or cloud storage to prevent running out of space at critical moments.
3. Update Firmware: Periodically check for firmware updates from the manufacturer. These updates can improve performance and compatibility with new devices.
---
Common Uses of Digital Voice Recorders
Beyond personal notes or reminders, digital voice recorders serve a variety of professional and academic purposes:
1. Interviews: Journalists and researchers frequently use digital recorders to capture interviews with accuracy. Transcription becomes much easier when you have high-quality audio.
2. Lectures and Conferences: Students and professionals can focus on listening while recording detailed discussions for later review.
3. Meetings: Audio recordings ensure no critical points are missed during group discussions or business meetings.
4. Creative Projects: Writers, musicians, and content creators use voice recording to capture spontaneous ideas, lyrics, or dialogue drafts.
---
Troubleshooting Common Issues
While digital voice recorders are user-friendly, occasional issues can arise. Below are solutions for some common challenges:
1. Low Sound Quality: Check the microphone sensitivity or switch to an external microphone for better clarity.
2. Device Won’t Turn On: Inspect the batteries or power source and ensure they are properly installed or charged.
3. Limited Storage: Delete unneeded recordings or swap in a larger-capacity memory card to free up space.
4. File Compatibility: If you can't play a recording on your computer, use audio conversion software to change the file format, such as from WAV to MP3.
---
Tips for Choosing the Right Digital Voice Recorder
Selecting the right recorder depends on your specific needs. Here are some considerations to guide your purchase:
1. Recording Quality: Aim for a recorder with high-resolution sound (e.g., 24-bit/96kHz) if you need professional-grade audio.
2. Battery Life: Long battery life (or rechargeable options) is crucial for lengthy sessions.
3. Portability: Choose a compact, lightweight design for maximum convenience.
4. Expandable Memory: Look for models with external memory card support if extended storage is a priority.
---
Mastering a digital voice recorder may take a bit of practice, but the benefits of clear, organized, and accessible audio files are well worth the effort. With proper preparation, recording techniques, and file management, this device can be a significant asset in your professional and personal life. Whether conducting interviews, taking lecture notes, or brainstorming creative projects, a digital voice recorder is a reliable companion that ensures you never miss important details. By employing the tips and techniques in this guide, you can fully leverage the potential of this powerful tool, saving time and enhancing efficiency in your daily routines.


