How To Use A Ball Head Tripod?
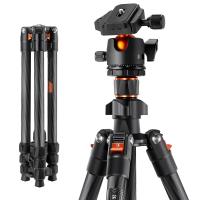
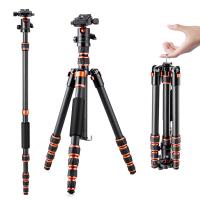
A ball head tripod is an essential tool for photographers and videographers alike, offering flexibility and streamlined functionality for adjusting your camera angle smoothly. Whether you're new to photography or upgrading to a ball head tripod for the first time, understanding how to use it properly can save time, improve your setup efficiency, and enhance the quality of your shots. Let’s delve into a comprehensive guide on using a ball head tripod, complete with tips to maximize its potential.
---
What Is a Ball Head Tripod?
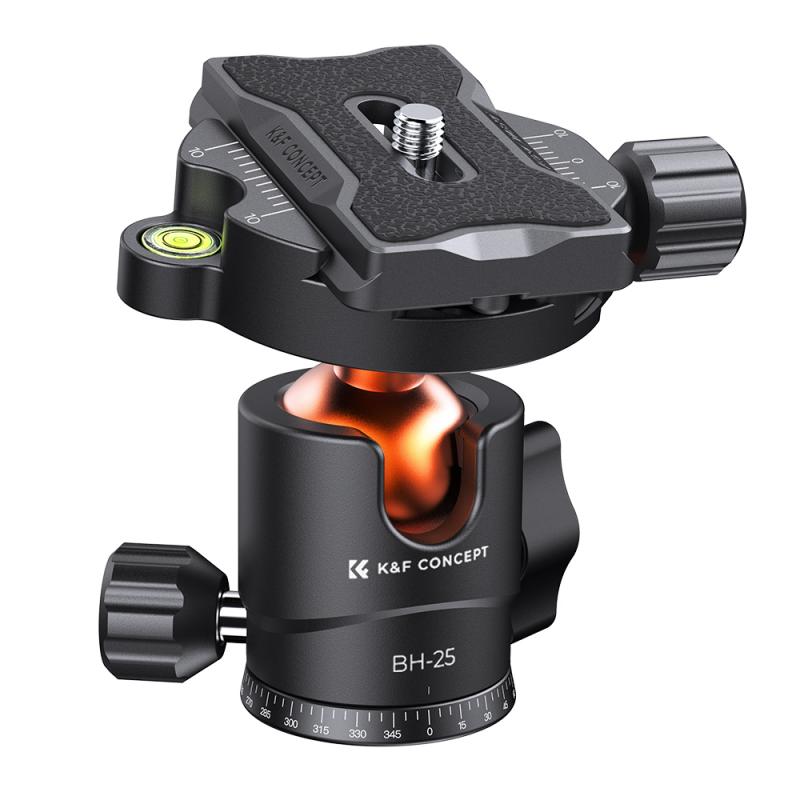
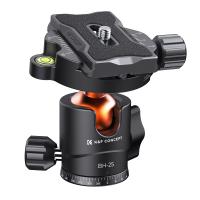
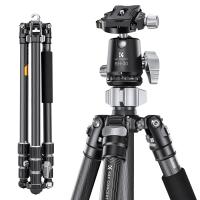
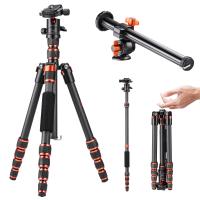
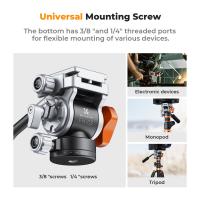
Before jumping into its usage, it’s helpful to clarify what makes a ball head tripod unique. Unlike traditional pan-tilt tripods that require separate handles to adjust horizontal and vertical movements, a ball head tripod uses a single locking mechanism to adjust a ball-and-socket joint. This mechanism allows you to pivot the camera in virtually any direction quickly and smoothly by simply loosening the knob, positioning your camera, and tightening the knob again.
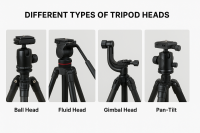
Ball head tripods are preferred for their compact design, ease of use, and ability to provide quicker adjustments compared to other tripod head types. However, they require proper handling to achieve optimal results.
---
Benefits of Using a Ball Head Tripod
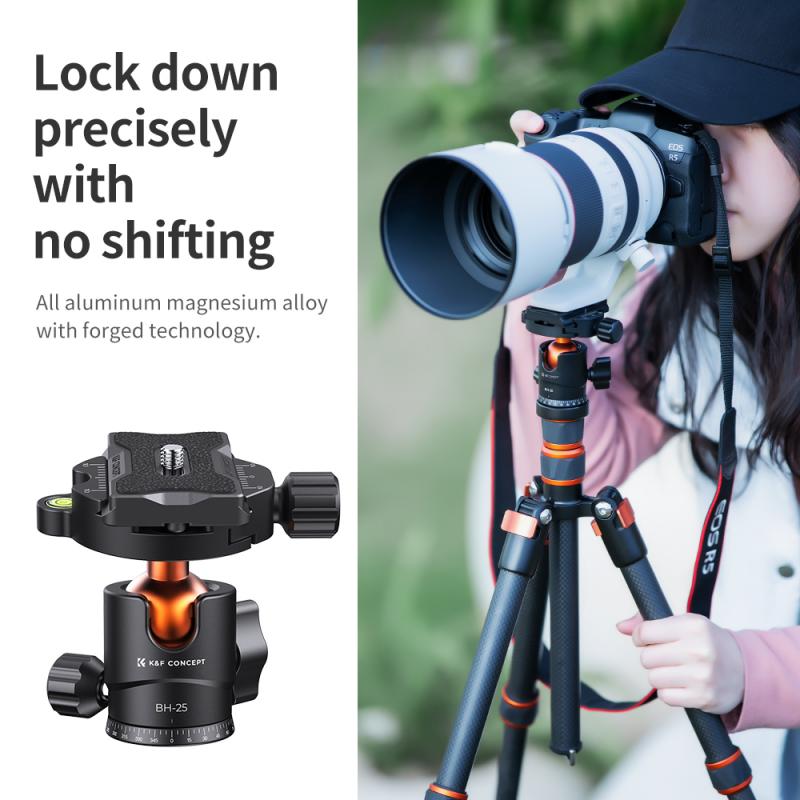
1. Flexibility: With a ball-and-socket movement system, you gain 360° rotation and the ability to tilt your camera at various angles without needing additional adjustments. This is great for dynamic shots, such as landscapes or portraits.
2. Speed: Ball head tripods enable photographers to lock in their cameras with just one adjustment knob. The quick-release functionality saves time when switching between angles or compositions.
3. Portability: Typically, ball head tripods are lightweight and more compact than traditional alternatives, making them a popular choice for travel and outdoor photography.
---
Step-by-Step Guide: How to Operate a Ball Head Tripod
1. Choosing the Right Ball Head and Tripod
- Ensure that your tripod and ball head are designed to support your camera's weight. Always check the payload capacity of both the ball head and tripod legs to avoid instability.
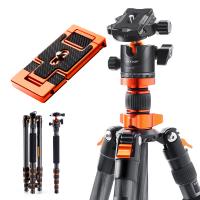
- Decide on a quick-release plate option if you need to attach and detach your camera frequently. Arca-Swiss plates are typically versatile and compatible with most ball head tripods.
2. Setting Up the Tripod
- Position the Tripod Legs:
Spread the legs to form a stable base. Extend the thicker, bottom-most section of the legs first for better support, especially when shooting in challenging environments such as windy outdoor conditions.
- Ensure the tripod is on a flat surface or adjust the leg heights individually to compensate for uneven terrain.
3. Mounting the Ball Head
- If your ball head isn’t already attached to the tripod, screw it onto the tripod base. Ensure that it’s tightly secured to prevent wobbling or unintended shifts during use.
4. Attaching the Camera
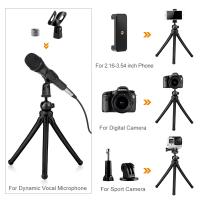
- Secure your camera to the ball head using a quick-release plate (if applicable). Ensure the plate is fastened tightly to the camera body before sliding it into the ball head’s baseplate. Some ball heads feature a locking mechanism to keep your camera firmly in place—engage it once the camera is mounted.
- If the ball head does not have a quick-release plate, you’ll need to screw the camera directly onto it. Be cautious not to over-tighten and damage your camera’s base thread.
5. Adjusting the Ball Head
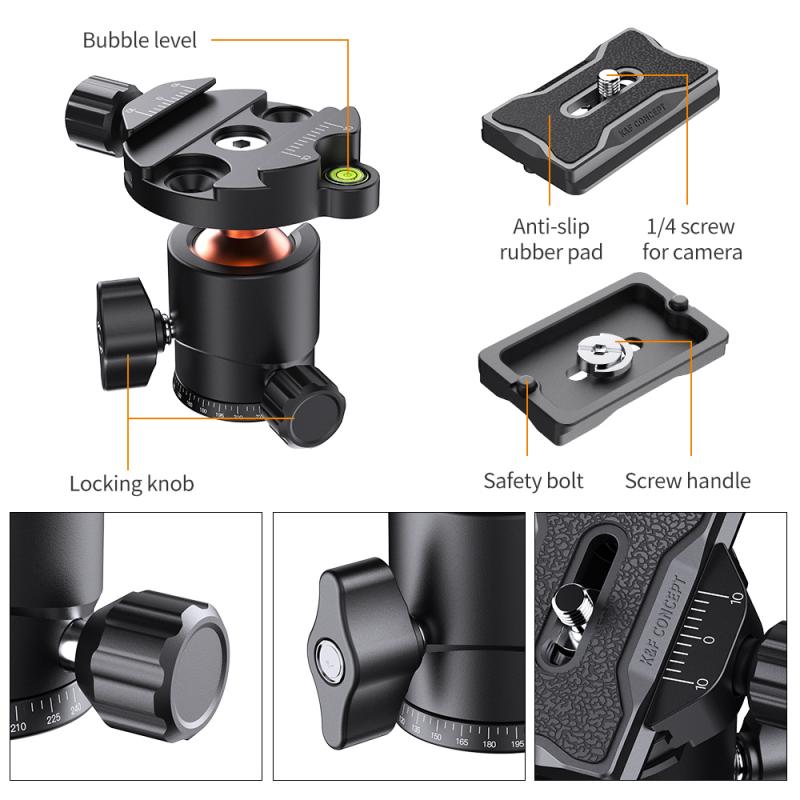
- Locate the adjustment knobs or locking screws on the ball head. Most ball head tripods have three main controls:
- Main Locking Knob: This locks or loosens the ball for movement.
- Friction Control Knob: This adjusts the tension of the ball, allowing for smoother movements or locking it into place.
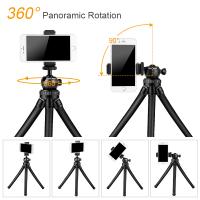
- Pan Knob: This enables 360° rotation along the horizontal axis for panorama shots without affecting the tilt or pitch.
- Begin by loosening the main locking knob and positioning the camera to the desired angle. Hold the camera firmly as you make adjustments.
- Tighten the knob once you've found the perfect composition.
6. Fine-Tuning the Camera Angle
- Use the friction knob if you want partial flexibility to recompose the shot while still keeping the camera supported. Reduce friction for smoother manual panning or increase it for more rigidity.
- For precise leveling, many ball head tripods include bubble levels. Adjust the position of the camera and tripod until the bubble aligns within the scale for a perfectly level shot.
7. Locking in Place
- After finalizing your composition, double-check that the main locking knob is tightened securely. This ensures that the camera remains stable while capturing longer exposures or intricate shots.
8. Utilizing Advanced Features
- Some ball head tripods come with additional features, such as fine-tuning scales for precise panoramas or dual knobs for added control. Familiarize yourself with these extras if your tripod includes them.
---
Common Mistakes and How to Avoid Them
1. Overloading the Ball Head:
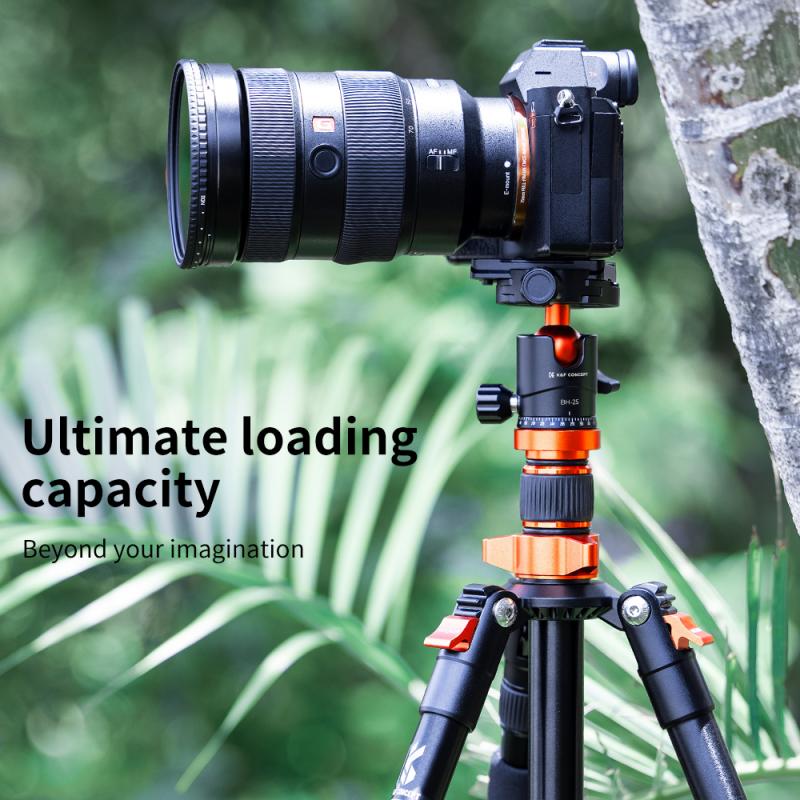
Using a camera setup that exceeds the weight capacity of the ball head can cause sagging or instability. Check your equipment’s weight and compare it to the ball head’s listed payload limit.
2. Ignoring Friction Control:
Many beginners fail to adjust the friction knob, resulting in jerky movements or difficulty holding the camera in place. Take the time to customize the friction to suit your shooting style.
3. Improper Leveling:
Skipping the leveling process can lead to crooked shots, especially for horizon lines in landscapes. Always use the bubble level or a leveling tool for precision.
4. Rushing to Lock the Knob:
Tightening the main lock too quickly or unevenly can cause unintended camera tilts. Be mindful while locking the ball head into position.
5. Forgetting to Use the Pan Knob:
Panning the camera improperly instead of loosening the correct knob may result in unintended movements and lost time in readjusting your setup.
---
Tips for Better Performance with a Ball Head Tripod
1. Practice Smooth Adjustments:
Familiarize yourself with the feel of your ball head by practicing adjustments before heading out for a shoot. This ensures you can reposition your camera quickly in high-stakes moments.
2. Use a Remote Shutter Release:
Reduce any potential camera shake when using a tripod, especially during long exposures, by employing a remote shutter release or a camera timer function.
3. Invest in a Quality Ball Head:
Cheaper ball heads may feature weaker locking mechanisms or limited load capacity. For heavier equipment like telephoto lenses, invest in a high-quality ball head for added stability.
4. Experiment with Creative Angles:
The flexibility of a ball head tripod unlocks opportunities for dynamic compositions. Explore low-angle shots by tilting the camera downward or smooth panoramic selfies by utilizing the 360° panning function.
5. Protect Your Gear:
When not in use, remove your camera from the tripod to prevent accidental falls. Store both the camera and tripod in dedicated protective cases.
---
When To Choose a Ball Head Tripod
While ball heads work well in most scenarios, they especially shine in the following situations:
- Landscape Photography: For quickly adjusting to uneven horizons or capturing panorama sequences.
- Travel and Outdoor Shoots: Lightweight and portable, they’re ideal for mobile photographers.
- Portrait Photography: The efficient tilt adjustment allows for smooth transitions between horizontal and vertical framing.
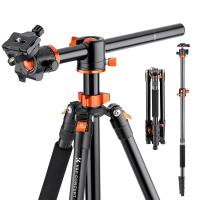
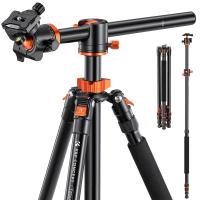
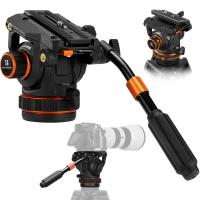
However, if you require ultra-specific angle adjustments for video or architectural photography, a pan-tilt tripod head might offer better control.
---
A ball head tripod is a versatile and user-friendly tool for any photographer aspiring to improve their craft. By mastering its mechanics, from setup to camera adjustments, you can enjoy greater flexibility, faster workflows, and sharper results in your photography. With proper care and thoughtful usage, your tripod will remain a valuable investment for years to come.

