How To Travel With A Tripod?
Traveling with a tripod can be a challenging endeavor for photographers and content creators who rely on this essential tool for capturing sharp, well-composed shots. Whether you are an amateur photographer on a family vacation or a professional planning a landscape photography adventure, understanding how to transport and use a tripod effectively while on the go can make a significant difference in your experience. Below is a practical and detailed guide on how to travel with a tripod, covering everything from choosing the right tripod to safely carrying and deploying it during your travels.
1. Choose the Right Tripod for Travel
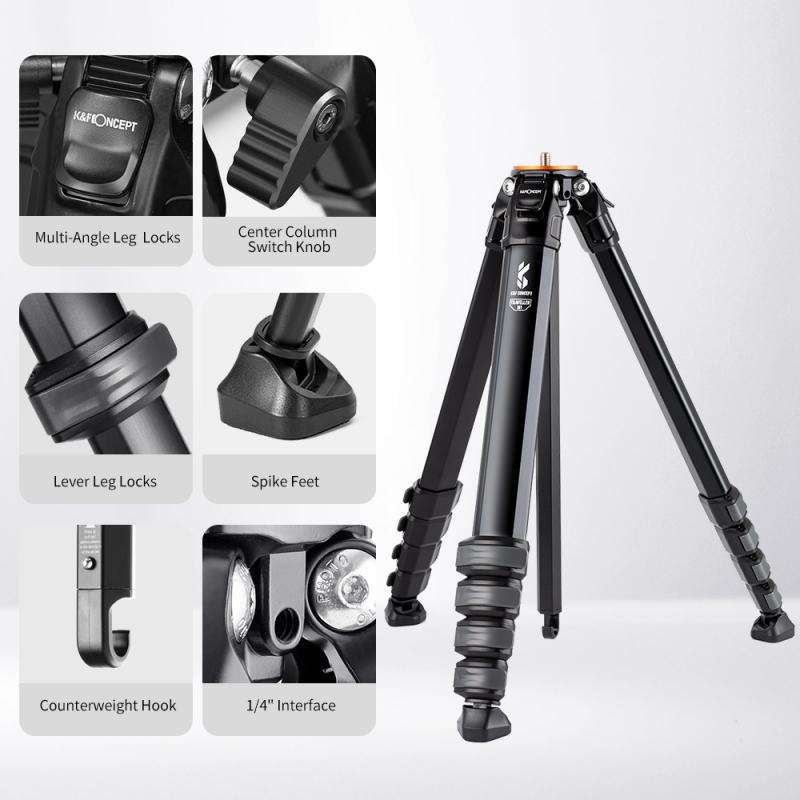
The first step to simplifying your tripod transportation is selecting the correct one. Your choice will vary depending on your needs, but the following factors should be considered:
Lightweight and Compact Design
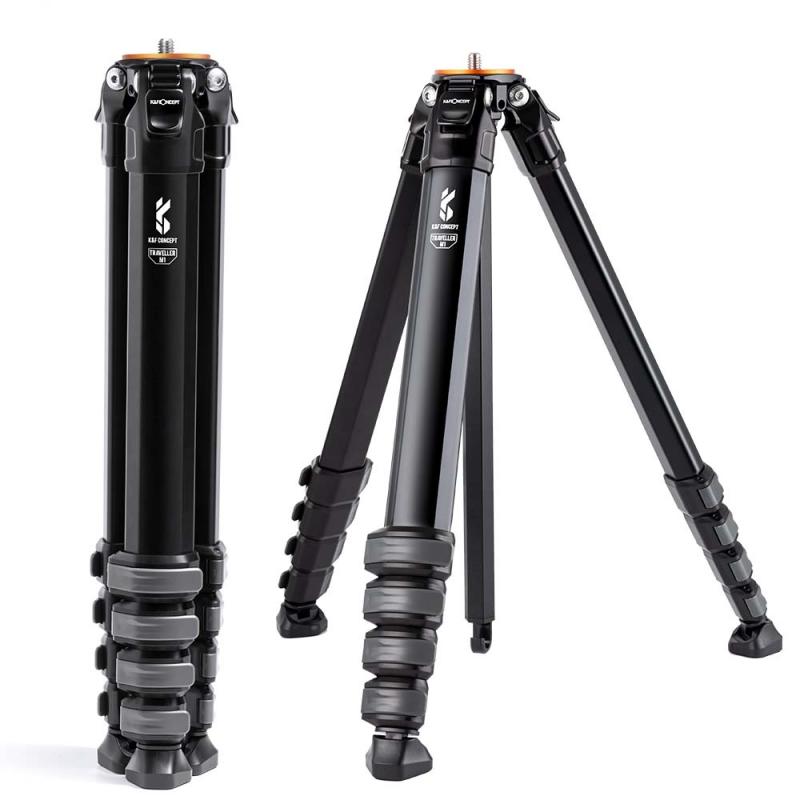
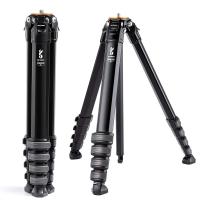
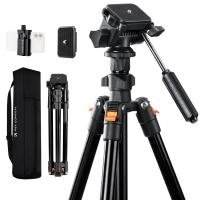
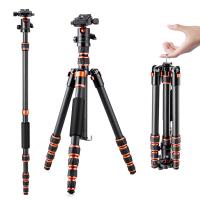
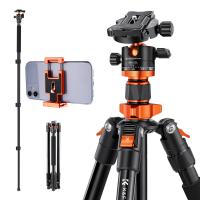
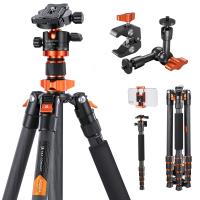
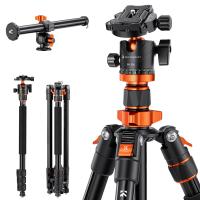
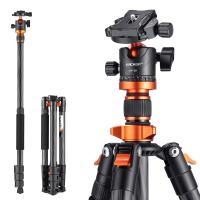
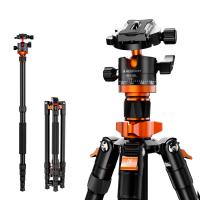
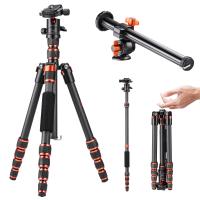
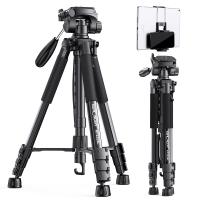
When traveling, every ounce and inch matter. Opt for a lightweight travel tripod made from materials like carbon fiber, which is both durable and light. A foldable tripod that compacts to fit in your luggage or carry-on is ideal.
Stability vs. Portability
While compact tripods excel in portability, they may not offer the same stability as larger ones. If you’re shooting in challenging conditions—such as high winds or uneven terrain—you'll want a tripod with balance and durability.
Height Consideration
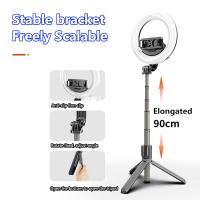
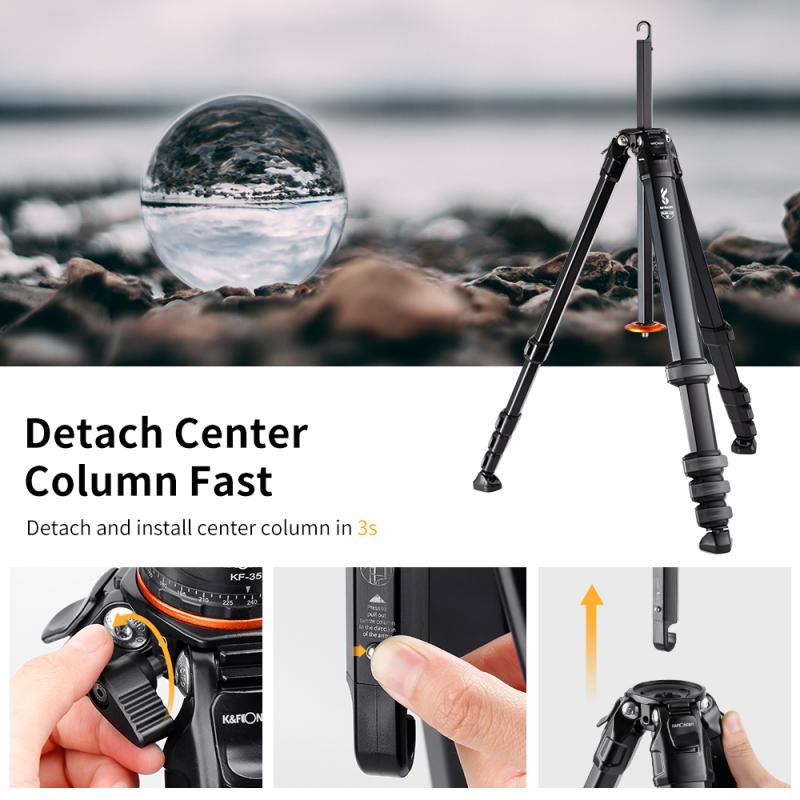
Consider a tripod that extends to your preferred working height but also collapses into a compact size. Some travel tripods feature retractable or removable center columns to save space without sacrificing height.
Weight Capacity
Ensure the tripod can support the weight of your camera equipment. It's better to slightly overspecify the weight capacity to account for accessories like telephoto lenses or external flashes.
2. Packing Your Tripod
Efficient packing is crucial to ensure your tripod arrives safely without taking up unnecessary space. Below are methods to pack your tripod when flying or using other travel modes:
For Air Travel
- Checked Luggage: If the tripod is too long to fit in your carry-on bag, pack it in your checked suitcase. To protect it, wrap the legs in clothes or bubble wrap and place it in the center of your luggage.
- Carry-On: Many compact tripods fit within airline carry-on size restrictions. Confirm the airline's policies regarding carry-on items to prevent issues at security checkpoints.
- Tripod Bag: Use the bag provided with your tripod or invest in a padded carrying case for added protection.
For Road Trips
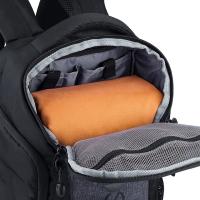
- Backpacks with Tripod Straps: Many camera backpacks feature external straps designed to hold a tripod securely. This is a convenient way to access the tripod without unpacking the entire bag.
- In-Car Storage: Secure the tripod in the trunk or back seat to prevent it from shifting and getting damaged during transport.
Protecting the Head and Legs
Remove or secure the tripod head when packing to avoid damage to its mechanisms. Cover or lock the legs in a compact position to prevent them from unfolding during travel.
3. Carrying a Tripod While Traveling
Once you’ve reached your destination, the next challenge is transporting your tripod during outings. Here are a few strategies:
Using a Dedicated Tripod Bag
A dedicated tripod bag provides protection and adds convenience during travel. Look for padded options with adjustable shoulder straps for comfort.
Backpacks with Integrated Holders
Many camera backpacks come equipped with side or rear tripod holders. Strapped securely, the tripod won’t get in your way as you traverse challenging landscapes or urban environments.
Hands-Free Options
For frequent travelers, a hands-free carrying method is a lifesaver. Some tripods can be strapped to belt loops, while smaller tabletop tripods can fit into side pockets of your backpack.
Detach When Necessary
If your tripod setup feels awkwardly bulky, consider detaching the tripod head and storing it separately in your bag. This can make it easier to carry the tripod in rough terrain or crowded areas.
4. Using Your Tripod on Location
Setting up and using your tripod effectively on the go requires careful planning and adherence to local rules. Here are tips to maximize your tripod usage:
Choose Strategic Shooting Locations
Survey the area and plan your shots before setting up the tripod. In crowded tourist destinations, look for quieter spots where you won’t obstruct others or face logistical challenges.
Watch for Permissions and Restrictions
Some locations, such as museums, heritage sites, or certain popular landmarks, have restrictions on tripod use. Research beforehand to avoid issues or delays.
Stabilize Your Setup
Once set up, use a hook (often found under the tripod’s center column) to hang a weight, such as your backpack, for added stability in windy conditions or challenging terrains.
Deploy Quickly
If you anticipate the need to move around frequently, learn to set up and collapse the tripod quickly. Familiarizing yourself with the locking mechanisms will save valuable time, especially during fleeting moments like sunset shots or wildlife appearances.
5. Maintenance and Care While Traveling
Your tripod may encounter extreme weather, dirt, or water depending on your destination. Proper maintenance will keep it functioning during your trip and beyond.
Clean After Use
Wipe down your tripod after exposure to dirt, sand, or saltwater to prevent corrosion. Use a microfiber cloth for cleaning and ensure all screws and bolts are dry.
Check for Loose Parts
Before embarking on each day’s adventure, inspect your tripod for loose bolts or damaged locks. Tighten any components as needed.
Avoid Harsh Chemicals
While cleaning, avoid using harsh chemicals or abrasive cleaning materials that can degrade the tripod’s finish. Mild soapy water is usually sufficient for most cleaning tasks.
6. Tips for Specific Travel Scenarios
Different types of travel present unique challenges. Here are some targeted tips:
Urban Travel
If you’re walking through busy streets or public transportation hubs, you’ll want the smallest, most inconspicuous tripod possible. A compact tabletop tripod can often suffice for street photography.
Landscape Adventures
For hikes and nature trails, prioritize portability and ease of use. Many travel tripods are designed to be set up on uneven terrain. Look for options with spiked feet or removable center columns for macro shots.
International Flights
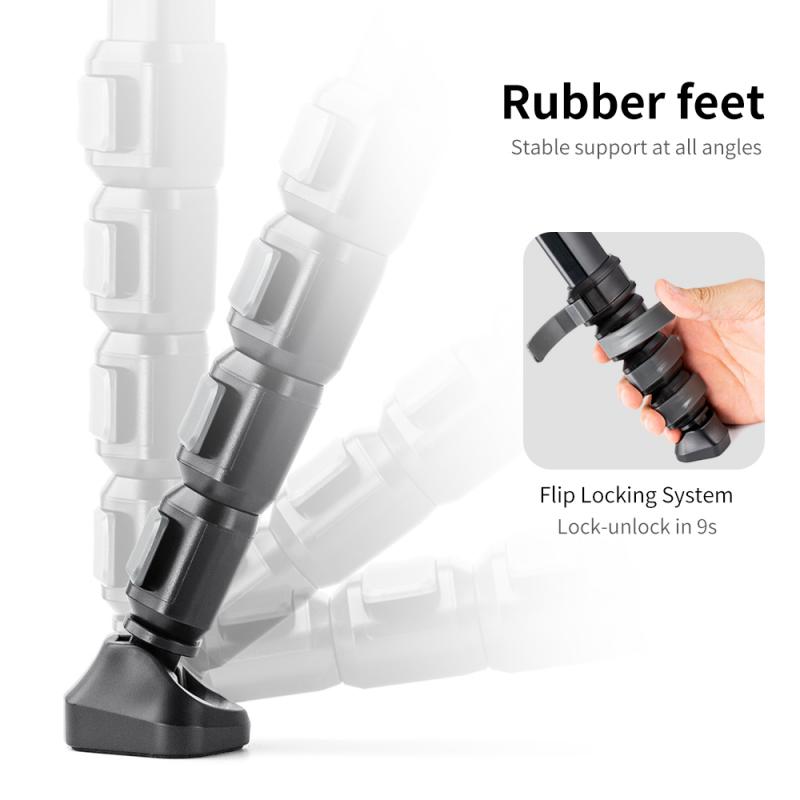
When crossing borders, be prepared for additional scrutiny at airport security. A tripod with sharp spiked feet may be flagged as a potential weapon, so consider removing the spikes or replacing them with rubber feet.
Group Tours
If you’re with a tour group, time constraints may limit your ability to set up a tripod. A monopod or handheld stabilizer can serve as a quicker alternative for capturing steady shots.
7. Alternatives to Traditional Tripods
If carrying a traditional tripod is impractical, you can explore these alternatives:
Monopods
Monopods are lighter, easier to carry, and require less space than tripods. While they don’t offer the same stability, they can help eliminate camera shake in a pinch.
Tabletop Tripods
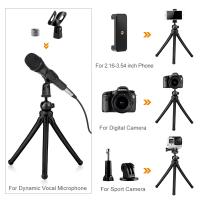
Ideal for low-angle or indoor photography, tabletop tripods are compact and simple to pack.
Gorillapods and Flexible Tripods
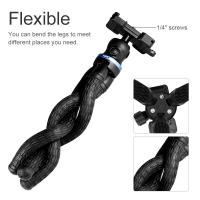
These versatile devices can wrap around railings, tree branches, or lamp posts to provide additional stability in unique scenarios.
Traveling with a tripod doesn’t have to be a cumbersome task. By selecting the right tripod, packing it carefully, and using smart transportation and setup strategies, you can maintain the versatility and stability that a tripod offers without unnecessary hassle. Whether you're capturing stunning landscapes, bustling cityscapes, or family portraits, the key is preparation and adaptability. With the right approach, your tripod can be a reliable companion that enhances your photography and helps you create lasting memories from your travels. Always consider your specific travel needs, anticipate challenges, and follow best practices to make your journey smooth and tripod-friendly!

