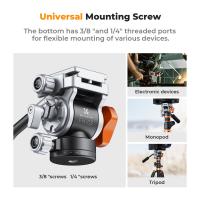
How To Tilt Down With Tripod?
Mastering the Tilt-Down with a Tripod: A Comprehensive Guide
For photographers and videographers, achieving the perfect shot often requires precision and control over the camera's movements. Understanding how to tilt the camera on a tripod opens up creative possibilities, enabling you to guide the viewer’s focus or create dynamic compositions. One of the most foundational movements is the tilt-down motion, which involves angling the camera downward while maintaining a stable and smooth shot. While simple in concept, tilting down effectively requires practice, the right equipment, and attention to detail. In this guide, we’ll explore everything you need to know about performing a tilt-down using a tripod, including practical tips, gear recommendations, and troubleshooting for common challenges.
The Basics of Tilting Down with a Tripod
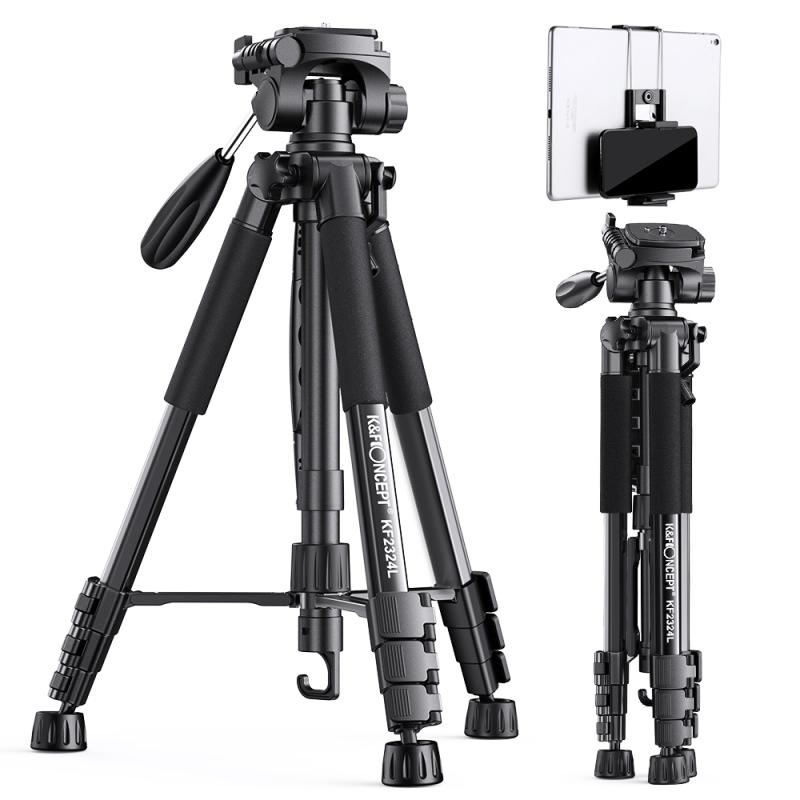
Tilting is a vertical motion in which the camera rotates up or down from a stationary pivot point. On most tripods, this is controlled via the tripod head, which may also offer other movements like panning (horizontal rotation) and sometimes more axis controls for advanced configurations. To tilt down specifically, you’ll simply angle the camera downward, adjusting its position to aim at a lower point in your frame.
Depending on your creative goals, the tilt-down can help convey emphasis, add depth, or invoke an emotional response. It's a common technique in videography when transitioning between subjects or creating a “reveal” shot. In photography, it’s often used to achieve unique perspectives, explore height dynamics, or bring foreground details into focus.
---
Step-by-Step Guide to Tilting Down Properly

1. Set Up the Tripod
Ensure that your tripod is securely set up on a level surface. Uneven legs or an unstable setup can lead to wobbling, which disrupts the smoothness of the shot. If you’re on uneven terrain, use a tripod with an adjustable leveling base to stabilize the camera.
2. Choose the Right Tripod Head
Not all tripod heads are equally suited for tilt movements. The most common types include:
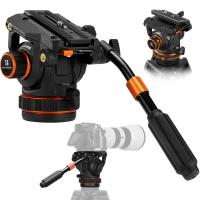
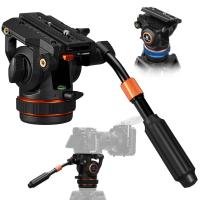
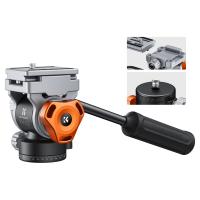
- Pan-and-tilt heads: Ideal for beginners, these heads allow you to move the camera in separate axes (tilt or pan individually). Look for heads with a fluid drag mechanism for smoother tilts.
- Ball heads: These lock the camera into place but can be less controlled for more delicate movements.
- Fluid heads: These are specifically designed for video work, offering buttery-smooth tilt and pan motions, perfect for cinematic shots.
3. Adjust Friction and Dampening Settings (if Applicable)
Some high-quality tripod heads feature friction or drag controls. Adjusting these settings can help make your tilt smoother and avoid jerking or abrupt movements. Test the movement to ensure that the resistance feels natural for your intended shot.
4. Find the Right Angle
Loosen the tilt-locking mechanism slightly so you have control of the motion. Start tilting your camera downward by gripping the handle or tripod head with steady hands. Pay attention to whether the camera is centered and whether the movement is consistent.
5. Control the Movement
If you're filming a video, ensure the tilt-down is slow and purposeful unless you’re aiming for a specific fast motion effect. A quick drop can feel unsteady and detract from the professional quality of the shot. Practice moving the camera smoothly from the starting angle to the end position.
6. Lock the Position
Once you have angled the camera at the desired position, secure it using the tilt-lock knob or lever. Double-check to ensure the framing matches your intent.
---
Common Challenges with Tilt-Down Movements and Their Solutions
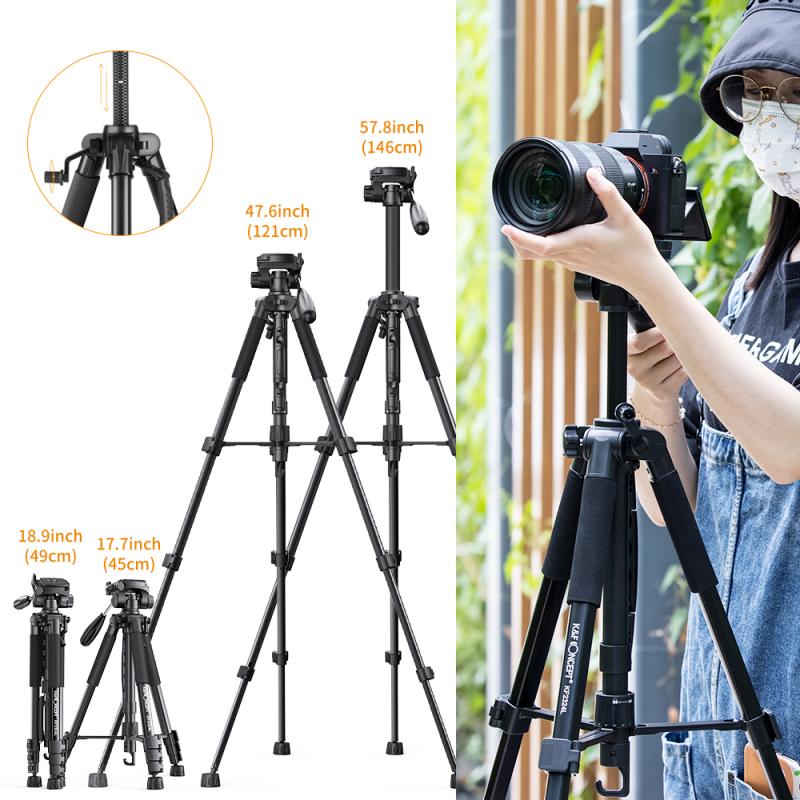
Even with a tripod, the tilt-down motion can present challenges. Below are some of the common issues beginners encounter and how to resolve them:
- Jerky Motion:
If the tilt movement isn’t smooth, the issue may lie in the tripod head. Upgrade to a fluid head or fine-tune the friction if your device allows for it. Practice consistent hand pressure to avoid uneven movements.
- Unstable Legs:
If the tripod is not sturdy, even the best tilt-down skills won’t produce satisfactory results. Ensure the legs are securely planted, and use a weight hook under the tripod for added stability on uneven ground.
- Incorrect Angle of View:
Tilting down often changes the perspective and depth of the shot. Check the composition through the viewfinder or use a digital screen to ensure that the subject is framed appropriately.
- Overexposure or Lighting Changes:
Tilting down can change how light enters the lens, leading to overexposed highlights or shadows at the bottom of the frame. Counteract this by adjusting the exposure settings or using neutral-density (ND) filters if shooting video.
- Gear Intrusion in the Frame:
A common occurrence with tilt-down shots is accidental inclusion of the tripod’s legs or other unwanted elements. Reframe before locking your tilt angle to avoid this mistake.
---
Pro Tips for Perfect Tilt-Down Shots
1. Use Counterweight for Stability:
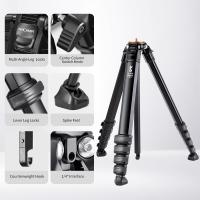
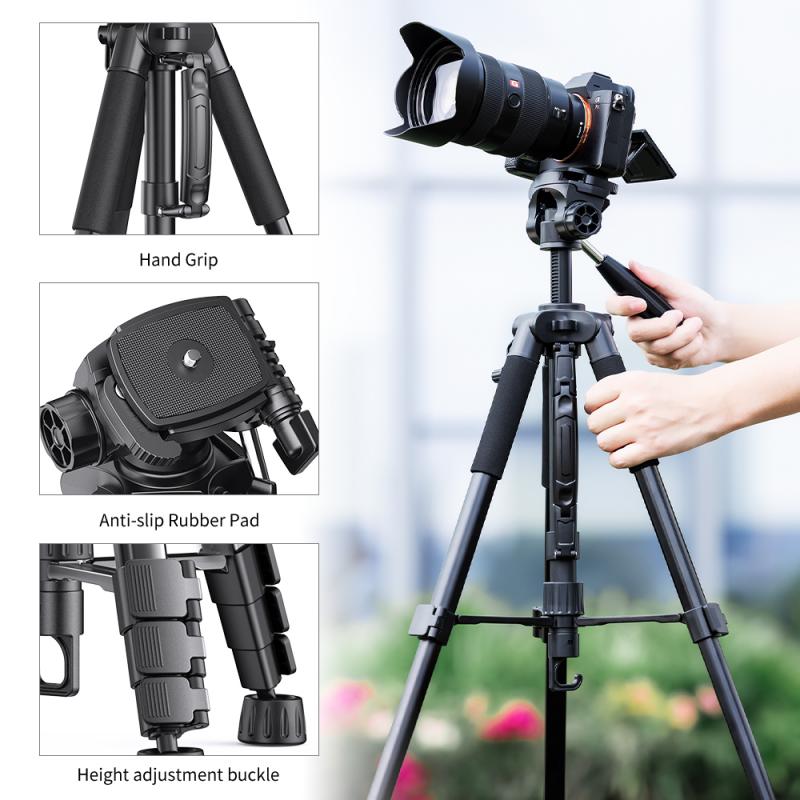
When tilting down at an extreme angle, there’s a risk that the tripod will become unbalanced. Attach a counterweight to the tripod’s hook to prevent tipping.
2. Check Your Horizon Level:
When tilting down, it’s easy to accidentally misalign the horizon, resulting in an angled or skewed shot. Some tripods include bubble levels to help you maintain proper alignment.
3. Focus on Your Subject:
Adjust your focus carefully after tilting. Changes in framing may affect the distance to your subject, so recheck the focus to avoid blurry results.
4. Practice Slow vs. Fast Tilts:
The speed of your tilt-down can evoke different emotional reactions. Experiment with both slow, deliberate movements for cinematic effect and quicker tilts for action-oriented scenes.
5. Leverage a Remote Control or Smartphone App:
Some modern tripods and cameras support remote-control functionality. This can eliminate vibration or shaking caused by hands-on adjustments during tilt-down shots.
---
Choosing the Right Gear for Smoother Tilt-Downs
Investing in quality equipment is critical to mastering camera movements, including the tilt-down. Here’s what to prioritize when choosing tripod gear:
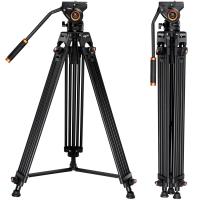
- Tripod Legs: Lightweight carbon fiber tripods are an excellent choice for portability, while aluminum tripods tend to offer sturdier support for heavy camera rigs.
- Tripod Head: As mentioned earlier, consider fluid heads for video or pan-and-tilt heads for photography. Look for brands with a reputation for precision and durability, like Manfrotto, Benro, or Gitzo.
- Add-On Accessories: Accessories like camera sliders or gimbal stabilizers can open up advanced motion control options. Additionally, leveling bases and quick-release plates can speed up your workflow.
---
Creative Uses for a Tilt-Down Motion
Beyond understanding the technique, it’s essential to think about how tilt-down movements can enhance your photography or videography. Here are some ideas to get you started:
1. Revealing Details:
Use a tilt-down to gradually reveal something important in the frame, like a scenic landscape, a subject’s face, or a product in a promotional video.
2. Adding Perspective:
When capturing architectural shots or high-angle views, tilting down can emphasize depth, scale, or design elements.
3. Dynamic Transitions:
In video projects, tilt-downs work wonderfully as transitional shots, driving the viewer's eye downward into the next scene.
4. Storytelling:
A tilt-down can mimic a character’s perspective, drawing viewers into their world and emotions. For example, tilting down onto an object that a character is holding can bring a narrative to life.
---
Practice Makes Perfect
Like any skill in photography or videography, mastering the tilt-down requires time and experimentation. Don’t be afraid to try out different angles, speeds, and techniques in various scenarios. Over time, you’ll develop an instinct for framing and motion that elevates your work to a professional level.
Remember, the key to a successful tilt-down is control. Whether you’re working with a budget tripod or top-of-the-line equipment, a steady hand and attention to detail make all the difference. With these tips and techniques, you’ll be well on

