How To Test A Metal Detector Coil?
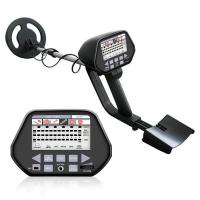
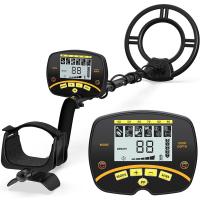
The performance and accuracy of metal detectors depend on the device’s most significant component: the coil. Testing a metal detector coil ensures the detector is functioning properly and efficiently locates buried metallic objects without errors. This process is particularly important for hobbyists, professionals in metal detecting, and technicians handling metal detector maintenance. While testing a metal detector coil might sound straightforward, many factors come into play to ensure optimal performance. This guide will provide practical steps, tools, and troubleshooting tips to test a metal detector coil.
Understanding Metal Detector Coils:

Before diving into testing, it’s essential to understand how metal detector coils work. These coils generate an electromagnetic field when powered. If a metallic object is nearby, it disrupts the magnetic field, and the detector senses this anomaly, signaling the user. The coil’s functionality is critical in determining the sensitivity, accuracy, and depth capabilities of the device.
Commonly used types of coils include concentric coils, double-D coils, and mono coils. Although their designs differ, the testing principles remain consistent for all types. Knowing your specific coil type can help fine-tune the testing process.
---
Why Testing a Metal Detector Coil is Important
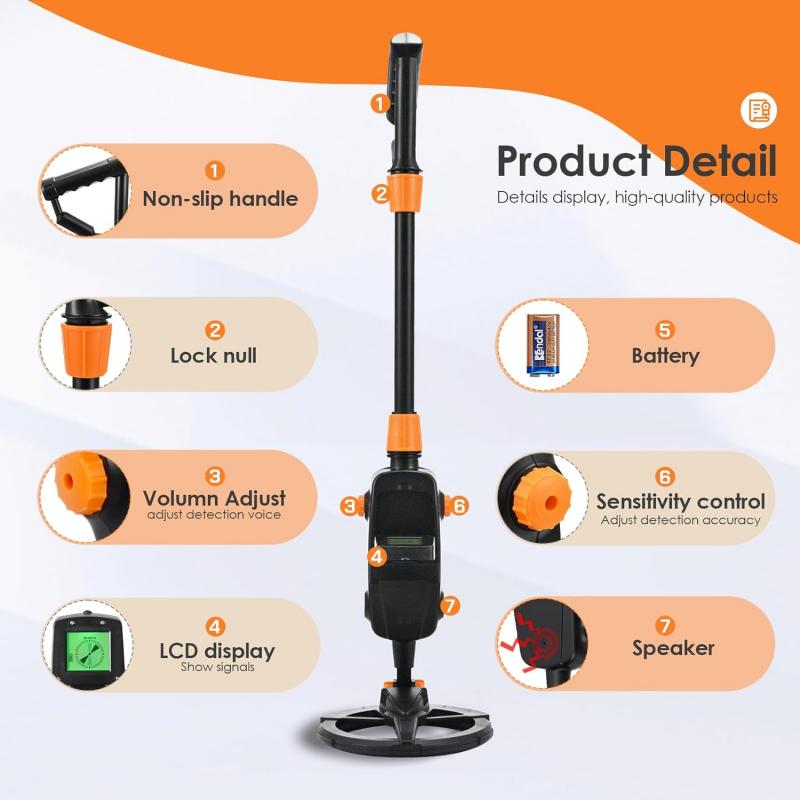
Testing ensures the coil is free from defects, verifies its sensitivity, and confirms that it's optimized for detecting metals within its designed depth range. Regular testing is particularly necessary for professional users, such as archaeologists, geophysicists, and treasure hunters, who rely on precise readings. Misaligned or faulty coils can lead to issues such as false signals, reduced functionality, or complete operational failure.
Understanding whether the coil needs repair, replacement, or calibration can help you avoid wasting time exploring locations or relying on incorrect signals. Moreover, ongoing tests can detect problems early, extending the lifespan of the equipment.
---
Tools You Need to Test a Metal Detector Coil

Testing the coil requires specific equipment and a controlled environment. Here’s what you’ll need:
1. Multimeter: A multimeter is essential for checking electrical continuity, measuring resistance, and detecting potential wiring issues in the coil.
2. Test Objects: Different metallic objects (iron, nickel, gold, aluminum, etc.) are needed to assess the response of the detector to various materials.
3. Non-Metallic Test Area: Choose an area free from interference, such as non-metallic surfaces or test outdoors in a metal-free environment.
4. Manufacturer's Manual: Refer to the product manual for specific resistance values or other benchmarks to assess the coil’s performance.
5. Screwdriver and Basic Tools: For opening the coil housing (if necessary) and resolving potential wiring or connectivity issues.
---
Step-by-Step Process to Test a Metal Detector Coil
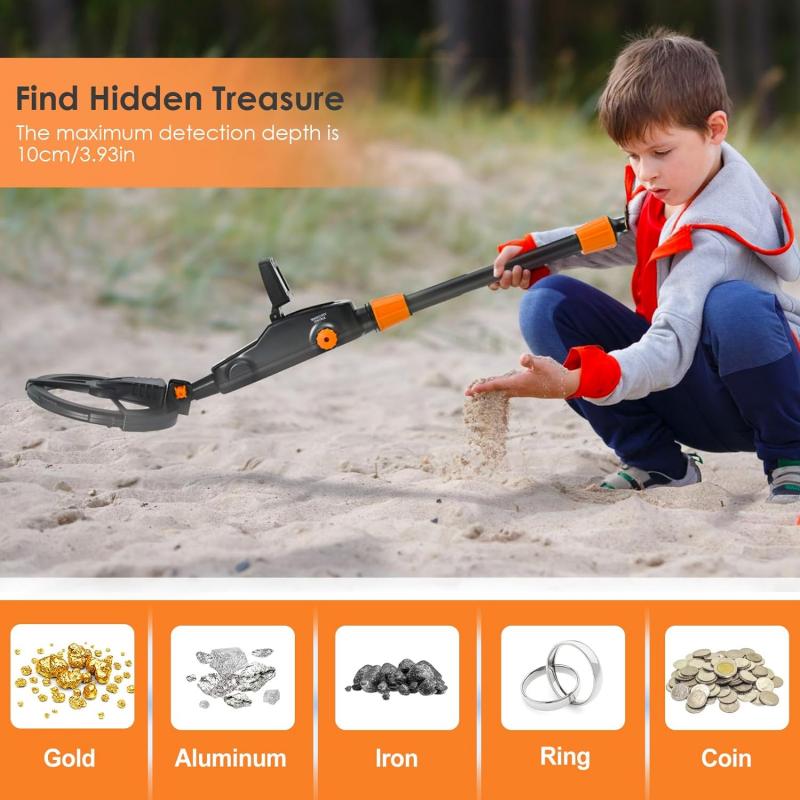
Follow these steps to thoroughly test your metal detector coil:
1. Visual Inspection
Start by visually inspecting the coil for physical damage, such as dents, cracks, or worn-out cables. Pay close attention to areas where the cable enters the coil, as these are susceptible to stress and breakage. Physical damage could impair the coil's ability to generate or detect electromagnetic fields.
2. Check the Connection
Ensure the coil is securely connected to the control box of the metal detector. Loose cables or corroded connectors may lead to signal disruption or reduced performance.
3. Perform a Continuity Test
Using a multimeter, check the continuity of the coil. Set the multimeter to measure resistance (in ohms), and connect the probes to the coil’s terminals as specified in the user manual. A good coil should show resistance within the manufacturer’s recommended range. Extremely high or infinite resistance may indicate a broken wire or internal damage, while zero resistance could mean a short circuit.
4. Check for Interference
Metallic objects or electrical devices nearby can interfere with the electromagnetic field generated by the coil. Move the detector to a metal-free environment and ensure no external factors are influencing the test. Failure to eliminate interference may give you inaccurate results.
5. Test with Metallic Objects
Place the detector on a non-metallic surface and test its response to specific metallic objects. Sweep the coil over test pieces made of materials the device should detect. Monitor how the coil responds to each object, noting the distance at which it triggers a signal and the clarity of the signal produced. If the detector fails to respond or generates erratic readings, there may be an issue with the coil.
6. Advanced Signal Analysis (Optional)
If you suspect the detector is underperforming, you can analyze the electromagnetic field response using an oscilloscope. This advanced method is best suited for professionals or technicians familiar with such equipment. The oscilloscope allows you to observe the magnetic response and identify anomalies.
---
Troubleshooting Common Coil Problems
If your testing reveals that the coil is not functioning as expected, identify the issue and take corrective action:
1. Broken Wires or Poor Connections:
If the continuity test shows issues, check for broken or frayed wires. Re-solder or replace damaged wires and connectors.
2. Internal Coil Damage:
Internal breaks in the coil wiring are challenging to repair. In most cases, replacing the coil is the best option.
3. Erratic Signals:
Erratic signals could be caused by electrical interference from nearby devices or environmental factors. Ensure the area is free of metallic interference and the detector is set to its default settings.
4. Coil Calibration Issues:
Some metal detectors allow you to manually recalibrate the coil. Refer to the user manual to perform recalibration and optimize performance.
5. Physical Damage:
Cracks or dents on the coil surface may require sealing, patching, or replacing the coil, depending on the severity.
6. Short Circuit:
If a short circuit is detected, inspect the wiring and terminals for signs of wear or incorrect assembly. Address the issue by rewiring or replacing the damaged components.
---
Maintaining Your Metal Detector Coil
Once you’ve tested and ensured the coil is functioning correctly, regular maintenance can prevent malfunctions:
- Clean After Use: Remove dirt or debris after each use to prevent buildup that might affect performance.
- Store Properly: Store the detector in a dry, temperature-controlled environment to prevent moisture or heat damage.
- Protect the Cable: Avoid bending or twisting the cable excessively, as this may cause internal wiring issues.
---
When to Replace Your Metal Detector Coil
Even with proper care, coils have a limited lifespan. Replace the coil if you observe the following:
- Persistent false signals despite recalibration.
- Mechanical damage that compromises coil integrity.
- Irregular or no response during resistance tests or signal analysis.
Consult the manufacturer for compatible replacement coils to avoid mismatches.
---
Testing a metal detector coil is a straightforward yet critical process to ensure your detector meets performance expectations. Regular testing combined with proper maintenance can extend the lifespan of your equipment and save you from costly errors. By using tools like a multimeter and following systematic testing procedures, you can identify and address coil issues effectively—whether you are a professional, a hobbyist, or just learning metal detection. Be proactive in maintaining the detector’s reliability, and you’ll enjoy consistently accurate results in your metal-detecting adventures.


