How To Take Selfie Using Tripod?
In today’s digital world, selfies have become a cornerstone of personal expression. Selfies are used to capture moments, communicate on social media, and build connections. While handheld selfies are the norm, they often result in shaky images, awkward angles, or limited framing options. Enter the tripod—a simple yet game-changing tool for enhancing your selfie game. Tripods allow you to take more stable, creative, and professional-looking selfies with ease. Whether you’re a seasoned content creator or a casual photographer, learning how to take selfies using a tripod can elevate your photography and make your photos stand out. This article will guide you through the step-by-step process, sharing tips and tricks for getting the best results while adapting to various environments and needs.
Why Use a Tripod for Selfies?
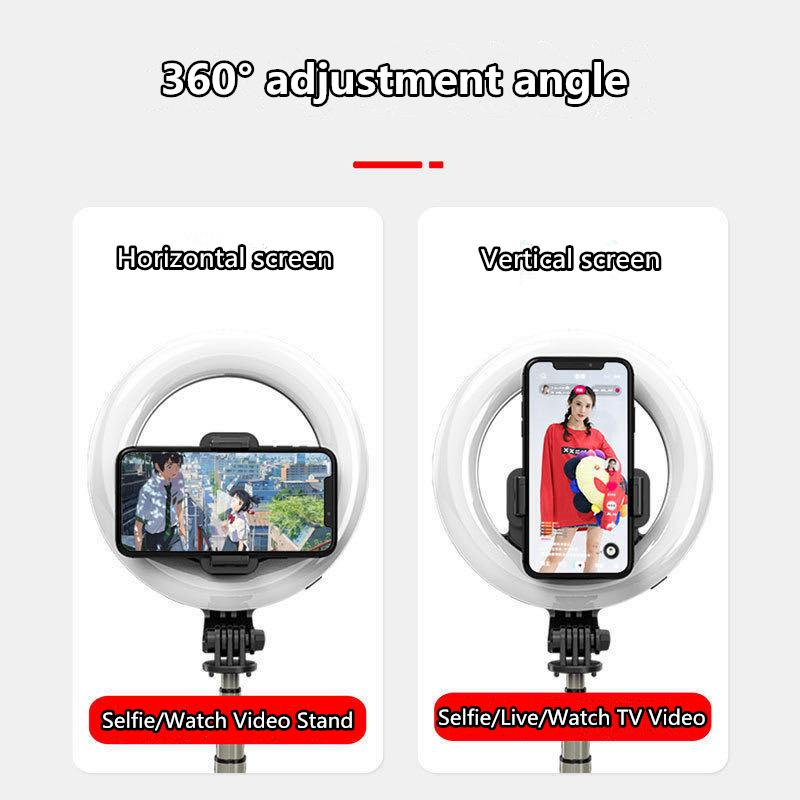
Before diving into the technicalities, it's important to understand why tripods are instrumental for capturing high-quality selfies. Here are some key advantages:
- Steady Shots: A tripod eliminates the risk of hand tremors that can blur your photos or make them look unprofessional.
- Flexible Angles: Adjustable tripods let you experiment with various perspectives that are difficult to achieve with handheld selfies.
- Hands-Free Operation: You can use timers, remotes, or mobile apps to capture photos without holding your device, giving you freedom to pose creatively.
- Enhanced Framing: Tripods enable you to frame your background perfectly, making your selfies more visually appealing.
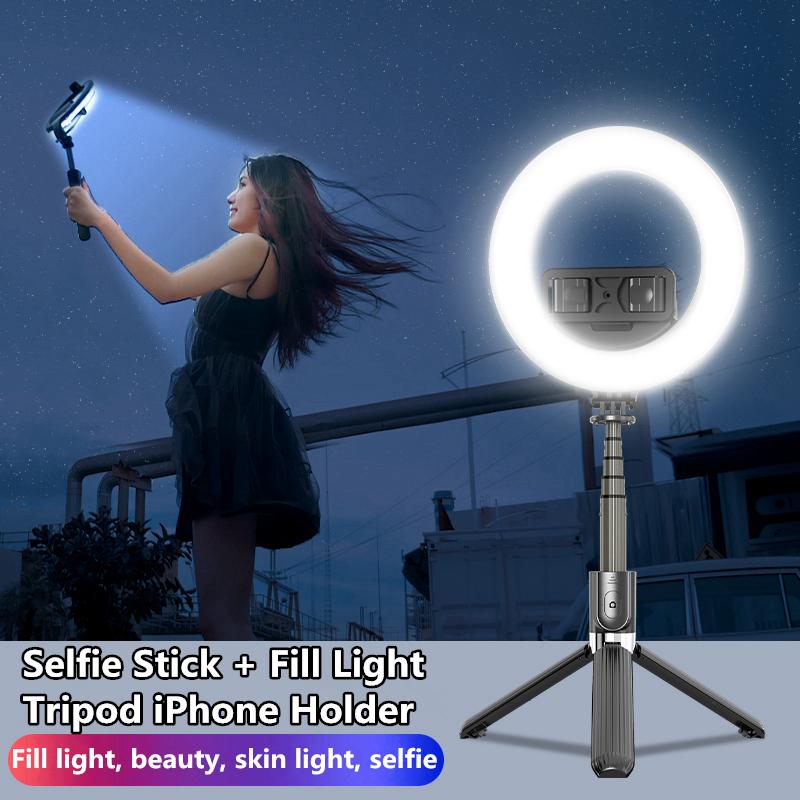
- Improved Lighting Options: Many tripods are equipped with built-in lighting or can hold external lights to ensure optimal lighting conditions.
Now that we’ve established why a tripod is valuable, let’s delve into how to set up and capture fantastic selfies.
Step 1: Choose the Right Tripod
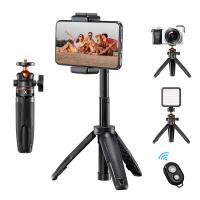
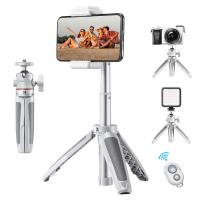
The first step to mastering tripod selfies is selecting a tripod that suits your specific needs. Here are the main factors to consider when choosing a tripod:
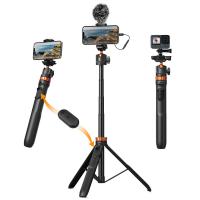
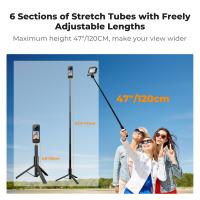
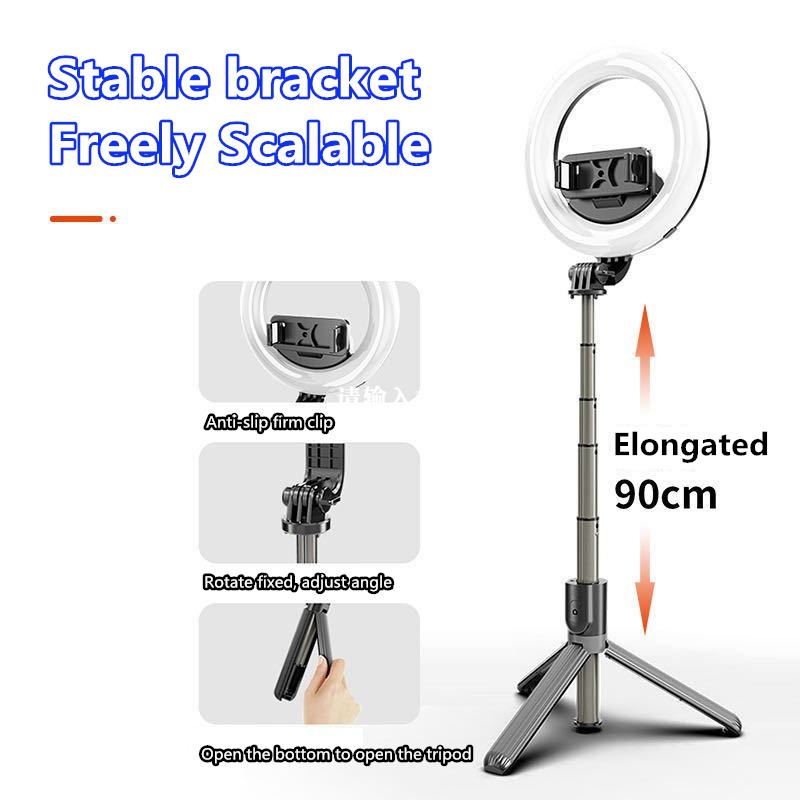
- Height and Adjustability: Ensure that the tripod can be adjusted to various heights, especially to eye level, as this is often the most flattering angle for selfies.
- Sturdiness: Choose a tripod constructed from durable materials to support your smartphone or camera without wobbling.
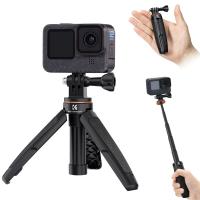
- Portability: If you’re planning to take your tripod outdoors, opt for a lightweight and foldable model that’s easy to carry.
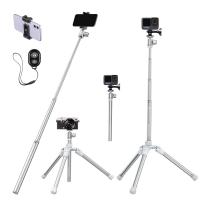
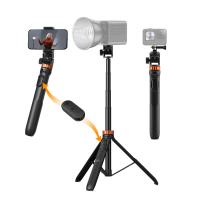
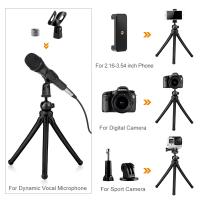
- Universal Compatibility: Look for tripods with adjustable mounts that work with different devices, such as smartphones, cameras, and action cams.
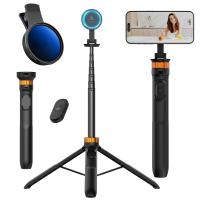
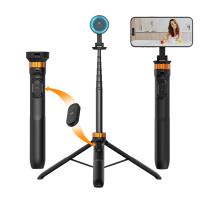
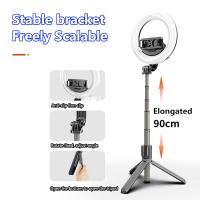
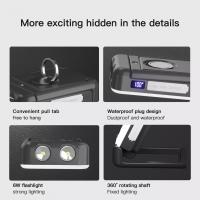
- Features: Some advanced tripods come with built-in Bluetooth remotes, rotate features, or accessories like LED ring lights.
Step 2: Set Up Your Tripod and Device
Once you have the right tripod, it’s time to set it up. The setup process varies slightly depending on the type of device you’re using (smartphone or camera), but the principles remain the same.
For Smartphones:
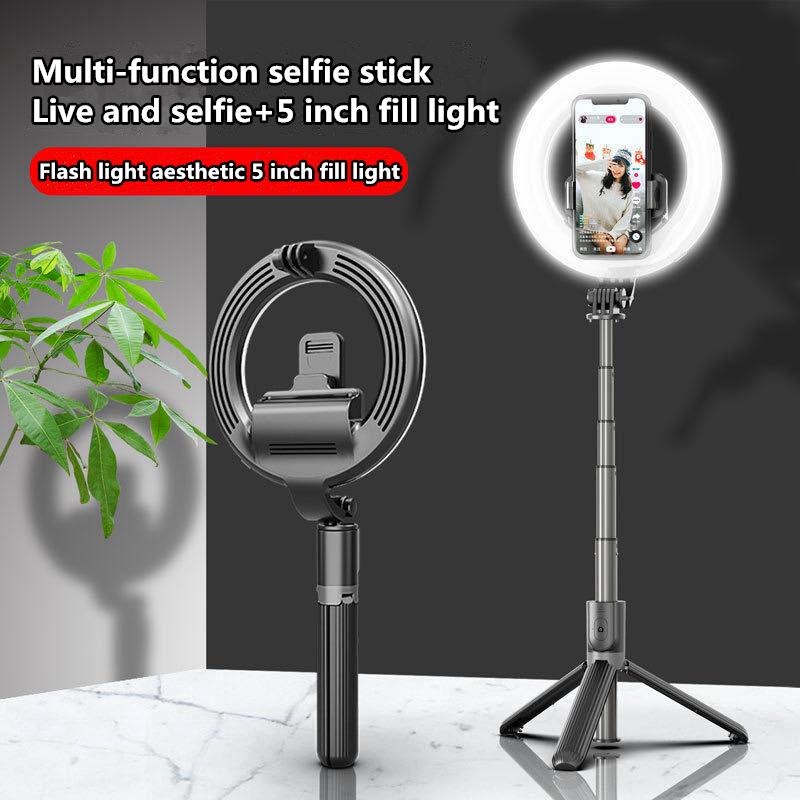
1. Attach the Clamp Mount: Secure your smartphone in the tripod’s phone holder. Adjust the clamp to ensure a snug fit without damaging your phone.
2. Position the Tripod: Place the tripod on a stable and flat surface to avoid any wobbles.
3. Adjust the Height and Angle: Extend the legs of the tripod as needed and use the tilting mechanism to achieve the perfect angle for your selfie.
4. Check Stability: Double-check that the tripod is securely locked into place before proceeding.
For Cameras:
1. Attach the Camera: Align the screw on the tripod’s mounting plate with the camera’s base, then twist to secure it tightly.
2. Adjust Shooting Mode: Set your camera's focus (manual or automatic), timer, or remote-control settings.
3. Position and Angle: Follow the same steps to adjust the height and angle as you would with a smartphone.
Step 3: Use Proper Lighting
No matter how sophisticated your setup is, poor lighting can ruin an otherwise great photo. Here’s how to get the lighting right for tripod selfies:
- Natural Light: Use soft, natural light from windows or outdoor settings during golden hours (shortly after sunrise or before sunset) for a flattering look.
- LED Ring Lights: If you're indoors or in low-light settings, consider using a tripod with a built-in ring light, or add one separately.
- Avoid Shadows: Experiment with light placement to eliminate harsh shadows on your face. Direct diffused light towards the subject.
- Control Lighting Temperature: Some lighting setups allow you to adjust the color temperature for warm, neutral, or cool tones depending on the mood of your selfie.
Step 4: Frame Your Shot
Great selfies are all about composition. A tripod gives you the flexibility to frame your shot just right. Here are a few tried-and-true techniques:
- Rule of Thirds: Imagine breaking the frame into three vertical and horizontal sections. Position yourself along these lines or at their intersections for a well-balanced composition.
- Background Matters: Choose a clean and interesting background to enhance the overall aesthetic of your photo without causing distractions.
- Position Yourself: Experiment with angles to find the most flattering position for your face, such as slightly tilting your head or angling the camera slightly above eye level.
- Depth of Field: If you're using a camera or a smartphone with portrait mode, use a shallow depth of field to blur the background for a professional look.
Step 5: Use Timer or Remote Control
Taking tripod selfies can be challenging without the right tools to operate your device from a distance. Use these features to snap photos hands-free:
- Timer Mode: Most smartphones and cameras have built-in timer options (e.g., 3, 5, or 10 seconds). This is an easy way to take selfies when you’re alone.
- Remote Shutter Release: Consider purchasing a Bluetooth remote or wireless trigger to capture photos without needing to touch your phone or camera. This eliminates risk of introducing motion blur.
- Mobile Apps: Many camera brands and smartphones support remote shooting via companion apps. These apps often include additional features like live previews and advanced photo controls.
Step 6: Strike a Pose
Now, it’s time to shine in front of the camera! Here are some tips for posing for excellent selfies:
- Be Natural: Relax your face and body for an authentic and confident look.
- Experiment with Angles: Tilt your head, turn slightly, or add movement (e.g., hair flipping or stretching your arms) to keep the shot dynamic.
- Use Props: Add depth and character to your selfies with props like hats, sunglasses, or even coffee mugs.
- Group Shots: If taking group selfies, position people strategically so everyone is visible and the shot feels balanced.
- Express Emotion: Smile, laugh, or make playful expressions to infuse personality into your photos.
Step 7: Edit for Perfection
Even a well-taken selfie can benefit from some quick editing. Use photo editing apps to enhance your selfies:
- Adjust Brightness and Contrast: Increase brightness and fine-tune contrast to make your features pop.
- Correct Colors: Use filters or manual tools to even out color tones and add a vibe to your photo.
- Retouch Sparingly: Simple edits like smoothing skin or brightening eyes can be effective but avoid overdoing it for a natural look.
- Crop and Straighten: Refine the framing by cropping out distractions and ensuring the photo is level.
Practical Applications of Tripod Selfies
Using a tripod for selfies is not just reserved for casual photo-taking—it’s an essential tool for various purposes:
- Social Media Content: Boost the quality of your Instagram posts, TikToks, or LinkedIn headshots with professional-looking selfies.
- Event Photography: Tripods are invaluable during events like weddings, holiday gatherings, or travel adventures.
- Professional Branding: Whether you’re building a personal brand or selling products online, high-quality selfies can increase engagement.
- Creative Projects: Explore long exposure techniques, time-lapse photography, or artistic compositions—all made possible with a steady tripod.
Final Thoughts
Learning how to take selfies using a tripod unlocks a new realm of possibilities for creativity and professionalism. With the right equipment, attention to detail, and a little practice, you can capture flawless selfies that elevate your social media presence,

