How To Setup Wifi Security Cameras?
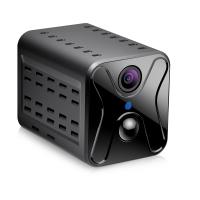
Setting up WiFi security cameras can seem like a daunting task, especially with the variety of models available on the market and the technical aspects involved. However, this process can be simplified with a clear and methodical approach. By securely installing and configuring your cameras, you can ensure a reliable surveillance system and protect your property while safeguarding your privacy. Here’s a comprehensive guide to setting up WiFi security cameras, addressing common issues and concerns, and ultimately optimizing both functionality and security.
Step 1: Choose the Right Location
Selecting the correct location for your security camera is the foundational step in ensuring an effective surveillance system. Before installation, ask yourself these questions:
- What areas of your property require monitoring? Is it the front door, backyard, driveway, or entrance points such as windows or garages?
- Can the camera have a clear, unobstructed view of the area you want to monitor?
- Does the camera have a strong WiFi signal at the intended location, ensuring seamless operation?
To maximize security coverage:
- Place cameras high enough to make tampering difficult.
- Focus them toward key areas, such as entrances, exits, or blind spots.
- Avoid obstructions, such as walls, trees, or heavy foliage, that could block the field of view.
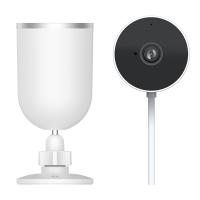
Additionally, install indoor cameras in strategic areas such as hallways, baby rooms, or viewable points of entry. Outdoor cameras should be weatherproof and positioned where they are not vulnerable to tampering.
Step 2: Ensure a Stable WiFi Signal
WiFi security cameras depend on a strong internet connection to function correctly. The quality of your WiFi signal determines the reliability of your video feed. Do the following:
- Test the WiFi strength at the camera’s intended location. If the signal is weak, you may need a WiFi extender or mesh network to ensure consistent connectivity.
- Understand your camera’s bandwidth requirements. High-resolution cameras may require more bandwidth, so ensure your home router can handle the load.
- Create a designated WiFi network for your cameras to avoid competing with other devices for bandwidth, especially for larger systems with multiple units.
Step 3: Select the Appropriate Power Source
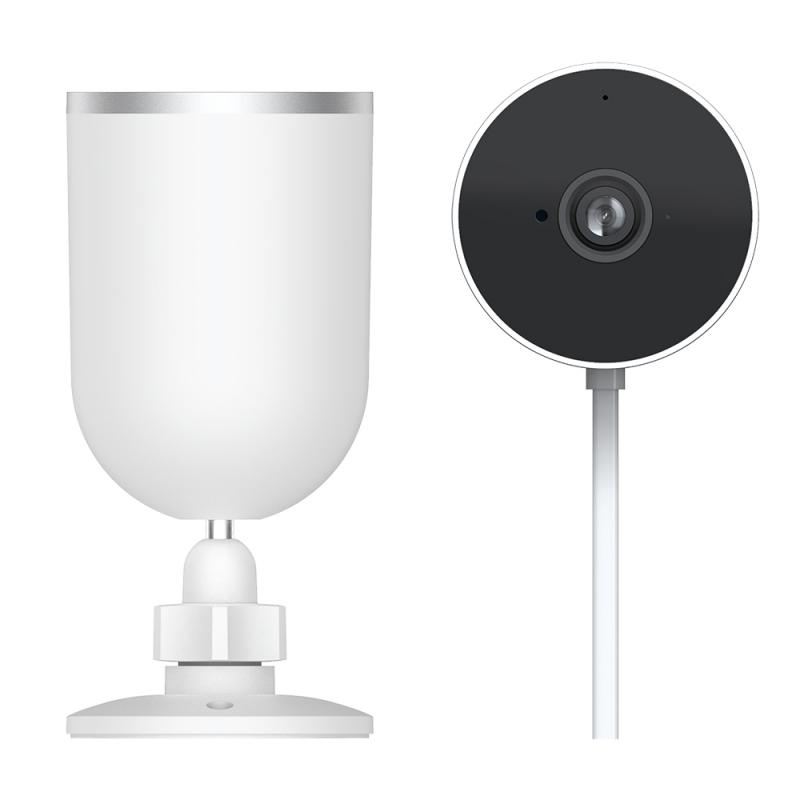
WiFi security cameras are powered either through electrical outlets or internal batteries. Choose what works best for your setup:
- Wired cameras offer continuous power but require access to a nearby electrical outlet. Ensure you measure the cord distance and plan accordingly.
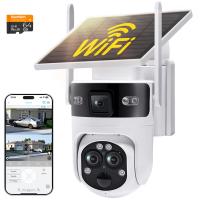
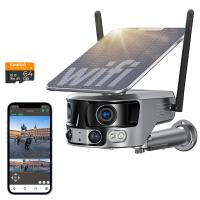
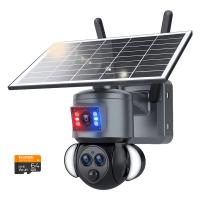
- Battery-powered cameras are more versatile when it comes to installation locations but need regular recharging or battery replacements. Some models support solar-powered extensions to reduce maintenance needs.
Plan your power source based on the location's accessibility.
Step 4: Install the Camera Hardware

The physical installation process varies depending on your camera model. For most cameras, follow these fundamental steps:
1. Attach brackets or mounting plates: Use screws or adhesive as specified in the instruction manual. A power drill may be required for mounting on solid surfaces like brick or wood.
2. Adjust the angle: Securely attach the camera to the bracket, then angle it to cover the desired range. This step often benefits from live monitoring through an app to ensure correct positioning.
3. Check the view in varying light conditions: To ensure clarity, test the camera both during daytime and nighttime. Many cameras offer infrared or night vision, which should also be reviewed for functionality.
4. Weatherproof where needed: For outdoor cameras, ensure that wiring and the device itself are sealed from elements like rain or snow.
Step 5: Connect the Camera to Your WiFi Network
Once the camera is physically installed, the next stage is integrating it into your WiFi network. Here’s how:
1. Download the camera’s mobile app or desktop software: Most WiFi security cameras come with dedicated apps to facilitate setup and monitoring.
2. Create an account or log in: You may need to create an account with the camera brand for access to their platform. This account often lets you securely manage multiple devices and store footage.
3. Follow the app’s pairing instructions: Most apps will guide you through connecting the camera to your WiFi network. This usually involves scanning a QR code on the camera or entering your network details.
4. Use the same network band: Many cameras are compatible only with 2.4 GHz networks and not 5 GHz, since this frequency provides a better balance of range and penetration through walls.
During this step, avoid connecting cameras to open or unsecured networks to prevent hacking vulnerabilities.
Step 6: Configure Settings for Security and Monitoring
To make the most of your WiFi security camera, take some time configuring the settings for optimal functionality and safety:
1. Change the default username and password: Default settings can be easily exploited by hackers. Always use a strong, unique password.
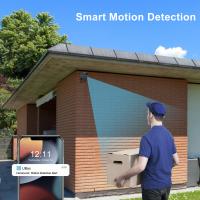
2. Set motion detection zones: Most cameras allow you to specify zones where motion alerts should be triggered. This feature reduces false alarms (e.g., swaying trees or passerby activity).
3. Adjust motion sensitivity levels: Experiment with sensitivity to ensure accurate detection without being overwhelmed by irrelevant notifications.
4. Enable encryption: Confirm that your security camera uses end-to-end encryption for video storage and transmission.
5. Activate two-factor authentication: Adding a second layer of security (e.g., SMS codes or app authenticator prompts) can protect your account from unauthorized access.
Step 7: Establish Storage Options
WiFi security cameras often support different storage options for saving footage, including:
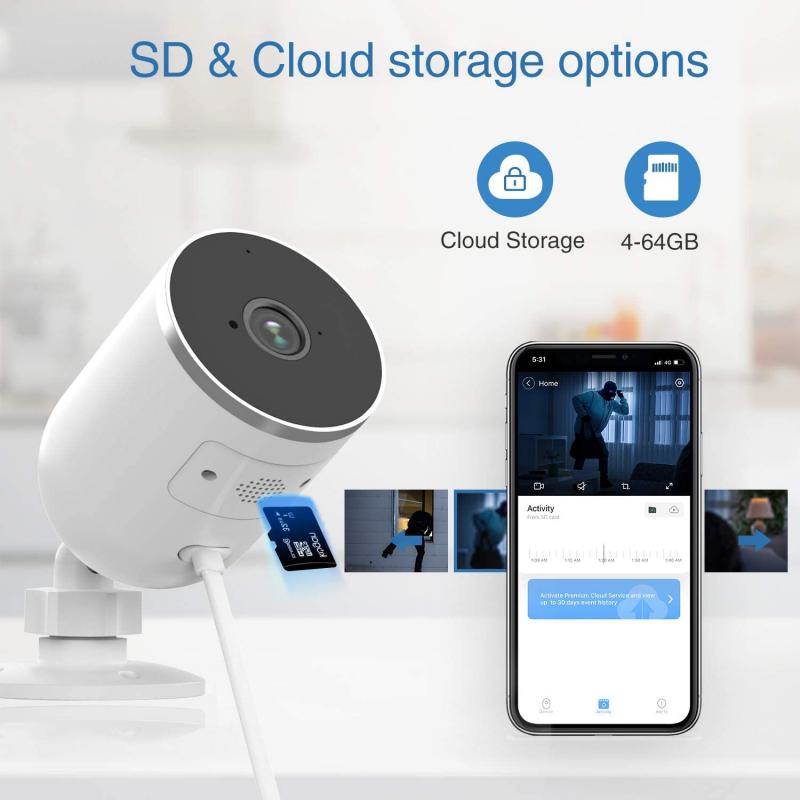
- Cloud storage: Many cameras provide subscription-based cloud storage services, allowing footage to be stored remotely. While convenient, it requires internet bandwidth and has recurring fees.
- Local storage: Cameras with SD card slots or connected hard drives offer secure, offline file storage. This avoids subscription costs but can pose risks of losing footage if the device is stolen or damaged.
- Hybrid options: Some models allow dual storage (both cloud and local) for comprehensive coverage.
Select the storage method that aligns with your needs for access, retention, and budget.
Step 8: Test and Troubleshoot
After your camera is fully configured, conduct a comprehensive test to ensure that all features are functioning properly:
- Check live streaming: Ensure you can remotely view the camera feed through the app or software.
- Simulate motion events: Walk into the camera's field of view to confirm that alerts and recordings are triggered accurately.
- Review footage: Test the quality of both daytime and nighttime recordings to ensure they meet your standards.
- Monitor app performance: Ensure the app sends timely alerts and does not crash during usage.
If issues arise, double-check the manual’s troubleshooting section or reach out to customer support for additional assistance.
Step 9: Maintain Your WiFi Security Cameras
To ensure continuous performance, regularly perform the following maintenance steps:
- Update firmware: Periodic firmware updates from manufacturers often include enhanced features, improved performance, and patched security vulnerabilities.
- Clean the camera lens: Dust or dirt can obscure the view and reduce image clarity.
- Inspect for damage: Regularly check outdoor cameras for signs of weather-related wear or tampering.
- Recharge batteries if needed: For battery-powered cameras, ensure batteries are charged on schedule to prevent downtime.
Tips for Enhancing WiFi Camera Security
While WiFi cameras provide convenience, they are also potential targets for cyberattacks if not adequately protected. Here are some best practices:
- Secure your WiFi network: Use strong passwords for your home router, enable WPA3 encryption if supported, and avoid using weak default router settings.
- Disable unused features: Turn off functions such as remote access or cloud storage if they pose unnecessary risks to your setup.
- Monitor for unauthorized activity: Periodically review your camera app to ensure no unknown devices or accounts are connected.
By proactively protecting your WiFi cameras, you mitigate risks and create a trustworthy monitoring system.
---
WiFi security cameras are becoming an essential tool for safeguarding homes and businesses, offering convenience and peace of mind at affordable price points. By following the steps outlined in this guide, you can install and configure your cameras effectively while prioritizing security at every stage. A properly set up system provides not just a watchful eye but also the confidence that your property, loved ones, and personal information are well-protected. Whether you're a homeowner, renter, or small business owner, a bit of upfront effort can yield significant peace of mind in knowing that your security system is both functional and secure.

