How To Setup Rgb Lights Pc?
RGB lighting has evolved into one of the most popular trends in modern PC setups. Whether you're looking to enhance your gaming experience, create a mood for your workspace, or simply personalize your system, properly setting up RGB lighting on your PC can elevate your device's aesthetics to a whole new level. If you’re unsure about how to set up RGB lights in your PC, this guide will walk you through everything you need to know—from understanding the components to configuring and customizing the lighting.
---
Understanding RGB Lighting Options for PCs
RGB (Red, Green, Blue) lighting offers millions of color combinations and comes in a variety of forms for PCs. Before jumping into the setup process, let’s familiarize ourselves with the different RGB options available:
- RGB Fans: Fans equipped with RGB LEDs that provide airflow while adding vibrant lighting to your case.
- RGB Strips: Flexible LED strips that can be placed around the edges of the case, components, or even behind your monitor or desk for extra ambiance.
- RGB CPU Coolers: Many CPU air coolers and liquid cooling units come with built-in RGB lighting for added appeal.
- Motherboard or GPU RGB: Modern motherboards and graphics cards often include integrated RGB lighting.
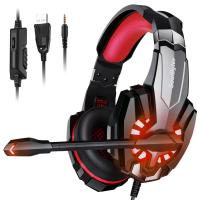
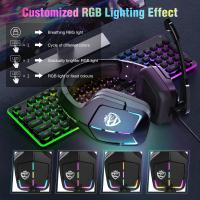
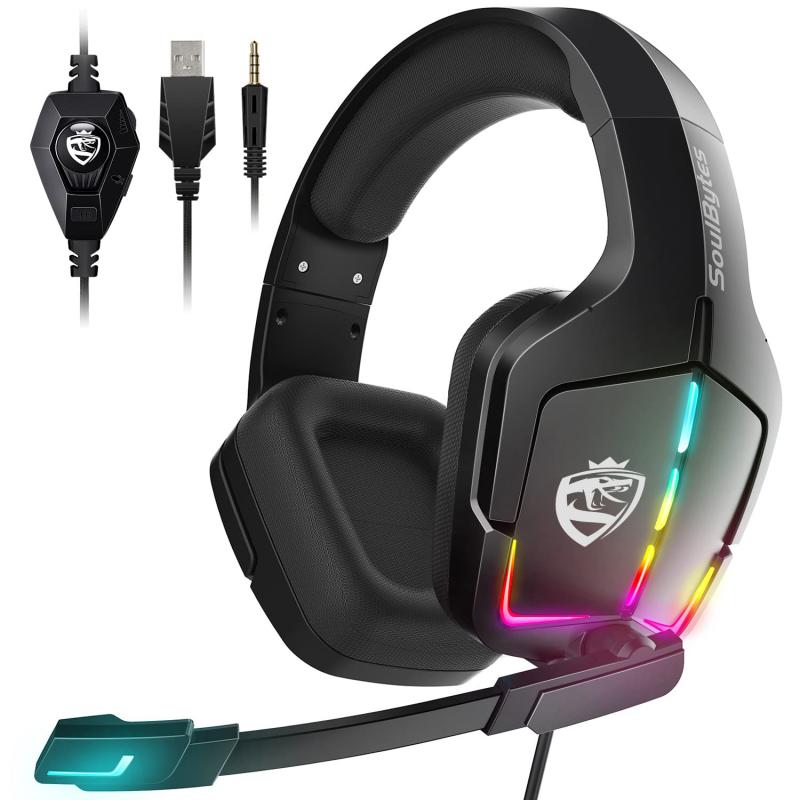
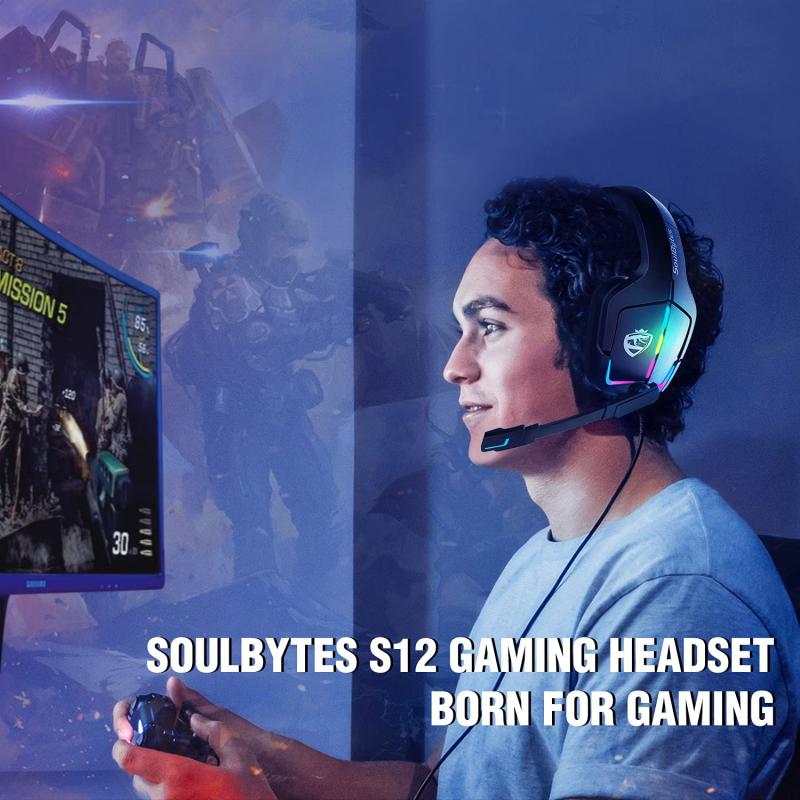
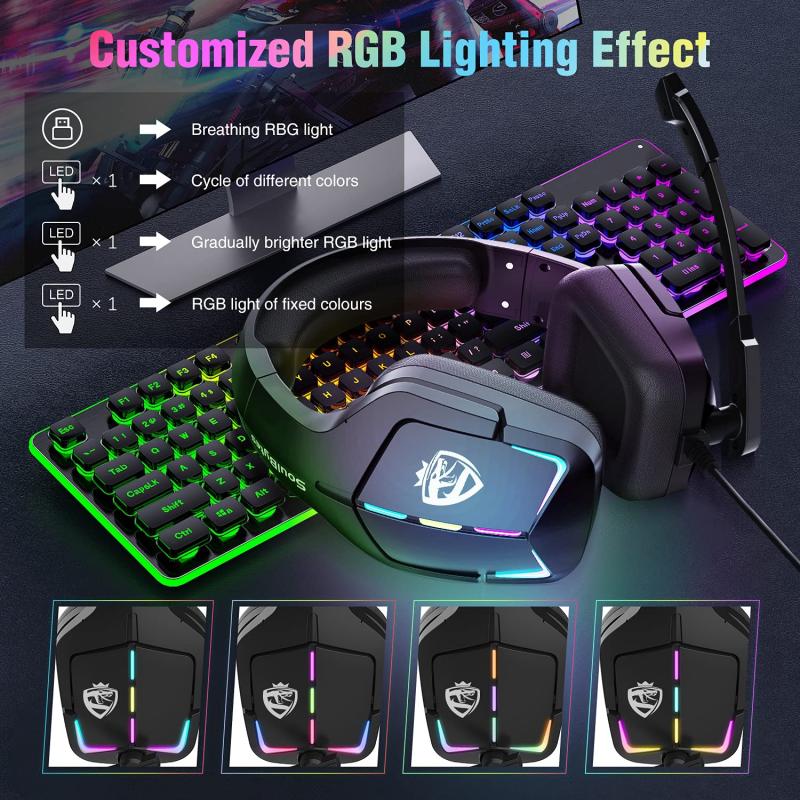
- Peripherals: RGB keyboards, mice, and headsets can synchronize with your PC or operate independently.
You can mix and match these components depending on your personal style preferences and hardware capability.
---
What You Need to Get Started
Before setting up RGB lighting, ensure you have the necessary hardware and software. Here’s a checklist of what you’ll need:
1. RGB-Compatible Components:
Make sure the components you're purchasing support RGB lighting. Not all fans, coolers, or motherboards come with RGB functionalities.
2. RGB Controller or Hub:
RGB components often come with a controller to manage the lights. If you are connecting multiple RGB parts, a hub or central controller may be necessary to coordinate them.
3. Supported Motherboard:
Check whether your motherboard has dedicated RGB headers (4-pin 12V RGB or 3-pin 5V ARGB). These headers allow direct control via software.
4. Software:
Most motherboard manufacturers provide RGB lighting control software, such as MSI Mystic Light, ASUS Aura Sync, Gigabyte RGB Fusion, or ASRock Polychrome Sync. If you’re using third-party RGB gear, they may have their own proprietary software.
5. Power Supply:
Ensure your PSU can handle the additional power draw that RGB lighting may introduce. Though the power requirement for LEDs is minimal, running multiple components could add up.
---
Setting Up RGB Lighting in Your PC

Follow these steps to set up and optimize your RGB lighting:
---
1. Plan Your Layout
Before installation begins, map out where the RGB lights will go. Consider component placement, airflow, and cable management:
- For fans, determine their orientation and whether you prefer front, top, rear, or bottom placement.
- For LED strips, decide where they'll look most aesthetically pleasing, such as around the tempered glass side panel.
- For hardware such as CPU coolers and GPUs, check the manufacturer’s instructions for optimal installation.
Planning your layout ensures an organized look and minimizes cable clutter.
---
2. Check Compatibility
RGB components can have different connector types:
- 4-pin 12V RGB header: These offer static colors (all LEDs display the same color simultaneously).
- 3-pin 5V ARGB header: These allow individual LED control for advanced lighting effects like rainbow waves.
Make sure your components' connectors match the headers on your motherboard. If not, you may need adapters or a separate controller.
---
3. Install RGB Hardware
Once your layout is decided, install the RGB components in your PC:
- RGB Fans: Mount the fans in your case and connect their RGB and power cables. Many RGB fans use 2 cables—one for lighting and one for the fan motor.
- LED Strips: Use adhesive backing or clips to position the LED strips. Be mindful of tight bends that could damage the strips or block airflow.
- CPU Cooler: Follow the included instructions to attach the cooler to your CPU and motherboard. Connect its RGB header to the motherboard or hub.
- RGB Controller or Hub: If you’re using multiple components, mount the RGB controller or hub inside your case. Connect each RGB device to the hub.
---
4. Connect to the Motherboard
Plug the RGB connectors into the designated headers on your motherboard. Refer to your motherboard’s manual for header locations and type compatibility. If your motherboard doesn’t have RGB headers, use the controller included with your RGB product.
---
5. Install RGB Software
Once the hardware is installed, download the appropriate software for your motherboard or RGB controller. Most RGB control applications allow you to:
- Change the color of your lights.
- Set patterns (e.g., breathing, static, rainbow).
- Sync the lighting with other RGB-enabled components.
- Adjust brightness and speed of effects.
Popular software includes:
- MSI Mystic Light: For MSI motherboards and supported peripherals.
- ASUS Aura Sync: For ASUS motherboards, GPUs, and compatible devices.
- Gigabyte RGB Fusion: Compatible with Gigabyte hardware.
- Corsair iCUE: For Corsair RGB gear like fans, keyboards, and RAM.
For third-party components, visit their website to download the corresponding application.
---
6. Customize Your RGB Lighting
After installation, experiment with different colors and effects to personalize your setup. Here are some popular configurations:
- Single Color Theme: Match your lighting with your room or PC color scheme.
- Rainbow Effects: Showcase your RGB setup with dynamic color waves.
- Reactive Lighting: Sync effects with game actions or audio.
If you’re using multiple software programs, ensure they don’t conflict. Some users prefer integrated ecosystems (like iCUE or Aura Sync) for seamless synchronization across multiple brands.
---
7. Perform Cable Management
RGB setups involve extra wiring for each light source. Use zip ties, velcro straps, or adhesive clips to organize cables. Routing cables neatly along the back of your case prevents them from obstructing airflow or ruining your PC's aesthetic.
---
Troubleshooting Common Issues
Here are solutions to frequent problems encountered during RGB lighting installation:
- RGB Lights Not Working: Reseat all connections and check that the header pins are correctly aligned. Also, ensure the RGB feature is enabled in BIOS or software.
- Non-Synced Effects: Verify compatibility across all components. Some brands don’t synchronize with others.
- Software Crashing or Freezing: Update your RGB control software to the latest version. Outdated applications can cause instability.
- Limited Color Options: Double-check whether you’re using a 12V or 5V system. ARGB (5V) supports individual LED customization, while RGB (12V) does not.
---
Maximizing Your RGB Experience
Now that your RGB setup is complete, here are a few tips to maximize its impact:
- Sync RGB With Gaming: Some applications, like Razer Synapse or Corsair iCUE, allow RGB effects to correspond with in-game actions, enhancing immersion.
- Ambient Lighting: Extend RGB lighting beyond your PC by adding LED strips behind your desk or monitor for a cohesive look.
- Periodic Maintenance: Dust and clean your case regularly to keep the LEDs shining bright and unimpeded.
---
Setting up RGB lighting in your PC is a rewarding experience that brings personalization, creativity, and enhanced aesthetics to your rig. By understanding the hardware, planning your layout, properly installing components, and utilizing robust software for customization, you can create a stunning RGB masterpiece tailored to your preferences. Whether it’s subtle elegance or a bold, colorful showcase, your RGB setup can make your PC stand out while seamlessly blending with your workspace or gaming station.


