How To Setup Remote Viewing Of Security Cameras?
With the increasing need to monitor homes, offices, or other properties remotely, the ability to set up remote viewing of security cameras has gained widespread popularity. Remote access capabilities not only allow for 24/7 surveillance from virtually anywhere in the world but also help enhance safety, deter potential threats, and provide peace of mind. In this guide, we’ll break down the essential steps for setting up remote viewing of security cameras. Whether you’re a homeowner looking for added security or a small business owner wanting to monitor your operations, this article will provide practical advice to get your system up and running optimally.
Step 1: Choose the Right Security Camera System
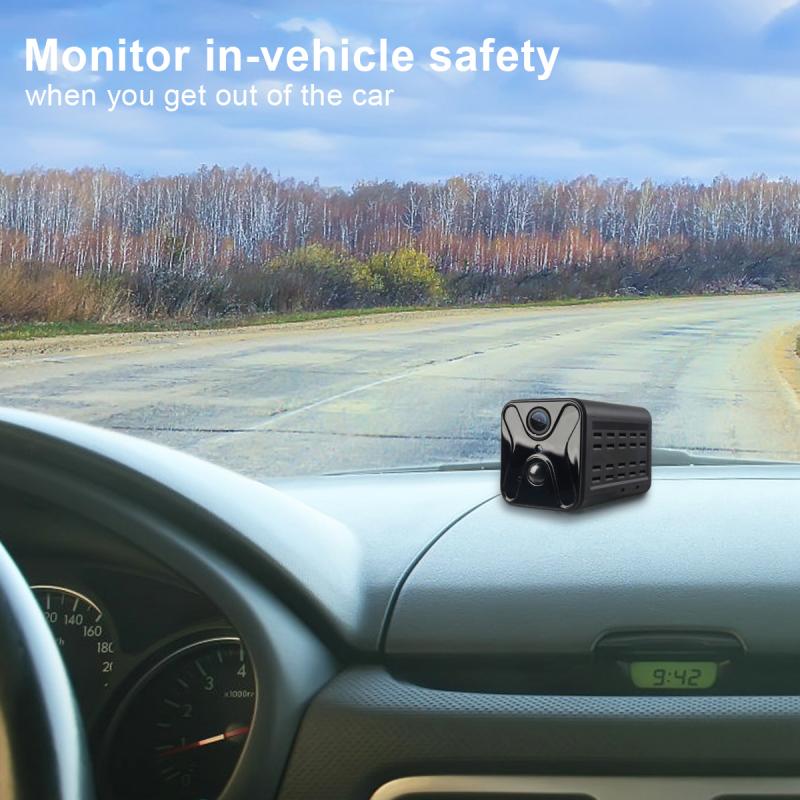
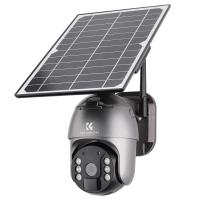
To enable remote viewing, it’s crucial to invest in a security camera system equipped with internet connection capabilities. There are two main categories to choose from:
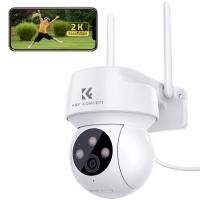
1. IP Cameras (Internet Protocol Cameras): These cameras connect directly to your network and are ideal for remote viewing setups. Many IP cameras come with built-in apps or software to support remote access.
2. DVR/NVR-Based Systems: Digital Video Recorders (DVRs) or Network Video Recorders (NVRs) are often paired with traditional cameras. Modern DVRs/NVRs typically offer compatibility with remote-viewing apps or browser-based software.
When purchasing, ensure your chosen system includes features like mobile app support, cloud storage options, and compatibility with your existing devices (smartphones, computers, or tablets).
Step 2: Connect Your Cameras to the Internet
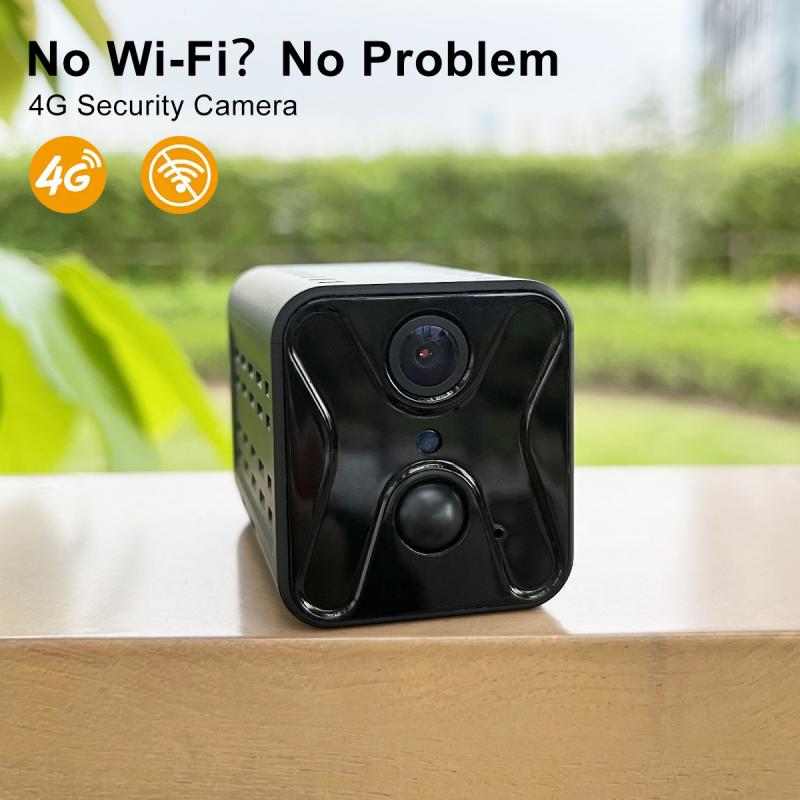
Once you’ve installed the cameras and set up the system as per manufacturer instructions, the next task is connecting the cameras to the internet. Here’s how:
1. Wired Connection:
- If you’re using an IP camera or NVR/DVR system, you will likely configure the connection using an Ethernet cable. Plug the cable into your router or network switch to establish a stable connection.
- Ensure the upload bandwidth of your internet is adequate to handle video streaming—this is especially critical if you’re streaming HD video.
2. Wireless (Wi-Fi) Connection:
- Wireless cameras are simpler to set up but may require you to enter Wi-Fi credentials during the initial configuration.
- Many wireless cameras come with step-by-step app instructions to complete the setup.
After connecting the cameras, you should test the stability of the internet connection at the placement location. Poor Wi-Fi signals can lead to laggy video streams or interruptions.
Step 3: Configure Your Router for Remote Access

Remote viewing isn’t just about connecting cameras to the internet—it also involves configuring your network to allow external access. Here are a few methods to do that:
1. Port Forwarding:
- Port forwarding allows devices outside your local network to access your security cameras. Log in to your router’s web interface (usually by typing the router’s IP address into a web browser) and navigate to the Port Forwarding section.
- Assign an external port number to link to your security camera system’s local IP address. For example, forwarding port 8080 might allow you to access the camera system remotely via `http://[your-public-IP]:8080`.
- Remember to save the configuration, and consider writing down your assigned ports for reference.
2. Dynamic DNS (DDNS):
- Most internet service providers assign dynamic public IP addresses (which change periodically), so using DDNS services allows you to create a static hostname (like `mysecuritysetup.ddns.net`) for easier access.
- Many routers have built-in support for DDNS, or you can use external services like No-IP or DynDNS.
3. Universal Plug and Play (UPnP):
- Some security systems support UPnP for simpler configurations, where your router automatically opens ports needed for remote access.
- While convenient, be aware that UPnP may have security vulnerabilities in certain setups.
Step 4: Install and Configure the Mobile App or Viewing Software
Most modern surveillance systems come with a companion app or desktop software for remote viewing. Here’s how to set it up:
1. Download the App:
- Locate your camera brand’s official app (e.g., Hik-Connect, Reolink App, Google Home) on the Apple App Store or Google Play Store.
- Alternatively, desktop software solutions (for PC/Mac) can be found on the manufacturer’s support website.
2. Create an Account:
- Most apps require user registration with an email or phone number to access remote features like notifications and cloud storage.
3. Pair Your System:
- Many apps let you pair your system by scanning a QR code present on the camera, DVR/NVR, or user guide.
- You may also need to input specific details, like the device ID, server address, or port numbers, to establish the connection.
4. Stream and Test:
- Test your live feed to ensure smooth streaming.
- Adjust the resolution or frame rate settings if needed to optimize viewing performance on slower internet connections.
Step 5: Optimize for Security
Security is often an overlooked aspect of remote camera monitoring. Remote viewing means exposing your devices to the internet, which could make them targets for unauthorized access. Take the following precautions:
1. Update Firmware:
- Keep the firmware of your cameras and DVR/NVR system updated to prevent vulnerabilities. Most manufacturers release periodic security patches.
2. Set Strong Passwords:
- Always change factory-default usernames and passwords for your cameras, router, and connected software.
3. Enable Encryption:
- Ensure your remote viewing service offers encryption methods like HTTPS or RTSP over SSL (RTSPS). These features ensure that video feeds are securely transmitted and inaccessible to hackers.
4. Enable Two-Factor Authentication:
- Many camera apps offer two-factor authentication (2FA), requiring an additional verification step that adds another layer of security.
5. Regularly Review Access Logs:
- Check the device or app’s system logs for any suspicious login attempts or unauthorized access.
Step 6: Test and Troubleshoot
Once everything is configured, test your remote viewing setup. Use a different internet connection (such as mobile data) to confirm the system works outside your local network. If issues arise, consider reviewing the following:
- Low-Quality Video Feed: Adjust resolution settings or verify your internet upload speed.
- Connection Failures: Double-check port forwarding rules and that your DDNS host name updates as required.
- Device Offline Issues: Reboot the camera or router to refresh the connection.
If you’re still stuck, refer to the user manual or reach out to the manufacturer’s support team.
Step 7: Expand and Optimize Your System
Once your initial setup is complete, you might consider additional enhancements:
1. Integrate AI Features:
- Many modern cameras offer AI-powered motion detection, facial recognition, or intruder alerts. These can greatly enhance security and reduce false alarms.
2. Cloud Storage Solutions:
- Pairing your system with cloud storage services ensures you won’t lose footage in the event of hardware failure.
3. Install Multiple Cameras:
- For larger areas, scale your system by adding more cameras and grouping them within the same app for seamless remote monitoring.
Setting up remote viewing of security cameras doesn’t have to be daunting. With proper planning, high-quality equipment, and attention to network and security configurations, you can enjoy a seamless surveillance experience from anywhere in the world. Following the steps outlined in this article will help ensure that you’re always in control, keeping your property safe and monitored at all times.
Remote surveillance not only offers convenience but also contributes to a stronger sense of security. The ability to check on your home or business at any time is invaluable, and with the right setup, you’ll have a reliable system tailored to your needs. Whether you’re a homeowner safeguarding your premises or a business owner keeping tabs on operations, remote access to security cameras is both a practical and indispensable tool in today’s interconnected world.



![Carbon Monoxide Detectors Portable Temperature Detector/Humidity Sensor/Air Quality Meter Smoke CO Gas Monitor [3 in 1] Alarm for Home Bedroom Office in-car Camping Indoor Outdoor Carbon Monoxide Detectors Portable Temperature Detector/Humidity Sensor/Air Quality Meter Smoke CO Gas Monitor [3 in 1] Alarm for Home Bedroom Office in-car Camping Indoor Outdoor](https://img.kentfaith.com/cache/catalog/products/us/GW40.0007/GW40.0007-1-200x200.jpg)
