How To Set Up Wildlife Camera?
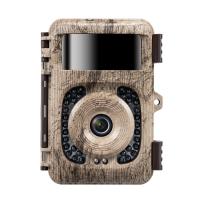
Setting up a wildlife camera is an excellent way to observe the wonders of nature up close without disturbing animals in their natural habitats. Whether you’re a wildlife enthusiast, researcher, or just curious about what animals roam your backyard, proper placement and setup can yield incredible insights. However, to get the most out of your wildlife camera, you'll need to understand the practical steps involved in choosing the right camera, selecting a location, adjusting the settings, and retrieving data effectively. In this article, we’ll guide you through each step, share expert tips, and address common challenges to help you make the most of your wildlife camera.
---
Choosing the Right Wildlife Camera
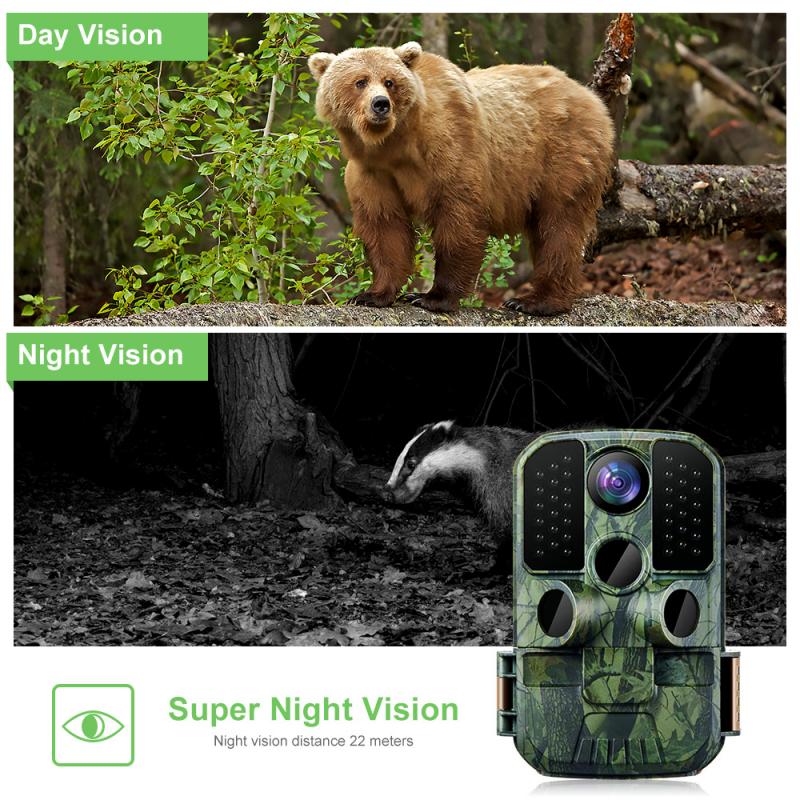
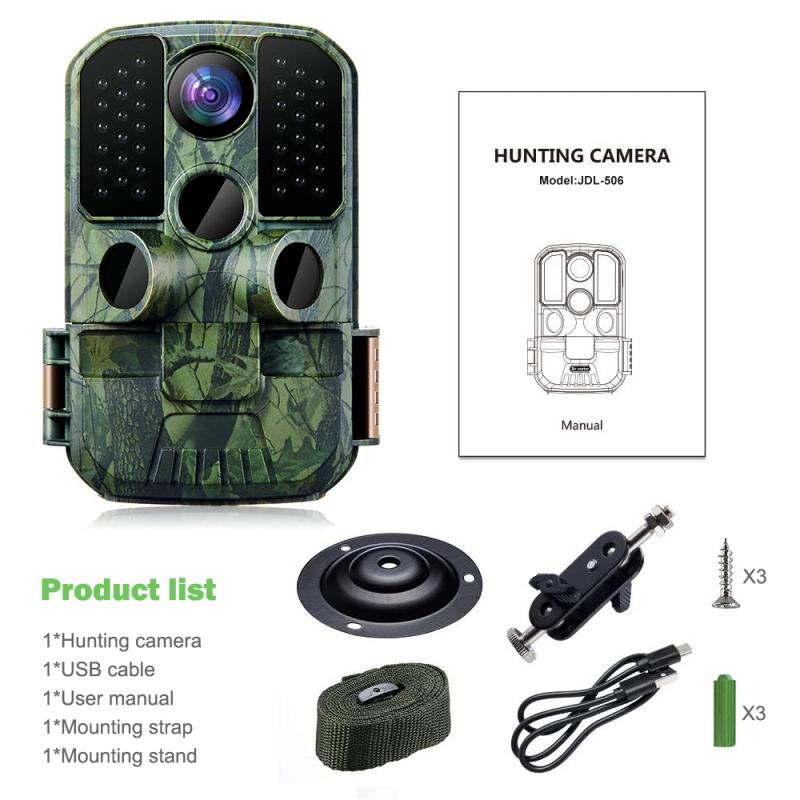
The first step to success is ensuring you have a wildlife camera that fits your needs. Cameras vary by features, price range, and level of complexity, so consider the following key factors:
1. Resolution and Quality:
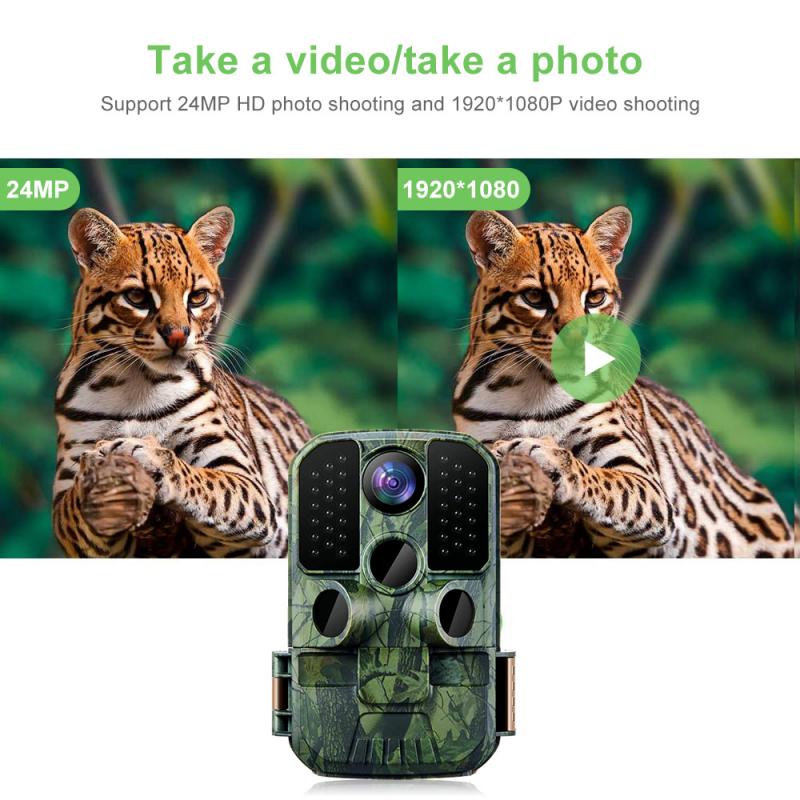
- Look for a camera with at least 12MP resolution and 1080p video quality. Higher resolution ensures clear images that can capture fine animal details.
2. Trigger Speed:
- A fast trigger speed (0.1 to 0.3 seconds) is crucial for capturing animals in motion. A slow trigger speed might result in missed moments as animals move out of view.
3. Detection Range:
- Choose a camera with a wide detection range and long detection distance—typically 60 to 100 feet. This helps capture animals without needing them to pass too close.
4. Infrared Night Vision:
- Most wildlife activity occurs at night, so ensure the camera has no-glow or low-glow infrared sensors to avoid disturbing animals while capturing clear nighttime images.
5. Battery Life and Power Options:
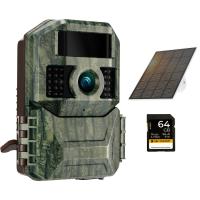
- Wildlife cameras can be battery-intensive, so select one with long battery life or the option for supplemental solar power.
6. Weather Resistance:
- Ensure the camera is durable and weatherproof to withstand rain, snow, or extreme temperatures.
---
Selecting the Perfect Location
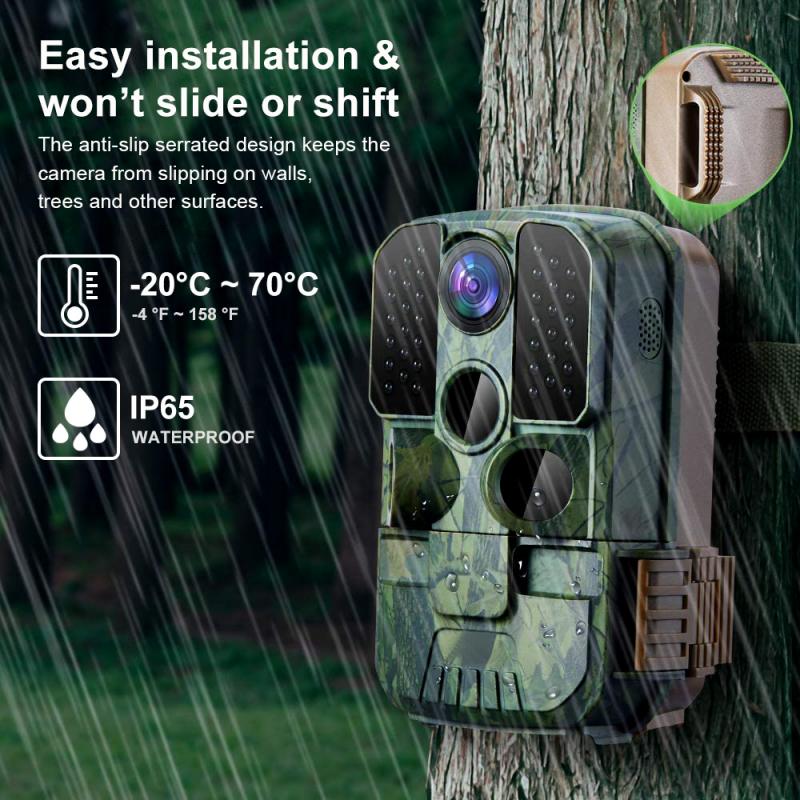
The placement of your wildlife camera determines its success. To position your camera effectively:
1. Scout Animal Activity:
- Look for signs of wildlife such as tracks, trails, burrows, feeding areas, or watering holes. These spots will have the highest likelihood of consistent activity.
2. Avoid Human Disturbance:
- Set up your camera in areas with minimal human traffic. Animals are typically wary of humans and may shy away from areas where human scent or noise is strong.
3. Height and Angle:
- Mount the camera approximately 3 to 5 feet off the ground for most animals. For smaller creatures, such as rabbits or foxes, position it lower, around 2-3 feet. Aim the camera slightly downward to capture ground-level activity.
4. Consider the Sun’s Position:
- Prevent glare in your images by avoiding a direct east or west-facing angle, as sunlight at sunrise or sunset can wash out the pictures. Angling the camera north or south ensures better lighting conditions.
5. Secure the Camera:
- Use straps, stakes, or lockboxes to secure the camera firmly in place. This prevents it from being knocked over by animals or tampered with by people.
---
Configuring Camera Settings and Features
Most wildlife cameras offer a suite of customizable settings to help you get the best results. Adjust these settings based on your target species and monitoring goals:
1. Detection Sensitivity:
- Set a high sensitivity level if you want to capture small animals or distant movement. Lower sensitivity can reduce false triggers caused by wind, rain, or foliage.
2. Image or Video Mode:
- Decide whether to use image mode, video mode, or both. Videos provide valuable context for animal behavior, while images consume less memory and battery.
3. Capture Interval:
- Set an appropriate interval between triggers. Short intervals (1-5 seconds) are ideal for fast-moving animals, while longer intervals may work for slow-movers.
4. Time-Lapse vs. Motion Detection:
- If you want to monitor a specific area regardless of motion, use the time-lapse feature. Otherwise, rely on motion detection to save battery life and memory.
5. Time and Date Stamp:
- Enable the time and date stamp to track patterns in animal behavior over days, weeks, or months.
6. Password Protection:
- Activate password protection to prevent unauthorized access to your camera.
7. Memory Card Size:
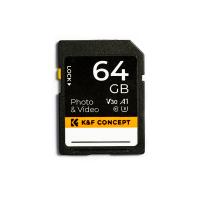
- Use a high-capacity SD card (32GB or higher) to store extensive footage. Make sure to check compatibility with your camera.
---
Retrieving and Analyzing Data
Once your wildlife camera is in place and operational, follow these steps to retrieve and analyze the captured media effectively:
1. Regular Checks:
- Check the camera periodically to replace batteries, retrieve images, or clear the memory card if necessary. Frequency will depend on activity levels and camera settings.
2. Minimize Disturbance:
- Visit the site during non-peak wildlife activity times, such as mid-day, to avoid spooking animals.
3. Organize Files:
- Store images and videos in labeled folders by location and date. Software programs like iPhoto, Lightroom, or specialized wildlife analytics tools can help organize and analyze media.
4. Use Metadata:
- Leverage data such as timestamps and GPS tagging (if available) to study wildlife patterns and movements over time.
5. Share Your Findings:
- If you discover something fascinating, share your results with local wildlife groups, conservation organizations, or online communities. Citizen scientists play an essential role in tracking wildlife behavior and population changes.
---
Advanced Wildlife Camera Techniques for Better Results
As you gain experience, you can adopt more advanced strategies to optimize your wildlife camera setup:
1. Multi-Camera Deployment:
- Use multiple cameras to cover larger areas or capture different perspectives of the same location. This provides a broader understanding of animal presence.
2. Experiment with Bait:
- Place food or a natural attractant near the camera to lure animals into the frame. However, be cautious: Some regions require permits for baiting wildlife.
3. Seasonal Adjustments:
- Adapt your strategy based on the season. For instance, deer trails might be more active during mating season, while bird feeders could attract wildlife during winter.
4. Monitor Rare or Elusive Species:
- For shy animals, camouflage the camera or reduce infrared illumination to avoid detection. Persistence is key to capturing these creatures.
5. Nighttime Settings:
- Prioritize nighttime-specific adjustments if you're targeting nocturnal species. This may include tweaking infrared intensities or ensuring memory cards have adequate available storage.
---
Troubleshooting Common Issues
Wildlife camera operation isn’t without challenges, but with some planning, you can overcome most obstacles. Here's how to deal with common problems:
1. False Triggers:
- If your camera is capturing too many false triggers caused by wind or foliage, reduce the sensitivity or adjust the capture angle.
2. Missed Shots:
- Missed activity could indicate a slow trigger speed or improper placement. Upgrade to a faster camera if needed and place it at high-traffic locations.
3. Fogged Lenses:
- Condensation during temperature changes can obscure images. Use silica gel packs or anti-fog spray on the lens to prevent this.
4. Battery Drain:
- Significant battery usage may stem from excessive night activity or cold temperatures. Opt for lithium batteries, which last longer in low temperatures, or attach a solar panel.
5. Human Interference:
- If you’re concerned about theft or tampering, place the camera in inconspicuous areas and use camouflage or lockboxes for added security.
---
Making the Most of Your Wildlife Camera Experience
Setting up a wildlife camera isn’t just a technical task—it’s a doorway into the fascinating world of animals and their habitats. Whether you’re documenting local deer in your backyard, scouting for migratory birds, or tracking predators in the wilderness, wildlife cameras allow us to witness nature in its purest form.
By selecting the right camera, carefully choosing a location, and configuring appropriate settings, you can dramatically enhance the quality and quantity of your captures. Over time, your skills will improve, yielding even more amazing

