How To Run Wired Security Cameras?
Installing and running wired security cameras is an excellent way to enhance your home or business security. While wireless cameras are often praised for their ease of installation, wired security cameras are known for their reliable connection, higher-quality video feeds, and lack of dependence on Wi-Fi. If you're planning to set up a reliable surveillance system, it’s critical to understand the steps and considerations involved in running wired security cameras. This article will guide you through everything you need to know to get your system up and running efficiently while avoiding common pitfalls.
---
1. Understand Your Security Needs
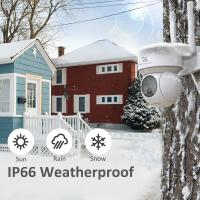
Before you begin installing a wired security camera system, assess your specific security needs. Are you using the cameras to monitor physical property, such as your home’s entry points or business premises? Do you need night vision, audio recording, pan-tilt-zoom (PTZ) functionality, or weather-resistant cameras for outdoor placement?
Understanding your purpose will help you select the appropriate camera types with the right features. Additionally, map out the areas that require coverage. For example, high-traffic entry areas, blind spots, driveways, and backyards may need closer scrutiny to mitigate security risks effectively.
---
2. Choose the Right Wired Security Camera System

Selecting the ideal security camera system involves considering several components:
- Camera Type: Dome, bullet, and PTZ cameras are common types of wired security cameras. Domes are vandal-resistant, while bullets are better for long-range viewing. PTZ cameras provide wide-area coverage with remote adjustments.
- Cable Types: Most wired security systems use either coaxial cables (such as RG59 with BNC connectors) or Ethernet cables (such as Cat5e or Cat6) for data transmission. Ethernet-based systems (IP cameras) use PoE (Power over Ethernet), eliminating the need for separate power cables.
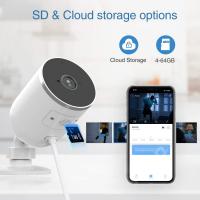
- Storage: Decide whether you want local storage (using a DVR or NVR camera system) or remote storage via cloud services. For wired cameras, DVR (digital video recorder) systems are often used with analog cameras, while NVRs (network video recorders) are used with IP cameras.
---
3. Plan the System Layout
Effective planning is essential for a smooth installation. Start by identifying where each camera will be mounted and determine how the wiring will run from each camera to the DVR/NVR or power source. Keep in mind:
- Field of View: Position your cameras so that they cover the areas you want to monitor without obstruction.
- Power Source: Wired cameras require a stable power supply. Evaluate where you can place power sources to avoid long cable runs.
- Central Recording Device: Position the DVR or NVR in a secure location, such as a locked cabinet, away from plain view. This device will process and store your video footage.
Measure the distance between your cameras, power outlets, and the recording unit. Ensure you purchase cables that are long enough for your setup, leaving some slack for adjustments.
---
4. Gather Tools and Materials

Installing a wired security camera system requires some basic tools and materials. Before you start, gather the following:
- Cameras and mounting kits (typically included with your camera system)
- DVR/NVR unit and hard drive, if necessary
- Coaxial or Ethernet cables
- Power adapters (if applicable)
- Drill and drill bits
- Screwdrivers
- Cable clips or conduits
- Monitor or TV for initial setup and testing
Additionally, check the user manual included with your camera system for any specific requirements or tools.
---
5. Install Cameras
Careful camera placement ensures optimal performance and image quality. Follow these steps to install your cameras:
1. Mark Drilling Points: Use a pencil and level to mark the exact points where you’ll mount each camera.
2. Drill Holes for Mounts and Cables: Drill holes to install the mounting brackets and, if necessary, create wall penetration points for the cables.
3. Secure the Camera: Attach the camera to the mounting bracket using screws. Verify that each camera angle is correct based on your coverage needs.
4. Run the Cables Through the Walls: Pass the cables through drilled holes or use cable conduits for a cleaner and more professional look.
Tip: For outdoor installations, use weatherproof cable connectors and secure the wiring along walls or roofs to protect against environmental damage.
---
6. Route and Connect the Cables
Routing the cables is the most intricate part of setting up a wired security camera system. Follow these guidelines for effective cable management:
- Organize Cables: Route cables neatly along walls, floors, or ceilings using cable clips, staples, or conduits to avoid entanglement or tripping hazards.
- Connect Power: If your cameras need separate power cables, plug them into a nearby outlet or a power strip near the DVR/NVR.
- Connect to the Recording Device: Plug the video cables (BNC or Ethernet) from the cameras into the ports on the DVR/NVR. For PoE setups, the Ethernet cable will carry both power and data.
Ensure that cables are labeled properly if you’re using multiple cameras to minimize confusion when troubleshooting or recording footage.
---
7. Configure and Test the System
Once all connections are complete, it’s time to ensure the system works correctly by configuring and testing it:
1. Power On the Cameras and DVR/NVR: Turn on the cameras and ensure the DVR/NVR is also powered up and connected to the monitor or TV.
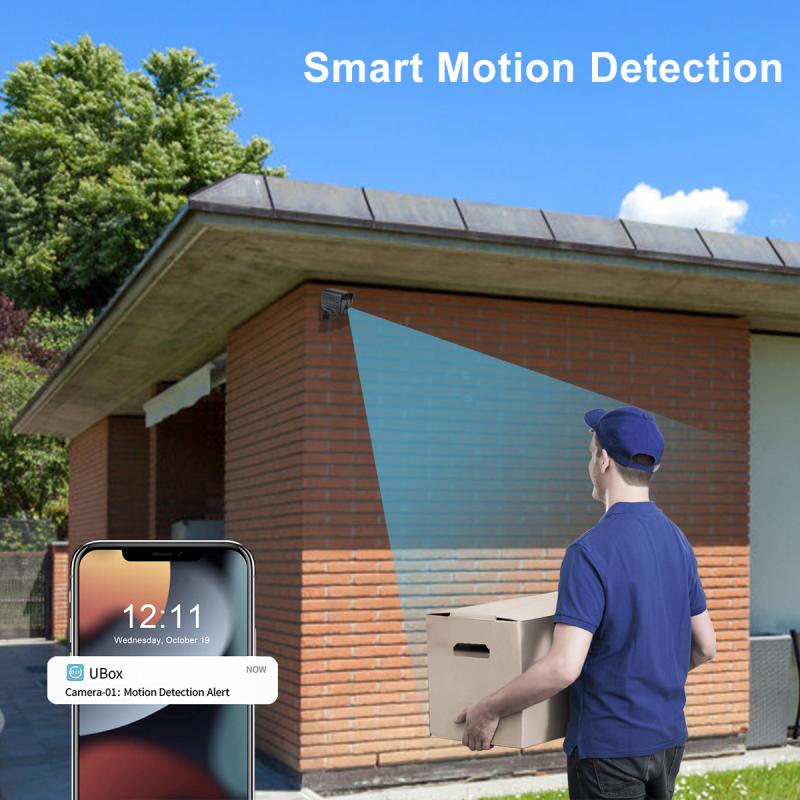
2. Set Up the DVR/NVR: Use the system's software to configure camera settings such as recording schedules, motion detection zones, and alerts.
3. Adjust Camera Angles: Confirm that each camera is capturing the intended areas properly and make adjustments as needed.
4. Test the System: Check live feeds and recording functionality to ensure all cameras are working correctly. If motion detection is a feature, test its sensitivity levels to avoid false alarms.
---
8. Maintain Your Wired Security System
A well-installed system requires consistent maintenance to ensure longevity. Regularly check the following:
- Cable Integrity: Inspect for signs of wear, environmental damage, or disconnection.
- Camera Cleanliness: Wipe lenses and housings periodically to ensure clear visibility.
- Software Updates: Update your DVR/NVR firmware and viewing app to benefit from improved performance and features.
- Storage Management: Regularly check and clear older recordings to ensure sufficient storage space for new footage.
---
Troubleshooting Common Issues
When dealing with wired security cameras, you may occasionally encounter problems. Here’s how to address some of the most common issues:
- No Signal from a Camera: Check the cable connections for that camera. Ensure the connectors are securely plugged into both the camera and DVR/NVR.
- Blurry Video Footage: Dirty lenses can reduce video quality; clean the lenses with a microfiber cloth.
- Interference: Ensure that camera cables are routed separately from power lines to avoid interference.
- No Power: Confirm that the power supply is functional and that the adapters or PoE connections are secure.
---
Benefits of Wired Security Cameras
Though the installation process may seem extensive, wired security cameras offer several advantages over wireless systems:
- Stable Connection: Since they don’t rely on Wi-Fi, wired cameras deliver uninterrupted video feeds regardless of network issues.
- High-Quality Video: The direct connection often ensures higher resolution and minimal latency.
- Better Security: Wired systems are less vulnerable to hacking compared to wireless setups.
---
Final Thoughts
Running wired security cameras might involve more effort upfront, but the long-term benefits of reliability, superior video quality, and minimal maintenance make it a worthwhile investment. By following the steps outlined above, you can create a robust security system that enhances the safety and protection of your home or business.
If you follow proper installation guidelines, strategically place your cameras, and maintain the setup regularly, you’ll enjoy peace of mind knowing that you have a secure and effective surveillance system in place.

