How To Remove Tripod From 360 Photo?
Capturing 360-degree photos has become an integral part of creating immersive content, whether for virtual tours, real estate showcases, social media, or creative storytelling. However, one of the most common issues photographers and content creators encounter while taking 360-degree photos is the unwanted appearance of the tripod at the bottom of the image. This can disrupt the aesthetic and professional quality of your photos.
Fortunately, there are effective methods to remove the tripod and achieve a seamless 360-degree experience for your viewers. In this article, we’ll cover the most practical and commonly used techniques to eliminate the tripod from your 360 photos, including software-based editing and shooting tips to minimize the problem. Whether you're an amateur or a seasoned photographer, this step-by-step guide will help you refine your 360-degree content to look clean and polished.
---
Understanding the Problem: Why Does the Tripod Show Up in 360 Photos?
360-degree cameras are designed to capture the entire environment around them, including the ground where the camera is placed or mounted. Since most 360 cameras use dual-lens setups or multiple lenses, they capture everything within the field of view, including the area directly below the camera.
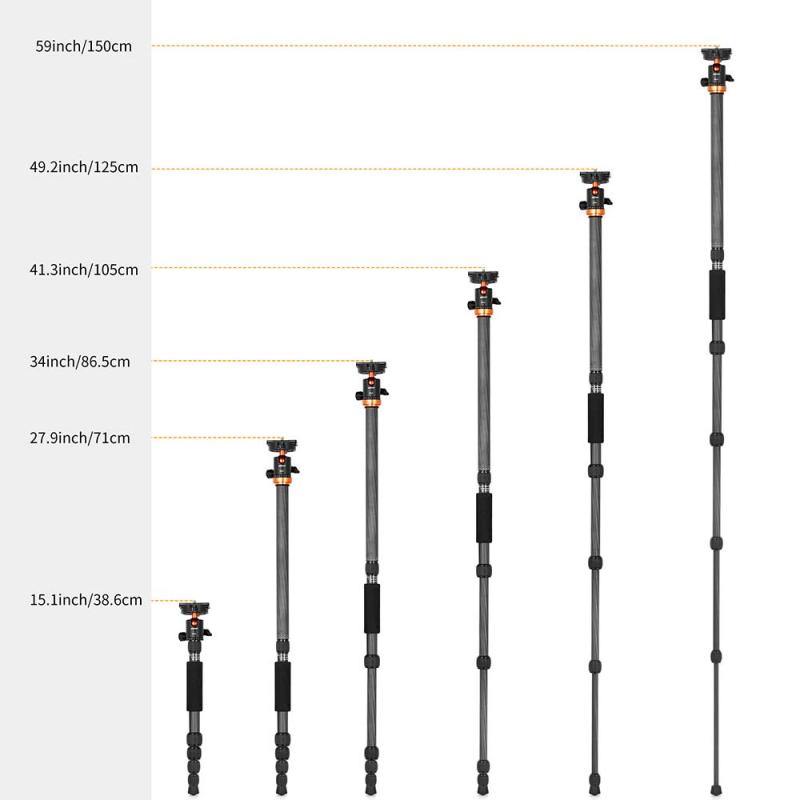
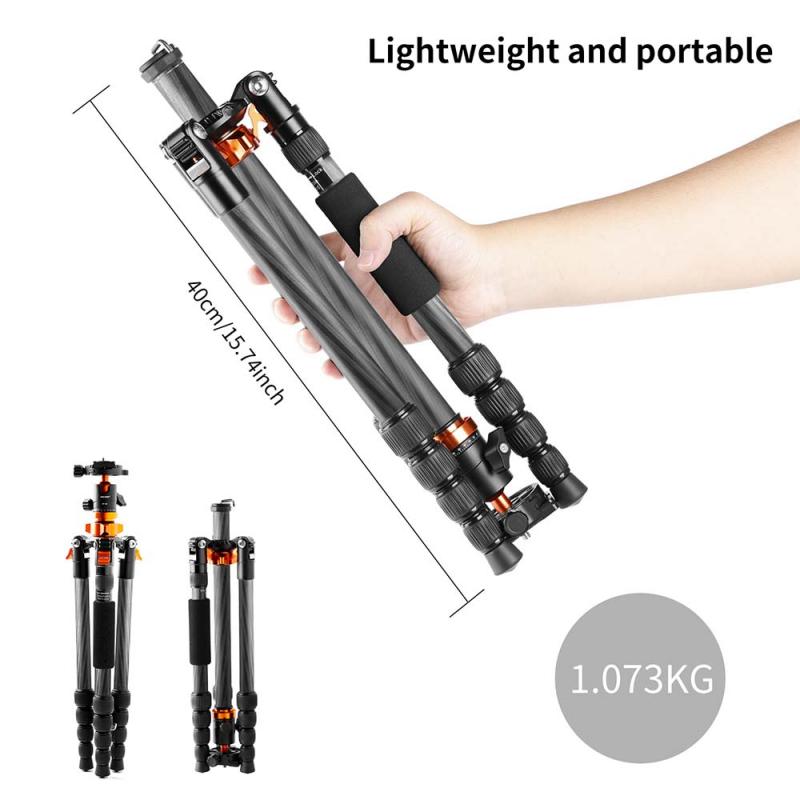
When mounted on a tripod, the camera captures an image of the tripod legs at the bottom of the photo, often referred to as the “nadir” in photography. This isn’t a desirable part of the scene and is typically something that creators want to edit out to provide a more immersive experience.
---
Solutions to Remove the Tripod from 360-Degree Photos
There are several ways to effectively remove or mask the tripod from your photos:
1. Using a 360 Photo Editing Software
Many software tools are specifically designed to edit 360-degree images. They allow you to remove unwanted objects, including the tripod, without disrupting the spherical nature of the photo.
Recommended Tools:
- Adobe Photoshop: With the “Content-Aware Fill” feature, Photoshop allows you to easily paint over and remove objects, including a tripod, from a 360 image. However, you’ll need some expertise in working with equirectangular projections to avoid distortion.
- PTGui: PTGui is stitching software that includes editing tools for directly removing unwanted elements from your 360 images, including the tripod.
- Kuula: Kuula is an online platform for editing 360-degree photos that includes a nadir patching tool, perfect for tripod removal.
- Affinity Photo: Like Photoshop, Affinity Photo can be used for advanced editing. It supports 360 panoramic images and includes tools for object removal.
How to Remove a Tripod with Photoshop:

1. Open your 360 photo file in Photoshop.
2. Switch to the 3D workspace by enabling “Spherical Panorama” mode under the “3D” menu.
3. Select and zoom in on the nadir (bottom of the photo where the tripod is visible).
4. Use the "Spot Healing Brush" or "Content-Aware Fill" to remove the tripod.
5. Save your changes and export the photo in the correct file format to maintain its 360 properties.
---
2. Applying a Nadir Patch
A quick and easy method to mask the tripod is to apply a “nadir patch” to the bottom of the 360 photo. Essentially, this involves placing a logo, design, or solid-colored patch over the area where the tripod is visible. While this doesn’t remove the tripod, it effectively hides it and can even serve as a branding opportunity.
How to Apply a Nadir Patch:
1. Design a circular graphic or logo with software like Adobe Illustrator, Canva, or Photoshop.
2. Import your 360 photo into a platform like Kuula or Pano2VR.
3. Add the graphic as an overlay at the nadir section of your photo.
4. Save and export the image.
This is ideal for creators who want to promote their brand and don’t have time for advanced editing.
---
3. Shooting Techniques to Minimize the Tripod Effect
While editing allows for post-production flexibility, you can also minimize the problem during the shooting process. By using specific techniques or accessories, you can reduce or even eliminate the tripod’s appearance in the first place.
Tips to Reduce or Remove the Tripod at the Shooting Stage:
- Use a Monopod or Selfie Stick: Instead of a tripod with wide legs, consider using a monopod or a selfie stick that creates a smaller footprint. Some monopods even come with a tiny base, allowing for minimal ground impact.
- Hold the Camera in Your Hand: If possible, avoid placing the camera on a tripod altogether. Using an extended selfie stick and holding the camera high can remove the need for editing entirely. Remember to edit out the stick later if it's in the field of view.
- Opt for Invisible Accessories: Many 360 camera brands now offer “invisible monopods” or selfie sticks that are slim enough to be removed automatically when stitching the photos.
---
4. Automated Solutions Provided by 360 Cameras
Some 360 cameras have built-in software that helps mitigate the tripod appearance. For instance:
- Insta360 Cameras: Their software uses sophisticated AI stitching techniques to hide the selfie stick or monopod automatically.
- Ricoh Theta: The firmware on Ricoh Theta cameras includes automatic editing features that reduce the prominence of the tripod in the final image.
Check whether your camera offers a similar feature and enable the relevant settings before you begin shooting.
---
5. Third-Party Outsourced Services
If you’re not comfortable with photo editing tools or simply don’t have the time, you can outsource the task to professionals who specialize in 360 photo editing. Platforms like Fiverr and specialized agencies can provide precise and seamless tripod removal for a fee.
---
Challenges and Best Practices
While the methods outlined above are effective, you may still encounter challenges, particularly when dealing with complex backgrounds. Objects that lie close to the tripod or cast shadows on the photo may require careful manual editing.
Best Practices Include:
1. Always capture high-quality photos to make editing easier. Poorly lit or overexposed areas make object removal more challenging.
2. Take test shots and adjust your camera positioning to ensure minimal interference from the tripod.
3. Practice using editing tools like Photoshop or Affinity Photo with sample images before applying them to critical projects.
---
Final Thoughts
Removing a tripod from a 360-degree photo might seem like a daunting task, especially for beginners, but with the right tools and techniques, it’s entirely achievable. From software-based solutions like Photoshop and Kuula to shooting techniques that minimize tripod visibility, there are numerous ways to create stunning, immersive 360-degree photos without any distractions. By taking the time to refine your workflow and applying the strategies discussed above, you’ll significantly elevate the quality of your 360 imagery.
No matter which method you choose, the effort you invest in tripod removal will be evident in the final result—an unblemished, immersive photo that captivates your audience. Master this skill, and you’ll unlock a new level of professionalism in your 360 content creation.


