How To Record Voice With Music?
Recording voice with music is a process that can elevate your creative projects, whether you're working on a podcast, a song cover, a voiceover, or a presentation. The combination of voice and background music builds a layered auditory experience that is engaging, emotional, and impactful. However, achieving a high-quality recording that integrates both elements effectively requires the right tools, techniques, and understanding of audio balance. In this article, we'll take a deep dive into the methods, tools, and tips to help you record voice with music seamlessly while maintaining professional sound quality.
---
1. Understanding the Basics: Voice and Music Integration
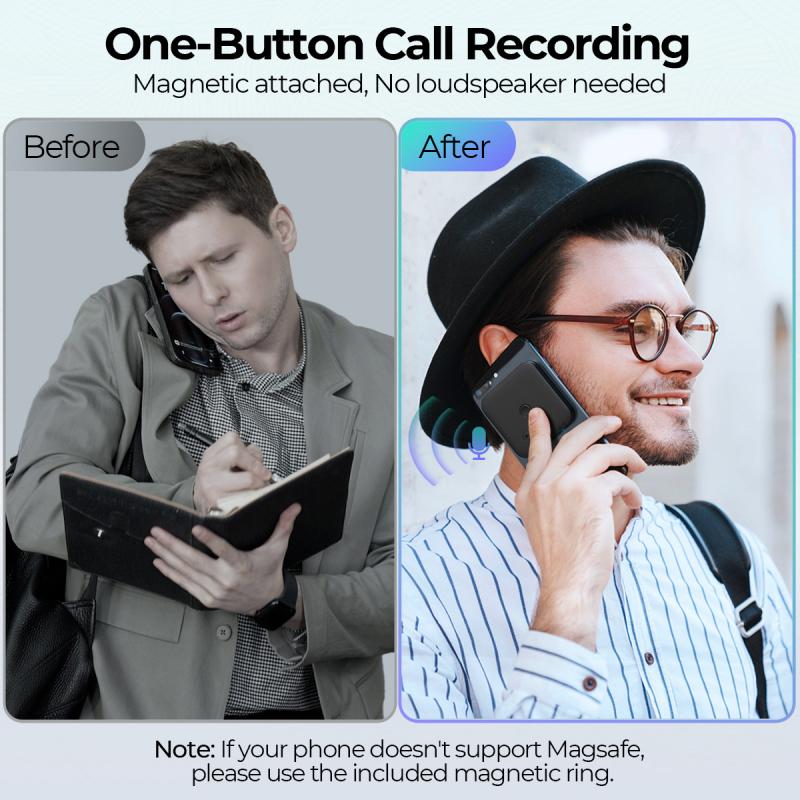
When recording voice with music, the ultimate goal is to balance the two elements so they complement each other. The music serves as the background, enhancing the vocal delivery without overpowering it. Whether you’re recording a podcast, working on a song, creating a voiceover for a video, or narrating for an audiobook, clarity is paramount. Ensuring both the voice and the music shine requires careful preparation and execution.
Two primary approaches are available depending on your needs:
1. Recording Your Voice Over Pre-Made Music: This involves using an existing background track and layering your voice on top.
2. Simultaneous Recording: This involves playing an instrument or background track while recording your voice, often done during live performances or DIY setups.
We'll walk through each approach and provide practical tips so you can achieve the best results.
---
2. Tools You'll Need
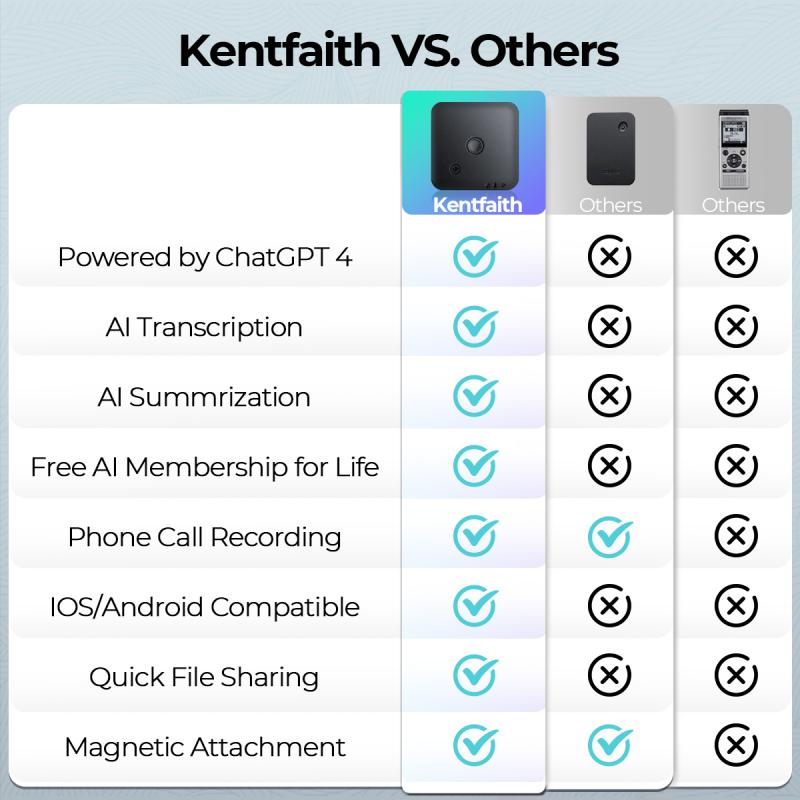
Before diving into the recording process, you should gather the necessary tools and software to help you achieve a smooth and polished sound. While professional-quality recording equipment is ideal, you can still achieve excellent results with budget-friendly solutions.
Hardware:
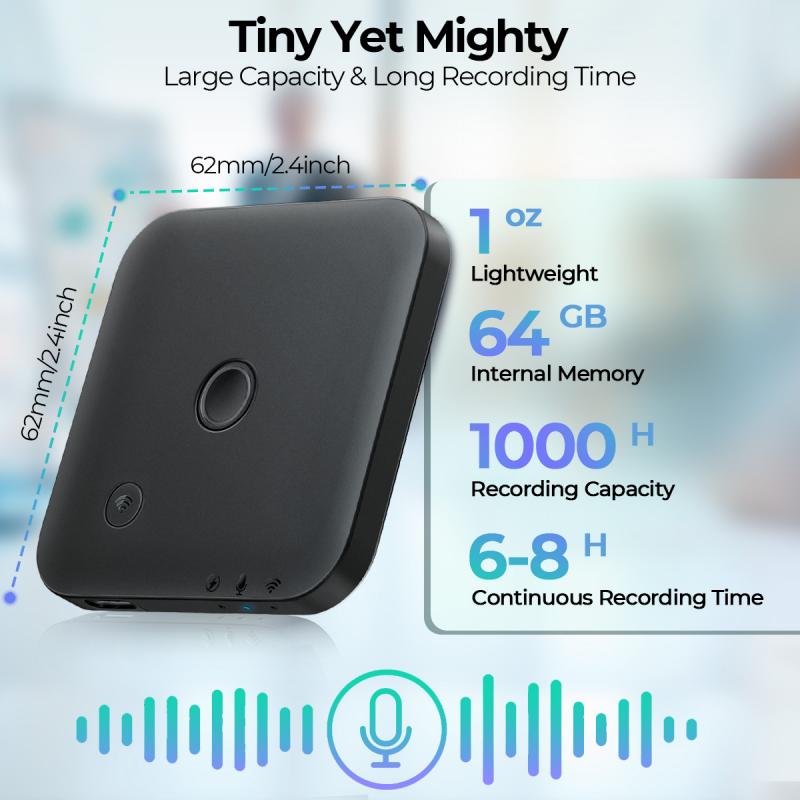
- Microphone: Use a high-quality microphone that captures the details of your voice clearly. USB microphones, condenser microphones, or dynamic microphones are great options depending on your budget. A pop filter can also help reduce plosives (pops caused during certain vocal sounds like "P" or "B").
- Headphones: A good pair of monitoring headphones is essential to pick out details in your recording and avoid audio bleed (when background music accidentally gets re-picked by the microphone).
- Audio Interface: If you're using a professional XLR microphone, an audio interface will act as a bridge to connect it with your computer or device.
- Instrument or Playback Source: If you're adding a musical instrument or playing from an external device, make sure it is ready and connected properly.
Software:

- Digital Audio Workstation (DAW): Programs like Audacity (free), Adobe Audition, GarageBand (Mac), or FL Studio allow you to record, edit, and mix your audio tracks.
- Audio Playback Control: Ensure that the music track's tempo, tone, and volume are matched to your recording needs using software tools like VLC Media Player or DAWs.
- Noise Reduction Tools/ Plugins: Clean up unwanted background noise for professional results.
---
3. The Step-by-Step Process
Scenario 1: Recording Voice Over Pre-Made Music
This is the most common method when working with pre-recorded audio tracks.
1. Prepare the Background Music:
- Choose a music track that enhances your project and sets the right mood.
- Import the track into your DAW and adjust the tempo or trim sections as needed to suit your voice.
2. Set Up Recording Equipment:
- Position your microphone at an appropriate distance (about 6-12 inches from your mouth).
- Use a pop filter or windscreen to minimize harsh vocal pops.
- Check your audio levels to ensure your voice and music are neither too loud nor too soft.
3. Recording In Sections:
- Play the background music through your headphones while speaking or singing. This prevents the track from bleeding into the recording.
- Focus on keeping your voice at an even tone and pace that flows naturally with the music.
- Break down your voice recording into manageable segments if needed. This makes re-recording easier for specific parts without starting over.
4. Editing and Mixing:
- Once your voice track is recorded, mix it with the background music. Lower the background music slightly to let your voice shine.
- Use effects like compression, EQ (equalization), and reverb sparingly to polish the sound.
- Listen to the final mix through multiple devices (headphones, speakers, and smartphones) to ensure balance.
---
Scenario 2: Recording Voice and Music Simultaneously
If you're playing live music or performing alongside a pre-existing track during the recording, both elements are captured live. Here’s how to make it work:
1. Optimize the Acoustic Setup:
- Choose a quiet, well-treated room to reduce unwanted reverb and noise.
- Position the microphone to capture the ideal balance between your voice and the music. For example, place it closer to your mouth if you want the voice to be prominent or closer to the instrument for a music-forward recording.
2. Use a Multi-Input Interface:
- For live recordings, consider using an audio interface with multiple inputs that can capture both the instrument and voice independently. For example, you might use one microphone for your vocals and another for a guitar, allowing for separate editing.
3. Perform Several Takes:
- Since you're recording live, practice repeatedly to ensure consistency in tone and timing. Each take will improve your overall comfort and quality.
4. Post-Production Editing:
- Import the recorded file into your DAW. Since live performance might contain slight imbalances or errors, use the DAW to clean up the audio. Balance the voice and music levels, and apply corrective measures like noise reduction or normalization.
---
4. Tips for Achieving Professional Results
1. Maintain Proper Volume Levels:
- Ensure that the voice track is louder than the music track, but not by too much. The listener should comfortably hear both without straining or feeling overwhelmed.
2. Optimize Your Workspace:
- If you don’t have an acoustically treated room, record in a quiet space with soft furnishings to reduce echo. Even a closet with clothes can act as a make-shift sound booth.
3. Use Automation:
- Automation in your DAW allows you to adjust volume levels dynamically throughout the recording. For example, the music track can be lowered during speech-heavy sections and raised during pauses or emotional climaxes.
4. Experiment with Effects:
- For creative projects, effects like reverb, delay, or harmonizing can add depth to the recording. However, don’t overuse them—less is often more.
5. Get Feedback:
- Once you’ve mixed your recording, share it with trusted friends, collaborators, or mentors for an objective review. They might spot inconsistencies or suggest improvements.
---
5. Solving Common Problems
Sometimes, things can go wrong in the recording process. Here’s how to address common issues:
- Voice Overpowering Music: Use equalization to gently roll off unnecessary low-end (bass) frequencies in your voice to reduce muddiness and make it blend better.
- Music Overpowering Voice: Lower your music levels and apply a subtle compressor to smooth out dynamic fluctuations in the track.
- Background Noise: Use noise reduction plugins or a gate filter in your DAW to minimize noise without removing the richness of your voice.
- Audio Clipping: If your audio distorts due to high input volume, lower the gain levels on your microphone or instrument and re-record. Avoid boosting volumes excessively in post-production.
---
6. Conclusion
Recording voice with music bridges art and technology to create powerful, impactful results. By understanding the tools and techniques involved, you can produce balanced and professional recordings that resonate with your audience. Whether you’re working on a song, podcast, or any other creative project, careful planning, execution, and post-production editing will ensure your voice and music connect seamlessly. Start experimenting with these methods today, and don’t forget that practice and patience will help you improve with every project.
With these guidelines, you’re well-prepared to craft high-quality audio recordings that captivate and engage your listeners.

