How To Record Voice On Iphone?
Recording voice on an iPhone is a skill that many users find incredibly useful, whether for professional tasks, academic purposes, or personal convenience. Whether you're attending a lecture, conducting an interview, capturing a fleeting creative thought, or preserving a meaningful conversation, the iPhone offers various tools and features for voice recording that are both intuitive and effective. This article will provide a comprehensive guide on how to record voice on an iPhone, answer potential questions users might have, and offer practical solutions to common problems. Let’s dive into the details to help you make the most out of your iPhone’s recording capabilities.
Built-In Solutions: Voice Memos App
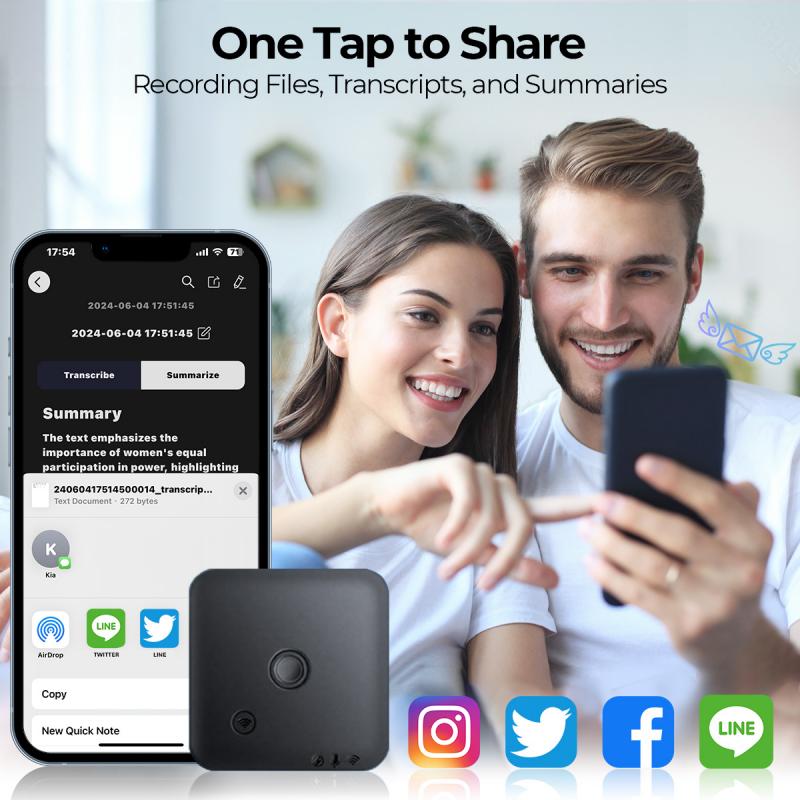
The easiest and most straightforward way to record voice on an iPhone is by using the pre-installed Voice Memos app. This app is free, user-friendly, and packed with features to help with voice recording. Here’s how to use it:
Step-by-Step Instructions for Using Voice Memos:
1. Open the App: Locate the Voice Memos app on your home screen or search for it using the Spotlight search function. It comes pre-installed on all iPhones, so you won’t need to download or purchase anything.
2. Start Recording:
- Once you’re in the Voice Memos app, tap the red record button to start recording. The app will display a waveform animation showing that it’s capturing sound.
- The recording will continue as long as you keep the app open or run it in the background.
3. Pause or Stop the Recording:
- If you need to pause temporarily, tap the same red button. Tap it again to resume.
- When you’re done, press the "Done" or square stop button, depending on your iOS version.
4. Name Your Recording:
- After stopping the recording, you’ll be prompted to name your file. Input a recognizable name so you can easily find it later.
5. Access and Share:
- To listen to your recordings, tap on the file name within the app. From here, you can edit, delete, or share the recording via email, AirDrop, cloud services, or messaging.
Features of the Voice Memos App:
- Trim and Edit: You can cut out unwanted sections or adjust the beginning and end of the recording directly in the app.
- Sync Across Devices: If you use iCloud, your recordings can sync across all of your Apple devices.
- Enhanced Audio Quality: If your device runs iOS 14 or later, the app can improve audio quality with the "Enhance Recording" feature, removing ambient noise.
While the Voice Memos app is sufficient for most needs, some advanced use cases may require more specialized tools. Let’s explore other options.
---
Third-Party Apps for Recording Voice

For users who need additional functionality or professional-grade features, the App Store offers a variety of third-party voice recording apps. Here are some popular choices:
1. Rev Audio & Voice Recorder:
- Provides excellent transcription services in addition to recording.
- Great for professionals who need quick text versions of their voice notes.
2. Otter.ai:
- Offers real-time transcription and seamless synchronization.
- Ideal for students and professionals conducting interviews or group discussions.
3. AudioShare:
- Designed for musicians and audio engineers who need to manage and export high-quality audio files.
- Adapter support for external microphones ensures superior sound capture.
4. Just Press Record:
- Integrates easily with Apple Watch and iCloud for versatile recording options.
- Provides one-tap recording and automatic transcription.
Each app caters to specific user categories, such as students, journalists, content creators, and musicians. Exploring these tools can help elevate your recording experience.
---
Utilizing External Equipment for High-Quality Audio
While the iPhone’s built-in microphone is sufficient for casual recordings, those aiming for professional-grade audio may want to integrate external equipment. Here’s what you can do:
1. External Microphones:
- Attach a high-quality external microphone to your iPhone for better sound capture. There are several lightning-compatible options, such as Shure MV88 or Blue Raspberry Premium.
- Lavalier microphones (e.g., Rode smartLav+) are excellent for interviews or vlogging.
2. Adapters and Splitters:
- If you use a microphone with a 3.5mm connector, you’ll need an adapter that supports the lightning port (or USB-C in newer iPhones).
3. Noise-Reducing Setups:
- Use pop filters, windshields, or soundproof rooms to minimize background noise and achieve crystal-clear sound.
---
Common Troubleshooting Tips
Even with straightforward tools like the iPhone Voice Memos app, users may encounter issues when recording. Here are solutions for common problems:
1. Low Audio Quality:
- Ensure the iPhone microphone isn't obstructed by cases or dirt.
- Speak clearly and minimize background noise.
- Consider upgrading to an external mic for professional results.
2. Recording Stopped Unexpectedly:
- Check your iPhone’s available storage. If space is running out, older files may need to be deleted or offloaded.
- Avoid letting your iPhone overheat, as high temperatures can impact performance.
3. File Sharing Problems:
- If a recording fails to share, ensure your iCloud, email, or messaging service has enough space.
- Convert the recording format to a more universally compatible file type if needed.
4. App Crashes or Errors:
- Restart Voice Memos and, if the issue persists, update iOS to the latest version.
- For stubborn glitches, uninstall and reinstall third-party recording apps.
---
Advanced Recording Techniques for Specific Use Cases
There are situations where your recording techniques might need fine-tuning for specific outcomes. Here are some suggestions:
1. Interviews:
- Place the phone on a flat, stable surface between you and the subject.
- Use a directional microphone to isolate the interviewee’s voice.
2. Lectures:
- Sit close to the speaker to minimize noise, or use a concert/lecture-specific microphone attachment.
- Use apps like Otter.ai that are excellent at transcribing lectures in real time.
3. Music and Singing:
- Utilize dedicated audio-editing apps for mixing and editing after recording.
- Experiment with acoustically treated spaces for optimal sound capture.
4. Diary and Personal Notes:
- Use the Siri function to start a hands-free recording for added convenience.
- Sync recordings with cloud services to access them from anywhere.
---
Why Voice Recording on iPhones Is Incredibly Convenient
The seamless design of iPhone recording tools makes them accessible to users of all backgrounds. From students needing to capture a lecture for later review, to professionals preserving crucial discussions, the iPhone’s recording capabilities are designed to meet a variety of user needs. The options to integrate accessories, fine-tune recordings, and leverage advanced apps empower users to achieve results tailored to their specific goals.
Moreover, iPhones offer convenience paired with reliability. Gone are the days of relying on separate voice recorders or bulky devices—your iPhone doubles as an all-in-one portable recorder, making it an indispensable tool in a world where capturing voice has become pivotal for both work and leisure.
---
Final Thoughts
Recording voice on an iPhone is a straightforward yet powerful feature that has a wide range of applications. Whether you use the default Voice Memos app or a third-party solution like Otter.ai or Rev, there's a tool for every need. For those who prioritize audio quality, combining external equipment with the iPhone’s functionality can yield exceptional results. Keep these tips in mind to troubleshoot any issues, and tailor your approach based on your specific use case.
With the knowledge outlined here, you'll be equipped to confidently record voice on your iPhone in any scenario. So go ahead, hit “record,” and start capturing moments, thoughts, and ideas with clarity and ease.


