How To Record Voice On Google Slides?
When it comes to crafting engaging presentations, sound can play a crucial role in creating an immersive and effective experience. Whether for lectures, business proposals, or school projects, embedding audio in Google Slides is a fantastic way to add clarity, emotion, and depth to your content. If you’re looking for a way to record voice on Google Slides, you might have realized Google Slides doesn’t provide a built-in voice recording feature. However, you can still incorporate audio seamlessly into your presentation by utilizing some simple alternative methods. In this article, we’ll walk you through various ways to record your voice and integrate it into Google Slides, while also covering the tools and best practices for ensuring your presentation stands out.
---
Understanding the Basics of Adding Audio to Google Slides
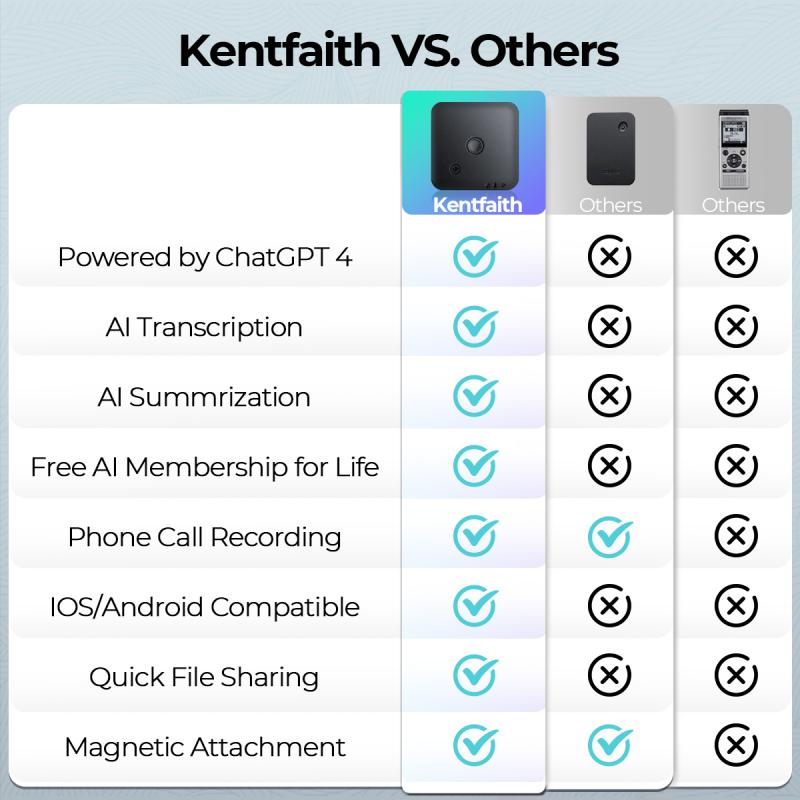
Before diving into specific methodologies, it’s important to note how Google Slides supports audio. Currently, Google Slides allows you to embed audio files such as `.mp3` or `.wav`, which must be uploaded to your Google Drive. Once uploaded, you can link these files to specific slides in your presentation. So, the real task is to record high-quality audio and then upload it for use.
There are no direct, in-app audio recording tools in Google Slides (as of the latest updates in 2023). However, with a few simple steps and the help of external tools, you can easily add custom voiceovers, narrations, or sound effects. Let’s break the process into actionable steps.
---
Step One: Record Your Voice
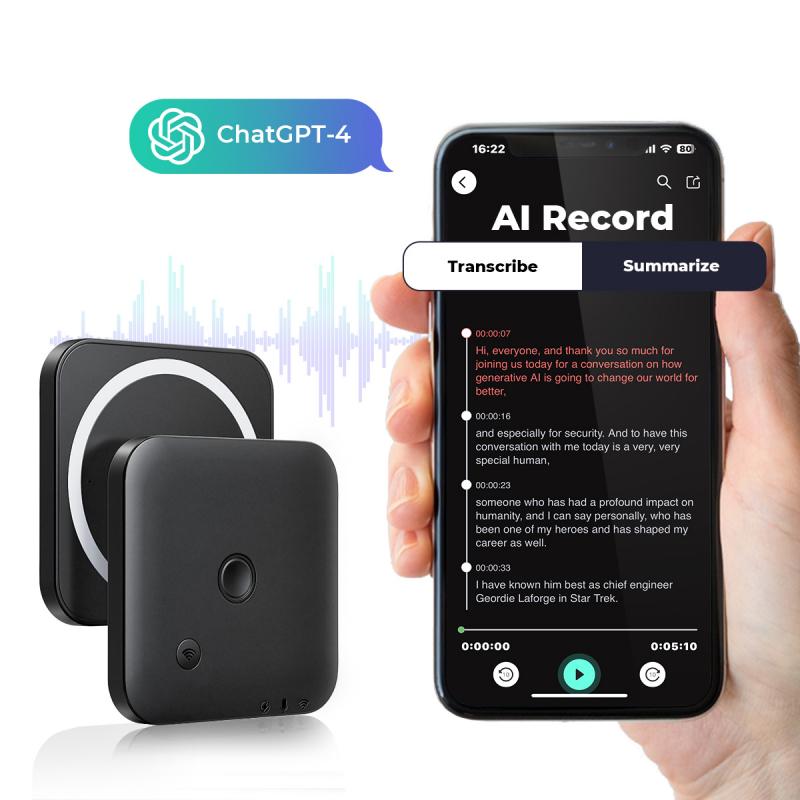
To begin, you’ll need a reliable voice recording tool. Depending on your device and preferences, you can choose from several options:
1. Using Built-in Device Recorders
- If you’re using a smartphone, most devices come equipped with a pre-installed voice recording app (e.g., Voice Memos on iPhones or Voice Recorder on Android devices). Open the app, tap the record button, speak clearly, and save the recording.
- If you prefer using your computer, both Windows and macOS have built-in recording utilities. Windows has Voice Recorder, while macOS offers QuickTime Player as an easy way to capture audio.
2. Using Free Online Audio Recorders
- If you don’t have access to these tools or need something more flexible, several free online platforms enable you to record audio quickly. Websites such as Rev Online Voice Recorder or Online Voice Recorder by 123Apps allow you to record, edit, and download your audio without the need to install any software.
3. Using Dedicated Audio Software
- For professionals or users seeking higher quality, consider audio recording software such as Audacity, GarageBand (for Mac), or Adobe Audition. While these tools may have a steeper learning curve, they offer sophisticated options for editing noise, adjusting audio levels, and enhancing clarity.
4. Google Keep as a Handy Alternative
- Interestingly, Google Keep, a note-taking app, allows you to record voice memos. While not its primary function, this feature can be an easy workaround for recording short audio clips.
Once you have completed your recording, save it in a common audio format like `.mp3` or `.wav`.
---
Step Two: Upload Your Audio File to Google Drive

Google Slides only works with audio files that have been uploaded to Google Drive. Follow these steps:
1. Log in to Your Google Account: Navigate to Google Drive and ensure that you’re signed in.
2. Upload the Audio File:
- Drag and drop the audio file to the Google Drive homepage, or click on the “New” button, and select “File Upload” to choose your file manually.
3. Organize the File: For ease of use, consider creating a folder specifically for your presentation audio assets. This will ensure that all your associated files are neatly organized.
---
Step Three: Insert Audio into Google Slides
Now that you’ve recorded and uploaded your audio file, it’s time to embed it into your presentation. Here’s how:
1. Open Your Google Slides Presentation:
- Navigate to the Google Slides file where you want to use the audio.
2. Choose the Slide:
- Click on the specific slide where the audio should play.
3. Insert the Audio:
- Go to the toolbar and click on Insert > Audio.
- A panel will appear showing all the eligible audio files in your Google Drive. Search for your file or locate it in the list, select it, and click Insert.
4. Customize Audio Settings:
- Once added, a speaker icon appears on the slide. By clicking on it, you can move or resize the icon as needed.
- Use the “Format options” panel on the right to further customize the audio. For instance, you can set the track to:
- Play automatically or upon clicking.
- Loop or stop after one play.
- Adjust volume settings.
- Hide the icon during a presentation (so the audio plays seamlessly without visible distractions).
---
Step Four: Test and Finalize Your Presentation
After inserting audio into your presentation, testing your slides is crucial to ensure everything works as intended. Enter Present mode in Google Slides and navigate through your slides to check the timing, transitions, and playback.
If anything sounds off (e.g., mismatched timing or volume issues), adjust the settings in the "Format options" menu or consider re-recording your audio for clarification.
---
Best Practices for Recording and Adding Voice to Google Slides
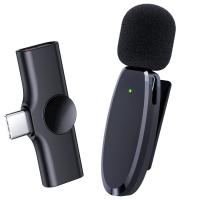
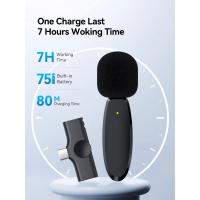
- Use a Quality Microphone: Better recording equipment ensures clearer and more professional audio. If you don’t own a dedicated microphone, even earphones with an integrated mic can improve sound quality over your device’s default microphone.
- Record in a Quiet Environment: Background noise can distract your audience. Choose a quiet, echo-free space for your recording.
- Speak Clearly and Confidently: Your delivery matters. Use a steady tone, articulate your words, and maintain an appropriate pace.
- Keep Audio Clips Short: Avoid lengthy voiceovers. Condense your messages into clear, concise statements for better audience engagement.
- Organize Files Properly: Store all your audio files in clearly labeled folders in Google Drive to avoid confusion.
- Ensure Consistency: If your presentation features multiple voice recordings, ensure they match in terms of tone, volume, and quality.
---
Why Adding Voice is Effective in Presentations
The addition of narration or audio to your Google Slides presentation goes beyond aesthetics. Here’s why it enhances your content:
1. Improved Engagement: Audience members are more likely to focus when they hear a voice guiding them through the material.
2. Better Context: Narration provides explanations and context that visuals alone may fail to convey.
3. Accessibility: Adding voice makes your presentation accessible to the visually impaired or for those who prefer auditory learning.
4. Professional Touch: Voiceovers convey effort and attention to detail, helping you stand out among other presenters.
---
Exploring Additional Tools for Enhanced Integration
If you frequently create presentations, it might be helpful to explore third-party tools like ScreenPal or Loom that allow you to record presentations with voiceovers directly, merging slides and audio into a cohesive video. Such tools eliminate the need for separate recording and embedding processes.
---
In Conclusion
Although Google Slides lacks a built-in voice recording tool, the process of recording and adding voice via external apps is straightforward and effective. By following the steps above—recording your voice, uploading your audio to Google Drive, and embedding it into your presentation—you can create dynamic and engaging content that resonates with your audience.
Adding a personal touch in the form of voice narration strengthens your message and makes your Google Slides presentations more immersive. Whether you’re a teacher, student, business professional, or creative artist, the ability to integrate audio thoughtfully can make your presentations more memorable and impactful. Try these methods today and take your presentations to the next level!













There are no comments for this blog.