How To Record Voice From Laptop?
Recording voice on a laptop is a common but often underestimated task that many users find themselves needing for various purposes, such as creating content, recording meetings, making voice notes, or even starting their own podcasts. However, because laptops vary in terms of hardware and software offerings, many individuals are unsure of where to start or how to achieve a good audio recording. This article will guide you through the most effective ways to record voice on a laptop, addressing diverse needs and skill levels.
Why Record Voice on a Laptop?
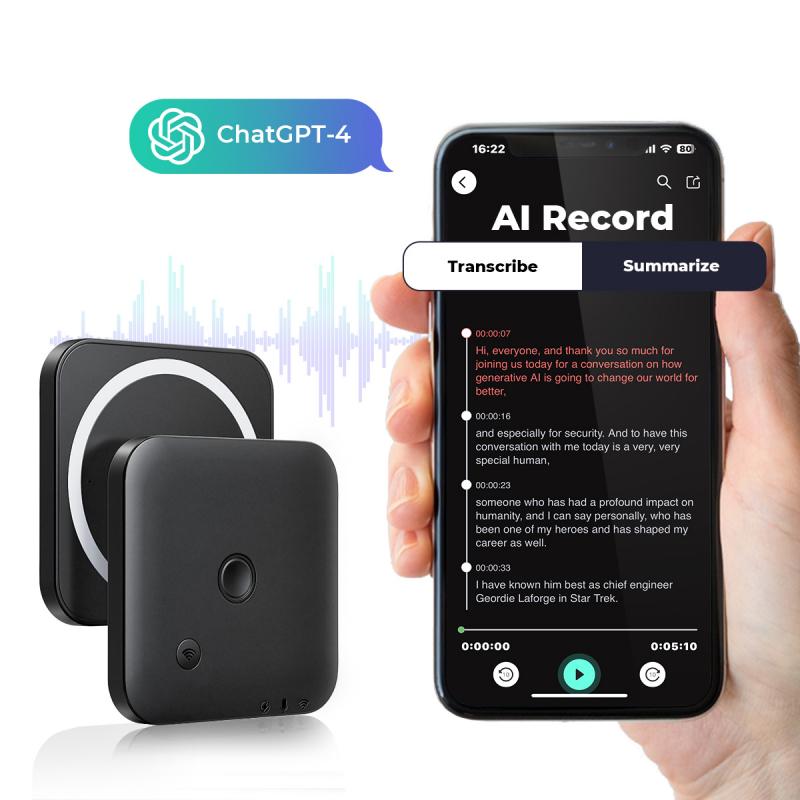
Voice recording has numerous use cases, including personal, educational, and professional purposes. For those working from home, recording discussions during virtual meetings or creating instructional videos might be essential daily tasks. Students might use their laptops to record lectures for better understanding later. Meanwhile, content creators and podcasters might require a more advanced approach to record high-quality audio. A clear and effective audio recording process can save time and maintain a professional edge in many scenarios.
Built-In Tools for Voice Recording
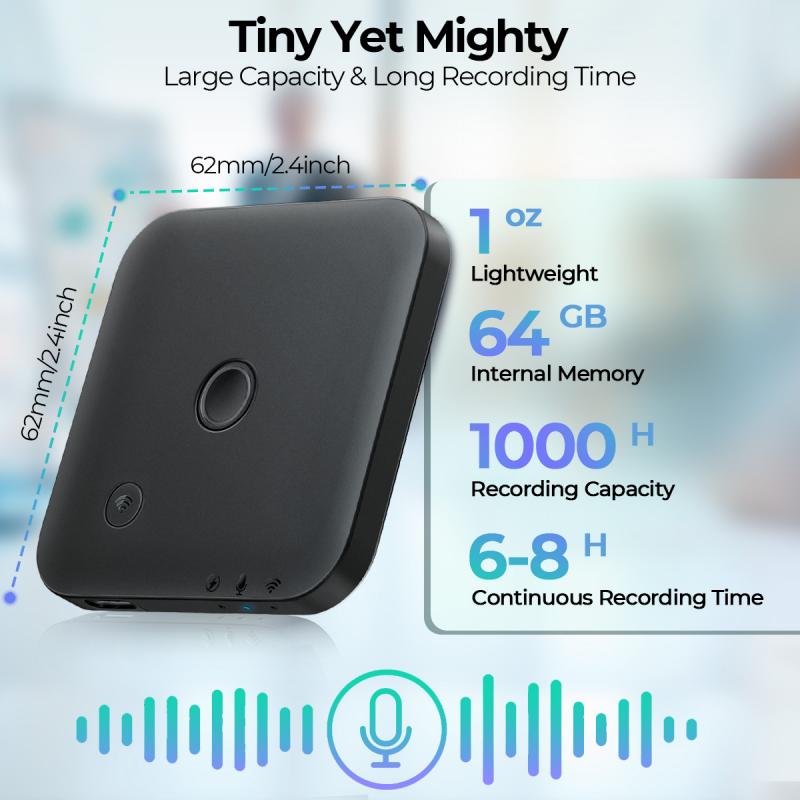
Most laptops come with built-in microphones and voice recording software, making it accessible for anyone to start recording immediately. While the quality may not match that of professional recording setups, for basic tasks, they are quick and easy to utilize. Below are steps to use built-in tools:
---
Windows Laptop: Using Voice Recorder
1. Locate Voice Recorder: Windows laptops often come with a built-in application called "Voice Recorder." You can access it by typing "Voice Recorder" into the Start menu search bar.
2. Check Your Microphone: Before recording, test your laptop's built-in microphone. Navigate to Settings > System > Sound. Under "Input," make sure the correct microphone is selected and working.
3. Start Recording:
- Open the Voice Recorder application.
- Click the blue microphone icon to start recording.
- Speak clearly into the laptop’s microphone.
- Click the stop icon when finished. Your file will automatically save in the "Sound Recordings" folder under Documents.
4. Edit and Share: Within the Voice Recorder app, you can trim recordings and share them via email or cloud storage services.
Mac Laptop: Using Voice Memos
1. Open Voice Memos: Voice Memos is the default recording app available on Mac laptops, accessible via the Applications folder or Spotlight search.
2. Check Microphone Settings: Go to System Preferences > Sound > Input, and ensure the internal microphone is selected. Speak into it, and observe the input level to confirm it's functional.
3. Start Recording:
- Launch the Voice Memos app.
- Click the red record button to begin recording your voice.
- Press the pause or stop button as needed.
4. Save and Organize: Voice recordings are saved automatically, and you can edit, rename, or organize files by dragging them into folders.
Using External Microphones for Improved Quality
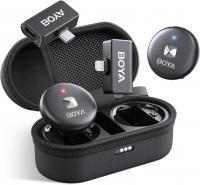
If audio quality is a concern or if you find background noise to be an issue, using an external microphone will provide a significant improvement. External USB microphones, such as the Blue Yeti or Audio-Technica's ATR series, deliver studio-quality sound without needing a full-blown recording setup.
Setting Up an External Microphone:

1. Connect: Plug your USB microphone into an available port on your laptop.
2. Configure Settings:
- On Windows: Go to Settings > Sound and select the external microphone under "Input devices."
- On Mac: Go to System Preferences > Sound > Input, and choose the external microphone as the source.
3. Test the Setup: Use any recording app (e.g., Voice Recorder or Voice Memos) to ensure the microphone is capturing sound properly.
When using professional microphones, consider placing them about 4–6 inches away from your mouth. Positioning the microphone at an appropriate angle (often 45 degrees) further minimizes plosives and breathing noise.
Third-Party Applications for Advanced Features
For users requiring more flexibility, audio editing capabilities, or higher control over the recording process, third-party applications can offer a better alternative to the built-in tools.
Audacity (Free and Open Source)
Audacity is a popular, free audio recording and editing software. It’s available for Windows, Mac, and Linux systems and allows users to record multiple audio tracks and apply effects and filters.
- Download and install Audacity from its official website.
- Open the application and select your audio input device from the dropdown menu.
- Click the record button to start capturing voice and press the stop button to end the recording.
- Use the editing tools to manipulate the audio, such as cutting silences or amplifying parts of the recording.
- Export the finished file in formats including MP3, WAV, or others.
GarageBand (For Mac Users)
GarageBand is a free app for Mac laptops that combines voice recording with music creation. If you’re looking to record high-quality voiceovers or podcasts with background music, this software is an excellent option.
- Open GarageBand and select “Voice” as your project type.
- Choose your microphone as the input source.
- Record your voice on a dedicated track and use GarageBand's editing tools for noise reduction, equalization, and effects.
- Export your complete project to share it in the audio format of your choice.
Other Paid Software Options
- Adobe Audition: Advanced software suited for professional audio editing and recording.
- Ocenaudio: User-friendly software that provides a balance between basic features and advanced audio processing.
- Reaper: Professional-grade software with extensive options for audio track handling.
Minimizing Background Noise
Background noise can compromise the effectiveness of a voice recording, especially when using internal microphones that pick up ambient sound. Here are some tips for reducing unwanted noise:
1. Quiet Environment:
- Record in a quiet room, away from disruptive elements like fans, keyboards, or other electronic devices.
- Consider using soft furnishings (such as rugs or curtains) to dampen echo and reduce reflection.
2. Microphone Settings:
- Adjust your microphone's sensitivity to lower its detection of ambient sounds. On Windows, you can find this under “Microphone Properties” in the Sound settings.
- Enable noise suppression or noise cancellation features in your sound settings if available.
3. Post-Production Cleanup:
- Use noise reduction tools in software like Audacity or Adobe Audition to remove residual noise after recording.
- Apply equalization to balance sound levels and enhance clarity.
4. Use Pop Filters:
- If using an external microphone, a pop filter can reduce harsh popping sounds caused by plosive words (e.g., words that start with "P" or "B").
Voice Recording Tips for Professional Quality
For those aiming to produce professional-grade audio recordings, here are some additional tips:
1. Speak Clearly: Articulate your words and maintain steady speech patterns.
2. Adjust Microphone Position: Placement significantly influences the tonal quality of the recording. Experiment with angles and distances to find the optimal placement.
3. Use Headphones: Monitoring your voice through headphones while recording helps you identify issues in real-time, such as audio distortion or background noise.
4. Warm Up Your Voice: Before recording, perform vocal warm-up exercises to ensure smooth delivery and reduce strain on your voice.
Troubleshooting Common Issues
1. Low Volume Output:
- Check volume levels in your system settings and increase both the input (microphone) and output (speakers) volumes.
- Test with different software to determine whether the issue lies with the application or hardware.
2. No Sound Recorded:
- Ensure the correct microphone is selected as the input source.
- Check if the microphone is muted or disabled.
3. Distorted Audio:
- Reduce microphone sensitivity and avoid speaking too close to the microphone.
- Ensure no software-based audio enhancements (e.g., bass boosts) are enabled unless they are intentional.
Final Thoughts
Recording voice on a laptop has never been easier, with software tools and external microphones enhancing audio quality to professional standards. Start by identifying your specific needs—whether they are basic voice memos, audio content for podcasts, or polished professional recordings. For most casual users, built-in applications like Voice Recorder and Voice Memos handle everyday tasks perfectly well. Content creators and professionals, however, may find

