How To Put Voice Recordings On Google Drive?
Google Drive is a versatile tool that allows users to store, manage, and share files across multiple devices. While many people use it to save documents, photos, and videos, voice recordings are another type of file that can efficiently be uploaded for safekeeping or sharing. Whether your recordings are for personal use, professional meetings, or creative projects, knowing how to upload and organize them on Google Drive ensures they're accessible whenever and wherever they're needed.
In this guide, we’ll cover not only the practical steps for uploading voice recordings to Google Drive but also address common challenges and solutions, provide tips for seamless organization, and recommend best practices when dealing with audio files. Let’s dive in!
Why Use Google Drive for Voice Recordings?

Voice recordings often contain essential information, whether it's a voice memo, a podcast episode draft, a class lecture, or an important meeting. Storing them on Google Drive can be beneficial for multiple reasons:
1. Accessibility: Google Drive enables access to your recordings from any device with an internet connection.
2. Backup and Security: Safeguard your recordings against data loss by storing them on the cloud.
3. Sharing Capabilities: You can share recordings with team members, classmates, or friends easily, whether for collaboration or review.
4. Free Storage Space: Google Drive provides 15GB of free cloud storage, sufficient for casual audio files in most cases.
5. Cross-Platform Support: Use Google Drive across different devices—Android, iOS, macOS, or Windows—seamlessly.
How to Upload Voice Recordings to Google Drive

The specific steps for uploading voice recordings depend on the device you’re using, but the process is straightforward across platforms. Here’s a breakdown:
Uploading from an Android Device
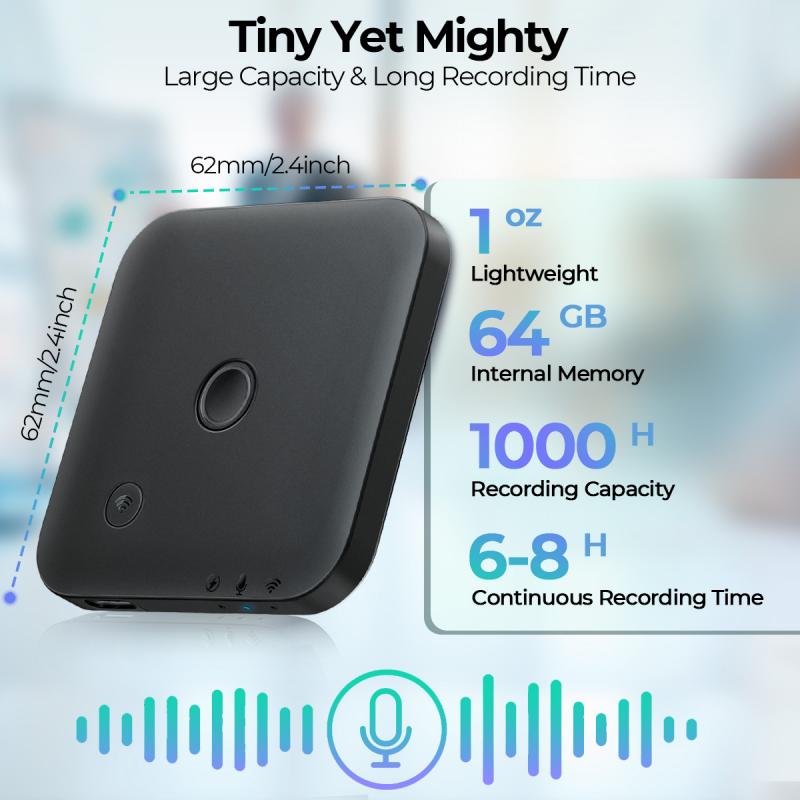
1. Record Your Voice File: First, ensure your recording is saved to your device. Most Android devices come with a built-in voice recorder like “Voice Recorder” or “Samsung Voice Recorder.”
2. Locate the File: Once you’ve recorded, locate the audio file (usually stored in a folder called "Recordings" or "Audio" in your device's file manager).
3. Open the Google Drive App: Install and open the Google Drive app from the Google Play Store if you haven’t already.
4. Upload the Recording:
- Tap the “+” button (usually at the bottom right corner of the screen).
- Select “Upload.”
- Navigate to the recording in your file manager and select it.
5. Wait for Upload Completion: The upload will begin, and you’ll see a progress indicator. Larger files may take more time.
Uploading from an iPhone or iPad
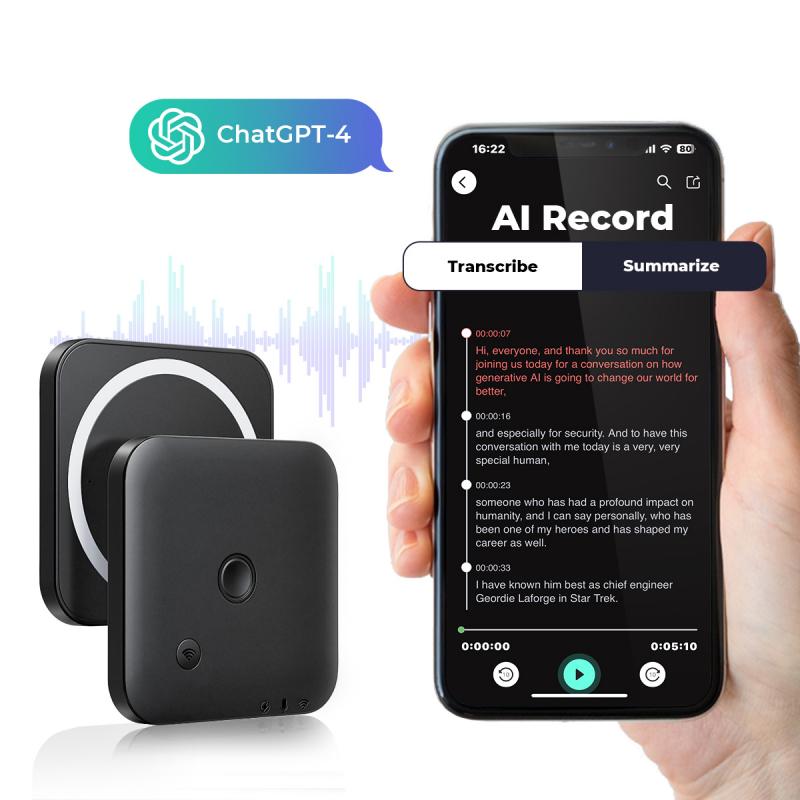
1. Record Using Voice Memos: iPhones come with a pre-installed app called Voice Memos, which is the go-to tool for most recordings.
2. Save and Export the File: Once recorded, tap the three dots (...) next to your recording, choose "Share," and then "Save to Files." Save the file in a local folder or directly in iCloud Drive.
3. Install and Open Google Drive: If you don’t have Google Drive installed, download it from the App Store.
4. Upload the File:
- Open the Google Drive app and log in.
- Tap the “+” icon, select “Upload,” and then navigate to the file location.
- Select the recording to upload it to your desired folder on Google Drive.
Uploading from a Computer
1. Transfer the Recording to Your Computer: Use a USB cable, Bluetooth, or an AirDrop equivalent to move the voice recording from your mobile device to your computer, if necessary.
2. Open Google Drive in a Browser: Go to [Google Drive](https://drive.google.com) and log in with your Google account.
3. Drag and Drop Method: Drag the audio file from your computer’s file system and drop it directly into the Google Drive interface.
4. File Upload Method:
- Click the “New” button on the top left.
- Select “File Upload.”
- Browse to the desired file and upload it.
Using Google Drive Backup and Sync
For those who routinely store many recordings or want automatic uploads:
1. Download Backup and Sync: Install Google Drive's desktop utility, "Backup and Sync," which can auto-upload files or folders.
2. Set Up Recording Folder Sync: Select the folder where your voice recordings are stored to be auto-backed up to Drive.
Organizing Voice Recordings on Google Drive
Once your recordings are stored in Google Drive, organizing them is crucial for quick retrieval and efficiency. Here are tips to structure your files:
1. Use Dedicated Folders: Create folders labeled by category, date, or project. For example:
- "Meeting Notes - 2023"
- "Lecture Recordings"
- "Podcast Ideas"
2. Rename Files Clearly: Instead of generic names like "Recording1," opt for descriptive names like "Team Meeting_Jan_2023" or "Marketing_Wrapup_Call."
3. Use Drive Shortcuts: For critical recordings, add them to your "Starred" tab in Google Drive for quick access.
4. Color Code Folders: Assign distinct colors to folders to visually categorize them.
5. Add File Descriptions: Right-click the file, click on "Details," and add a meaningful description for context.
Best Practices for Managing Audio Files in Google Drive
If you frequently deal with voice recordings, consider the following best practices:
1. Compress Large Files: Audio files, especially high-quality recordings, can take up significant storage. Use tools to compress files into smaller sizes without notably impacting audio quality.
2. Use File Formats Wisely: Save recordings in widely compatible formats, such as MP3 or WAV.
3. Upgrade Storage If Necessary: If your recordings exceed the 15GB free limit, Google One offers affordable plans for additional storage.
4. Collaborate Efficiently: Share files or folders using the “Share” button with required permissions—either view-only, comment, or edit.
5. Secure Sensitive Recordings: Use the "Restrict Access" option to ensure recordings are only accessible to authorized users. Also, activate 2-step verification for your account.
Troubleshooting Common Issues
1. Slow Upload Speeds: If your file is taking too long to upload, check your internet connection. For large files, uploading over Wi-Fi is recommended.
2. File Format Not Supported: If Google Drive cannot play the file, convert it to a standard format like MP3 using free online tools.
3. Syncing Issues: Ensure you have enough local storage and check that the Google Drive app is updated.
4. Upload Errors: If uploads fail, try again after refreshing your app or browser. If issues persist, clear your cache or switch to another device.
Creative Applications for Stored Recordings
Once your recordings are on Google Drive, their usability isn’t limited to storage. Here are some creative ways to use them:
1. Collaborative Editing: Share podcast or audiobook drafts and gather feedback using Google Drive’s commenting feature.
2. Transcriptions: Use transcription tools like Google Docs voice typing to convert recordings into text.
3. Content Archive: Store voiceovers, client interviews, or research conversations for long-term projects.
Uploading voice recordings to Google Drive is a valuable skill that enhances your ability to manage and share essential audio files. As voice memos and audio clips play an increasingly important role in both personal and professional domains, understanding how to store and organize these assets efficiently is crucial. By following the steps and best practices outlined in this guide, you can ensure your audio recordings are accessible, secure, and structured for easy use.
Whether it’s organizing lecture notes, creative audio projects, or business-related discussions, Google Drive stands out as a dependable, feature-rich platform that seamlessly integrates into your digital workflow. Now that you know how to upload and manage voice recordings on Google Drive, you’re well-equipped to maximize your productivity and stay organized.


