How To Pack Camera In Backpack?
Packing your camera and gear efficiently and safely in a backpack is vital, whether you are heading out for an urban photography session or a lengthy outdoor expedition. A well-organized camera bag ensures the safety of your equipment, makes accessing your gear easier, and helps you move comfortably throughout your journey. This guide explores the best practices for packing your camera, tips for organization, critical considerations for gear protection, and strategies to make sure your adventure is worry-free.
1. Start with the Right Backpack
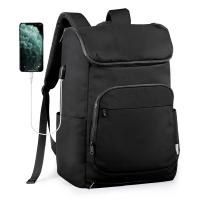
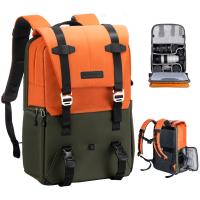
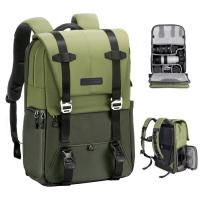
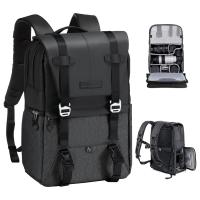
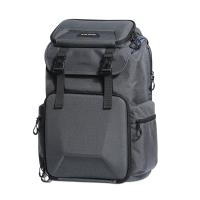
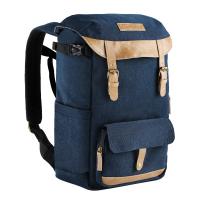
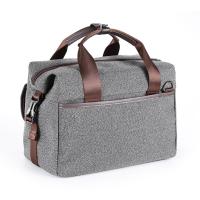
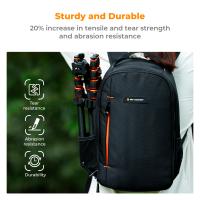
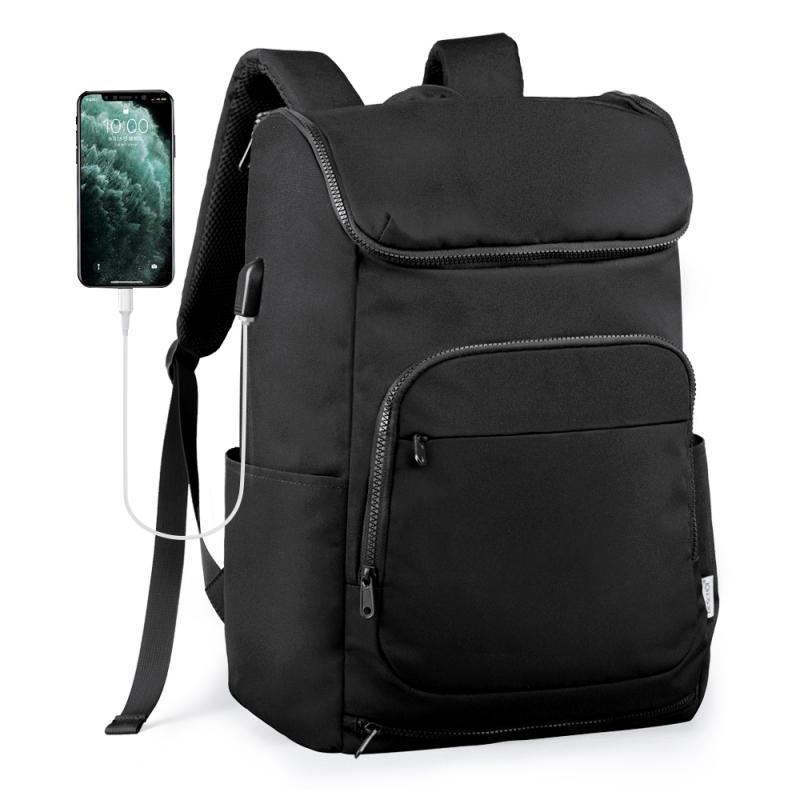
The first step to packing your camera properly is selecting a backpack that fits your needs. Not all backpacks are designed to protect sensitive electronic equipment. Look for a camera-specific backpack with features such as customizable compartments, padding, water-resistance, and comfortable straps.
Here are some factors to consider:
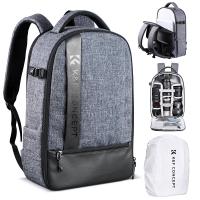
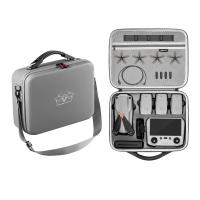
- Compartments and Padding: Camera backpacks often come with customizable dividers lined with soft padding. These dividers create snug compartments for your camera body, lenses, and accessories, ensuring that they don’t bump into each other during travel.
- Size and Capacity: The size depends on the amount of gear you’ll be carrying. For a lightweight trip, a small camera bag with sections for a camera body and a couple of lenses may suffice. For professionals or avid enthusiasts, larger backpacks that include space for drones, tripods, and additional lenses might be necessary.
- Accessibility: Look for a design that allows you to access your camera quickly, such as side- or front-access zippers.
- Comfort Features: If you’ll be wearing your backpack for long hours or hiking, consider features like padded shoulder straps and a ventilated back panel.
2. Organize and Protect Your Gear
Before packing your camera in the backpack, take inventory of the essential items you’ll need. The goal is to bring only what’s necessary for your shoot to reduce the weight and bulkiness of your pack. Here’s how to pack your equipment efficiently:
- Camera Body: Always pack the camera body inside a dedicated padded compartment. If the lens is detached, put a body cap in place to protect the sensor from dust and scratches.
- Lenses: Use lens pouches or position the lenses within padded dividers to ensure they don’t move or collide during travel. Ideally, store lenses vertically to maximize space and lessen the risk of damage. Longer telephoto lenses may need special compartments due to their size.
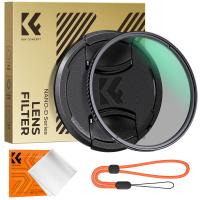
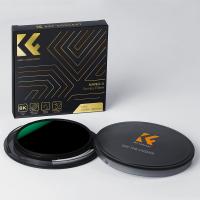
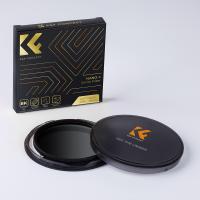
- Small Accessories: Organize smaller items like spare batteries, memory cards, cables, and cleaning kits in zippered mesh compartments or pouches. Designate a fixed location for each of these items so you can access them quickly when needed. Use hard protective cases for delicate accessories like filters to avoid scratches or breakage.
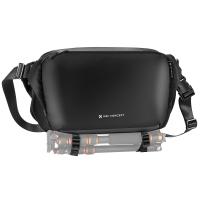
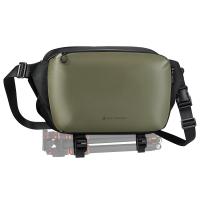
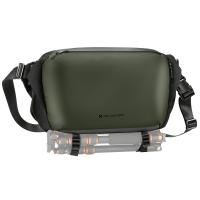
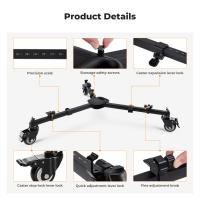
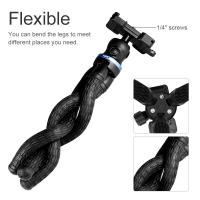
- Tripod: If you’re traveling with a tripod, ensure the backpack has external straps or a tripod holder to secure it in place. Carrying the tripod externally leaves room inside the bag for other essentials.
- Cushioning: To avoid accidental drops causing any damage, make sure your camera bag has sturdy dividers. Packing a microfiber cloth around fragile pieces adds extra protection.
3. Prioritize Essential Items
When packing, always place frequently-used equipment in easily accessible sections of your backpack. For example, if you anticipate frequently swapping lenses or removing your camera from the bag, use exterior compartments or sections that don’t require unpacking everything else.
For less commonly used tools like cleaning kits or backup batteries, use deep-lying compartments since they won’t need quick access. The goal is to minimize the time spent digging through your pack while protecting the most critical pieces.
4. Utilize Waterproofing and Weatherproofing Measures
If you’re shooting outdoors, weather conditions like rain, snow, or humidity can endanger your camera equipment. Many high-quality camera backpacks are designed to be weather-resistant, but sometimes additional protection is needed. Here are some steps you can take to safeguard your gear:
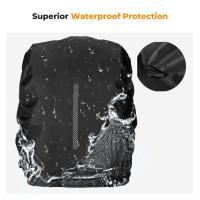
- Rain Covers: Many camera backpacks come with built-in rain covers. If yours doesn’t, you can purchase a separate waterproof cover.
- Dry Bags: Store sensitive equipment like camera bodies and lenses in compact, lightweight dry bags for maximum protection against moisture.
- Silica Gel Packs: To combat humidity, keep silica gel packets in your backpack to absorb excess moisture and prevent condensation from building up on your gear.
- Ziploc Bags: Small items like cables and extra batteries can be placed in resealable bags for added protection.
5. Prevent Overpacking
While it’s important to cover all your needs, overpacking can leave your bag too heavy and difficult to carry. This can not only strain your shoulders but also make your gear inaccessible or harder to organize. Be realistic about what you’ll genuinely use for your shoot. If you’re unsure about bringing multiple lenses or accessories, take the lighter option. Remember, a compact and organized backpack is essential for both comfort and portability.
6. Secure Gear to Avoid Movement
The safety of your equipment hinges on preventing unnecessary shifting inside your backpack. Use your bag’s built-in fasteners, dividers, or elastic straps to secure gear. If your chosen backpack doesn’t have these features, create a snug fit using clothing or foam inserts you might have on hand. Unnecessary movement not only increases the risk of damage but can also make your gear harder to locate when needed.
7. Distribute Weight Evenly
A crucial aspect of packing your backpack is distributing weight evenly to avoid back strain or discomfort during long periods of wear. Heavier items like the camera body and large lenses should be placed close to your back, ideally at the center of the backpack. Lighter accessories can go in exterior pockets or at the top of the bag. Balancing weight evenly between the left and right sides of the bag ensures stability and reduces strain on your shoulders.
8. Label and Identify
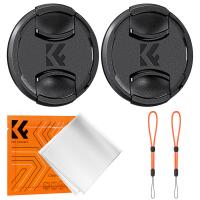
If you’re carrying multiple lenses or gear pieces, use labels or identification tags to avoid confusion. For instance, you can color-code lens caps or use small pouches with clear labels. This helps you access the correct tools faster, reducing downtime in time-sensitive photography scenarios.
9. Prepare for Security Checks (For Air Travel)
If you plan to fly with your camera gear, be prepared for airport security checks. Most airlines allow camera bags as part of carry-on luggage, but you’ll need to organize your bag in a way that keeps everything visible. Avoid stacking delicate equipment tightly into one compartment. Use X-ray-friendly pouches and remove electronics like the camera body before reaching security to prevent delays.
10. Test Your Setup Before Heading Out
Lastly, always test your packed backpack before leaving for your shoot. Walk around with the loaded backpack to ensure it’s comfortable for extended periods. Check that all equipment is secure and that you can quickly access critical items when needed. This step will help you make any last-minute adjustments.
Conclusion: Streamlining Your Photography Experience
Packing your camera and gear is about more than just organization; it’s about ensuring the safety of expensive and delicate equipment while optimizing your overall photography experience. Beyond the essentials, consider how your packing strategies could enhance your workflow: quick access to your camera might make the difference between capturing or missing a fleeting moment, while a lightweight setup will keep you mobile and energized on longer trips.
By carefully selecting a suitable camera bag, adopting protective measures, and prioritizing essential items, you can head out confidently, knowing your tools are safeguarded. With proper planning and organization, you’ll be able to focus on your creative process without the distraction of worrying about your equipment. Whether you’re a seasoned professional or an enthusiast, these practices will help you take your photography travels to the next level.

