How To Pack A Tripod For Air Travel?
Traveling with camera gear is a common concern for photographers, videographers, and hobbyists alike, and one essential item often included in the travel kit is the tripod. However, packing a tripod for air travel can be challenging. Airports and airlines have strict baggage policies, size limitations, and security protocols, which all impact how your gear makes it to your destination in top condition. To avoid stressful situations like damage to the tripod or even confiscation, it's important to know the best practices for packing and transporting this invaluable equipment. Here’s a detailed guide to help you navigate this process smoothly.
---
Why Packing a Tripod Correctly for Air Travel Matters
Packing a tripod for air travel involves more than just ensuring it fits within baggage dimensions. A tripod is an investment, often costing hundreds or even thousands of dollars. Proper packing ensures it remains intact, free from scratches or breakage during the rigorous handling of airlines and airport staff. Additionally, understanding airline and security regulations helps prevent last-minute hiccups at security checkpoints.
When done correctly, you can protect your valuable equipment, reduce stress during travel, and ensure that your tripod is ready to be used at your destination.
---
## Steps to Pack a Tripod for Air Travel
1. Familiarize Yourself with Airline Rules
Every airline is different when it comes to baggage policies. Some allow tripods to be carried on board, while others may require you to check it in. The decision ultimately depends on the size of your tripod and the corresponding airline's carry-on size restrictions.
- Hand Luggage: If you’re taking a compact travel tripod, it might qualify as part of your carry-on baggage. Measure the fully collapsed size of your tripod and check if it matches the airline’s carry-on dimensions.
- Checked Bag: Larger, heavy-duty tripods that don’t fit inside the carry-on may have to be checked in. Make sure it's securely packed to withstand rough handling in the cargo hold.
Check with your specific airline well in advance to avoid surprises at the airport.
---
2. Disassemble the Tripod
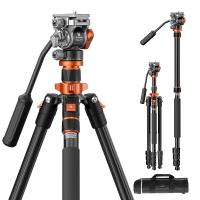
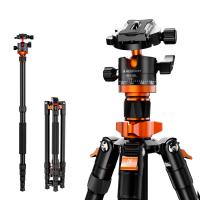
Before packing your tripod, disassemble it as much as possible. Detach any removable components, such as the center column, head, quick-release plate, or feet. This step helps in:
- Reducing the overall size of the tripod for easier packing.
- Minimizing the likelihood of parts getting damaged due to excessive strain or pressure during transit.
Place smaller detachable components (like screws or plates) into secure, labeled bags or zip-lock pouches. This organization will make it easier to reassemble the tripod later and ensures that no small items are misplaced during the journey.
---
3. Use a Protective Tripod Case
Invest in a protective tripod case or bag if you don’t already have one. Many tripods come with their own carrying case, which can provide basic protection. However, for air travel, a padded case designed specifically for tripods is ideal.
- Hard Shell Cases: These offer the most protection for your tripod. Though bulky and slightly heavier, hard shell cases are ideal for tripods you’ll be checking in. They can absorb impacts and protect fragile parts.
- Padded Soft Cases: Lightweight and easier to fit into carry-ons, padded soft cases are great for compact tripods that you can bring as hand luggage.
Ensure that the case fully encloses the tripod and that there are no loose parts that could shift during transit.
---
4. Wrap the Tripod in Additional Padding
Even with a dedicated carrying case, adding extra padding can act as an additional layer of protection.
- Use bubble wrap or foam to cushion individual components, particularly vulnerable areas like the tripod head.
- Wrap a layer of clothing or towels around the tripod if you're placing it inside a suitcase or hard shell luggage. This dual-purpose padding protects the tripod while saving space in your luggage.
---
5. Secure the Tripod in Your Luggage
If you’re packing the tripod in checked baggage or a large suitcase, ensure it is well-secured and positioned to minimize movement. Lay the tripod along the edges of your suitcase or wrap items tightly around it to stop it from shifting. Place heavier items away from the tripod to avoid accidental pressure that could lead to breakage during transit.
If your tripod is going in carry-on luggage, ensure it is easily accessible for inspection at security checkpoints. TSA officers or international airport staff may request that you show your tripod and verify its contents.
---
6. Carry a Multitool and Know Security Guidelines
If you frequently travel with a tripod, a small multi-tool can be incredibly helpful for tightening screws or adjusting loose bolts at your destination. However, many multitools include knife blades or other items restricted by air security, so you should always pack them in checked luggage rather than carry-ons.
When traveling internationally, be aware of specific country rules and regulations regarding the importation or use of equipment like tripods. For instance, certain protected areas or landmarks may have restrictions on tripods, monopods, or stabilizers. Understanding this beforehand can save time and hassle.
---
7. Plan for Quick Inspections
Tripods, being metal objects with collapsible or extendable parts, may sometimes raise flags during security screening. To avoid delays:
- Disassemble the tripod into separate components so it looks less suspicious on X-ray machines.
- Place your tripod in an easily accessible area in your hand luggage so it can be quickly removed and inspected.
Explicitly label your tripod bag or suitcase with your contact information, in case it gets misplaced during transit.
---
## Bonus Advice: Travel-Friendly Tripods
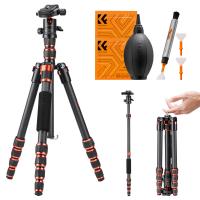
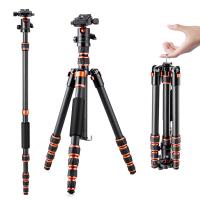
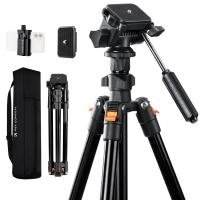
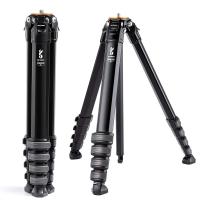
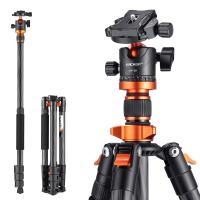
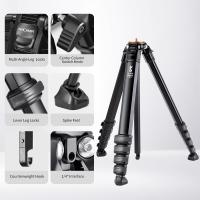
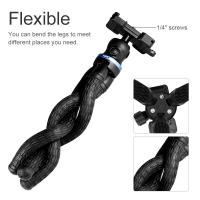
If you regularly travel with photography equipment, consider investing in a tripod specifically designed for portability. Compact, lightweight travel tripods often meet airline carry-on restrictions and come in foldable designs that are easier to pack. Carbon fiber tripods, for example, are both lightweight and durable, making them ideal for air travel.
Some popular travel tripod brands include Gitzo, Manfrotto, Benro, and Peak Design. These offer excellent performance while catering to the needs of professionals and hobbyists heading abroad.
---
## Common Challenges and Solutions
1. Tripod Too Big for Carry-On?
- Pack the tripod securely in your checked baggage with extensive padding.
- Alternatively, ship the tripod to your destination if it’s oversized or particularly delicate.
2. Worried About Damage?
- Use hard shell cases for checked luggage and avoid packing the tripod with heavy items.
- Consider travel insurance for your gear, which can provide compensation in the event of loss or damage.
3. Airport Security Issues?
- Inform security personnel that you’re carrying a tripod for photography. Be prepared to show its components or explain its purpose, especially for larger or unusual tripod designs.
---
## Final Words
Packing a tripod for air travel might seem daunting at first, but with the right preparation, it’s a manageable process that ensures your gear arrives at your destination in optimal condition. By familiarizing yourself with airline regulations, properly disassembling and securing your tripod, and using appropriate protective gear, you can focus on what really matters—capturing stunning images in your new location.
Traveling with a tripod opens up new creative opportunities for photographers and videographers alike, allowing you to take steady shots of landscapes, nightscapes, and other subjects that demand stability. With experience and foresight, packing your tripod will soon become second nature, leaving you free to explore your craft with ease and confidence. Safe travels and happy shooting!

