How To Pack A Canon Camera Bag?
Packing a camera bag effectively is a vital skill for photographers, whether you're a seasoned professional or just starting your journey into photography. Proper organization of your equipment not only ensures efficiency when shooting but also helps to protect your gear from damage, minimizes unnecessary weight, and keeps you prepared for any unexpected challenges during a shoot. If you’re a Canon camera enthusiast, chances are you’ve invested in quality gear that deserves careful packing to maximize its utility and longevity. In this article, we’ll dive into practical strategies to help you pack your Canon camera bag with confidence and purpose.
---
1. Assess Your Needs (Plan Before You Pack)
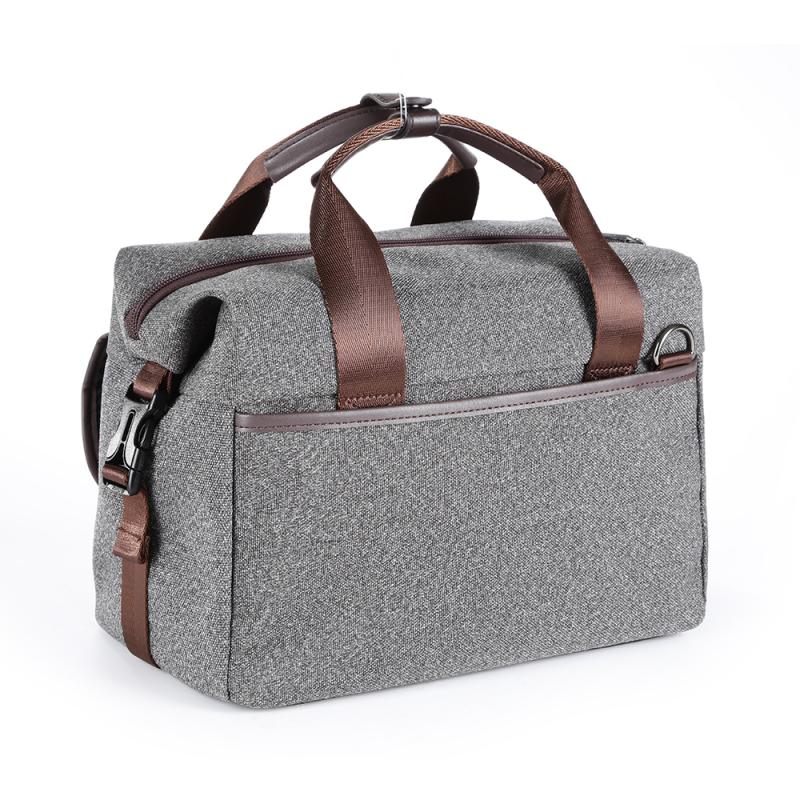
Before you even start arranging your gear in the bag, take a moment to consider the specific needs of the shoot or trip you’re planning. The equipment you pack will depend on several factors:
- Type of Photography: Are you shooting landscapes, portraits, wildlife, or events? Each genre requires different lenses, tools, and accessories.
- Duration of the Trip: A quick afternoon shoot may only require a basic setup, while a multi-day outing may demand additional batteries, storage, and lenses.
- Location and Environment: Be mindful of environmental factors like weather, lighting conditions, or the risk of dust and moisture.
For example, a wildlife photographer will likely prioritize a telephoto lens, a tripod, and extra batteries, while a travel photographer might need versatile zoom lenses and lightweight gear.
---
2. Understand Your Camera Bag Layout
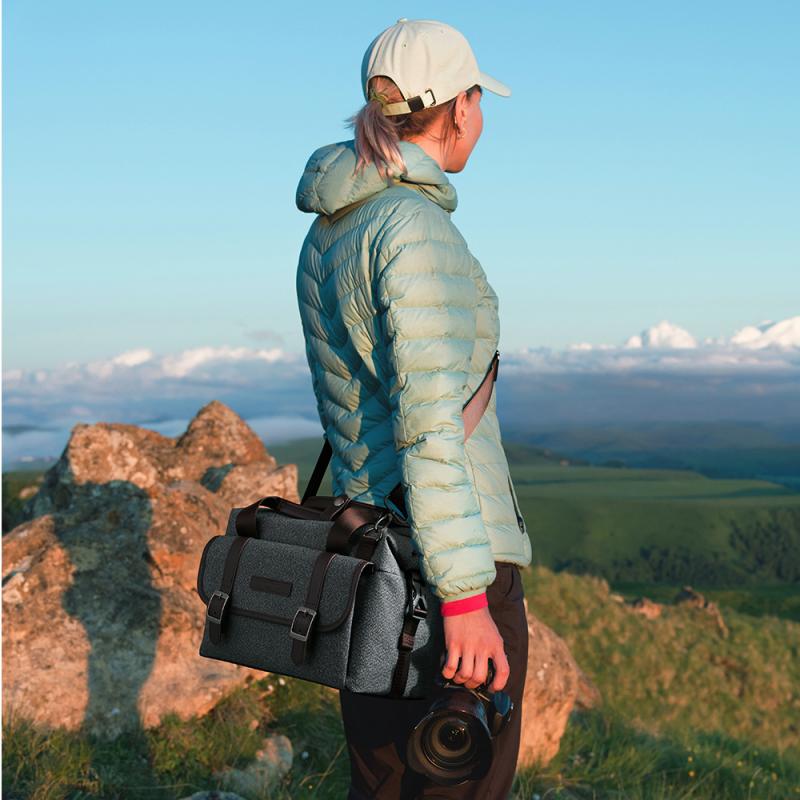
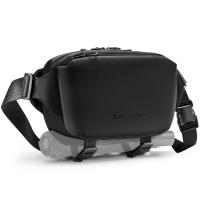
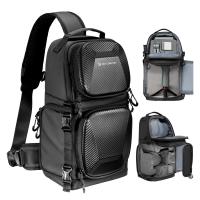
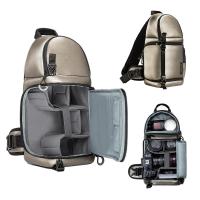
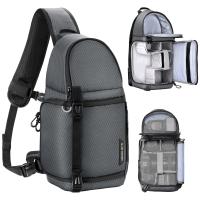
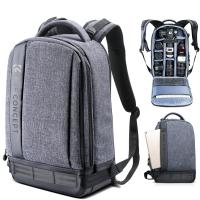
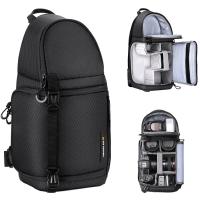
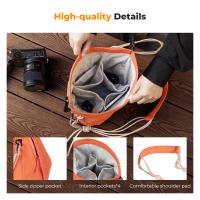
Canon camera bags come in various designs, such as backpacks, shoulder bags, roller cases, or modular camera inserts. They usually feature padded compartments, dividers, and quick-access zippers. Take time to familiarize yourself with your specific bag’s compartments and how they can be customized.
Look for these features:
- Adjustable Dividers: These allow you to customize the fit for your specific gear, ensuring everything stays snug and secure.
- Pockets and Sleeves: These are ideal for small items like memory cards, cleaning kits, or chargers.
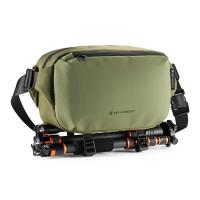
- Outer Straps/Loops: Useful for attaching tripods, water bottles, or other bulky items.
Understanding your bag’s design will help you utilize its full potential and avoid wasted space.
---
3. Pack Your Core Gear Strategically
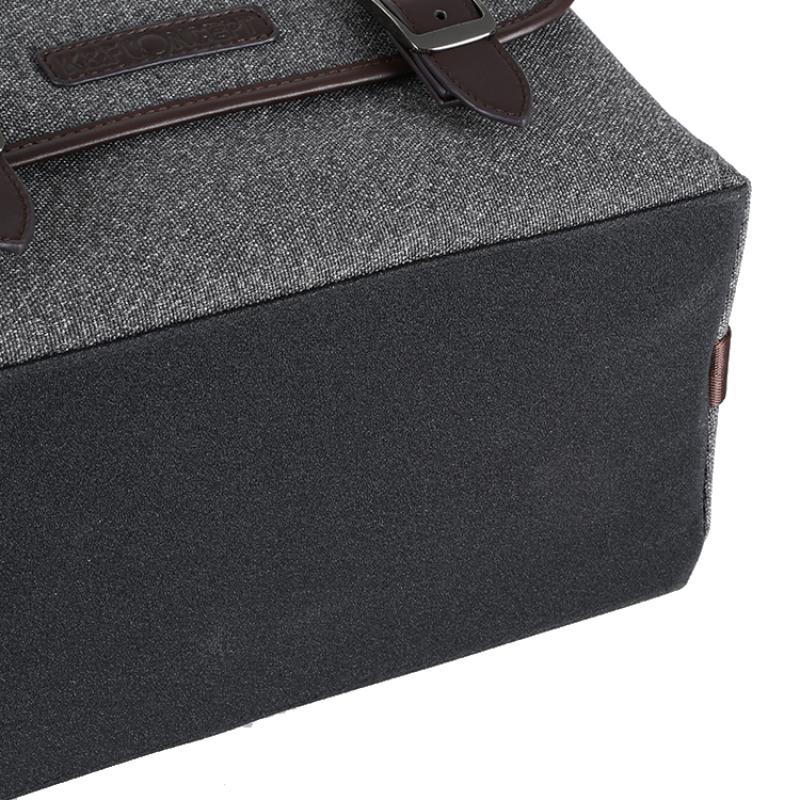
Efficient packing begins with prioritizing your core photography gear. Here’s a step-by-step guide:
3.1 Canon Camera Body
Firstly, find a secure, padded compartment for your main Canon camera body (or multiple bodies if required). Display screens, buttons, and sensors are sensitive, so always place the body with the LCD screen facing a padded divider. Keep the lens cap or body cap in place to protect internal components.
3.2 Camera Lenses
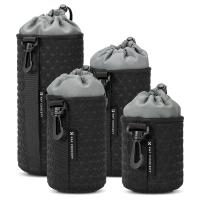
Take only the lenses that are essential for your shoot. To save space, pack compact lenses when possible, unless you specifically require a larger telephoto or prime lens. Store lenses vertically with their caps securely fastened, and ensure proper padding around each lens to prevent impact damage.
Common lenses for various shoots include:
- Portraits: Canon 50mm f/1.8 (“Nifty Fifty”) or Canon 85mm f/1.4.
- Landscapes: Canon 16–35mm f/2.8 or Canon 24mm f/2.8.
- Wildlife/Action: Canon 70–200mm f/2.8 or Canon 100–400mm f/4.5–5.6.
3.3 Memory Cards
Store your memory cards in a dedicated case, preferably a waterproof and dustproof one. Keep the case in an easily accessible compartment, as you’ll likely need quick access during shoots.
3.4 Batteries and Chargers
Pack spare camera batteries to ensure uninterrupted shooting, especially if you’re using a mirrorless Canon system, which tends to deplete batteries faster. Consider carrying a compact charger or USB charger if you’ll have access to power.
3.5 Additional Essentials
- Tripod or Monopod: Use external straps or attach your tripod in a compartment designed for bulkier items.
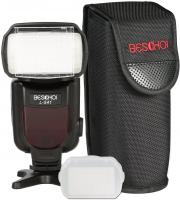
- Flash Unit: If you anticipate low-light conditions, pack an external flash like the Canon Speedlite series.
- Remote Shutter Release: Useful for long exposures or group portraits.
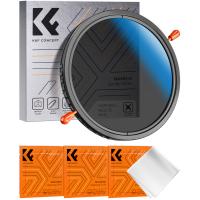
- Filters: Store essential filters such as ND (neutral density) or polarizers in a durable pouch.
---
4. Ensure Protection and Safety
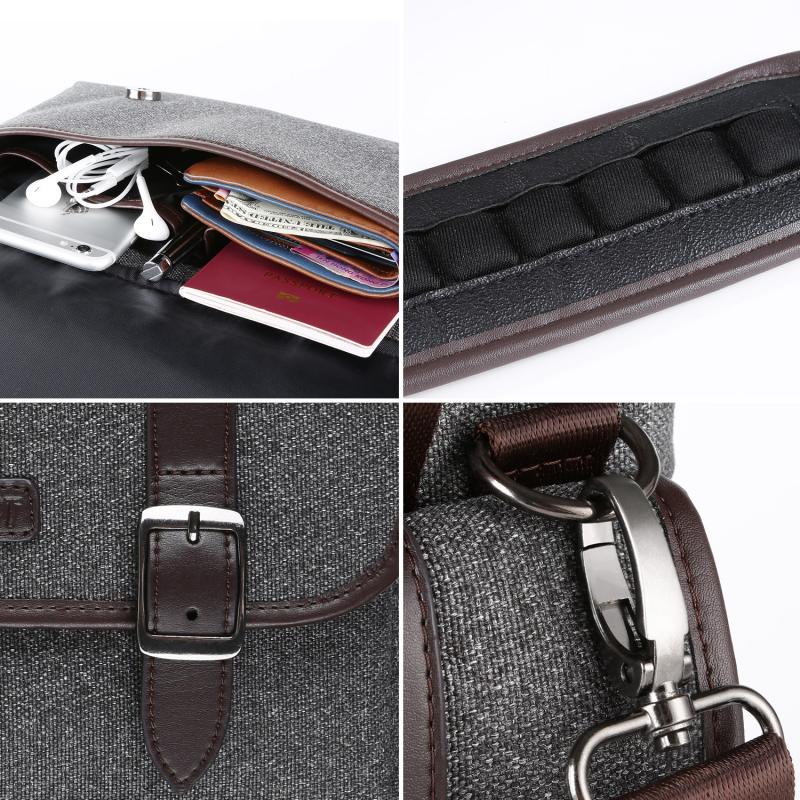
Your Canon equipment is an investment, so it’s critical to prioritize security:
- Cushioning: Use padded dividers generously and avoid tightly cramming items together.
- Weatherproofing: Many camera bags feature water-resistant materials, but for extreme conditions, consider a rain cover for added protection.
- Desiccant Packets: Store a few silica gel packs to reduce moisture buildup inside your bag, especially if you’re shooting in humid environments.
- Lens Caps/Body Caps: Always ensure caps are secured to avoid dirt or scratches on lenses and sensors.
---
5. Optimize for Accessibility
During a shoot, time is often of the essence. A well-organized camera bag allows you to access your gear quickly without disrupting your workflow.
5.1 Quick-Access Compartments
Keep your most-used items in these compartments, such as extra batteries, memory cards, or your primary lens.
5.2 Sequence of Packing
Place items in your bag according to frequency of use. For instance:
- Top compartments for frequently accessed gear like cameras or your “go-to” lens.
- Bottom compartments for gear you’ll need less often, such as backup cameras or chargers.
- Side or external pockets for tripods, water bottles, or personal essentials like wallets and keys.
5.3 Keep Essentials on Hand
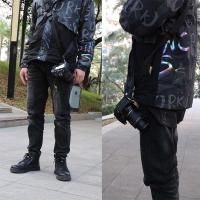
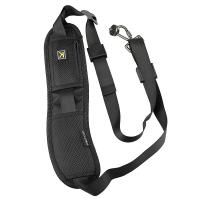
For active shoots, consider wearing a separate utility or waist pack for tools like your remote shutter release or spare memory cards. Alternatively, attach a camera strap for easy handling of your primary Canon body.
---
6. Factor in Travel and Personal Items
If you’re traveling, you'll need to strike a balance between your photography gear and personal needs. Some travel-friendly tips:
- Compact Gear: Use minimalistic setups, such as mirrorless Canon cameras like the EOS-R series, paired with lightweight lenses.
- Travel-Size Accessories: Carry portable cleaning kits, collapsible tripods, or foldable reflectors.
- Layering: Pack layers within your camera bag for added protection, such as using foam wraps or lens cases to protect gear from shocks or shifting.
---
7. Maintain Organization Post-Shoot
After your shoot, reorganize and clean your gear before repacking the bag. Here’s a checklist for maintaining a professional workflow:
- Clean Lenses and Sensors: Use a blower or microfiber cloth to remove dust and smudges.
- Inspect Gear: Check that batteries are fully charged and memory cards are backed up.
- Repack Systematically: Return each item to its designated compartment to maintain consistency and prevent last-minute scrambling before your next shoot.
---
Final Words
Packing your Canon camera bag is more than just filling compartments—it’s about equipping yourself for success, protecting your investment, and ensuring you have exactly what you need when you need it. A well-packed bag widens the scope of possibilities during any shoot, giving you the confidence to focus entirely on creativity and technical precision.
By assessing your photography needs, customizing your bag’s layout, prioritizing safety, and optimizing for accessibility, you create a harmonious setup that makes capturing images seamless and enjoyable. So, before your next adventure or photography project, spend a little extra time packing thoughtfully—you’ll thank yourself when you’re out in the field.

