How To Mount Telephoto Lens On Tripod?
When it comes to wildlife photography, astrophotography, or any form of shooting that involves the use of a telephoto lens, stability is essential. Telephoto lenses, especially those with longer focal lengths, are often heavy and can produce camera shake if not properly mounted and stabilized. Using a tripod to mount a telephoto lens can drastically enhance image sharpness, ensure more consistent shooting results, and reduce physical strain. However, the correct method of mounting a telephoto lens on a tripod is not always straightforward. This guide will walk you through the practical steps for securely and optimally mounting a telephoto lens on a tripod, as well as provide some tips for maintaining stability and enhancing your photography experience.
---
Why Proper Mounting Matters
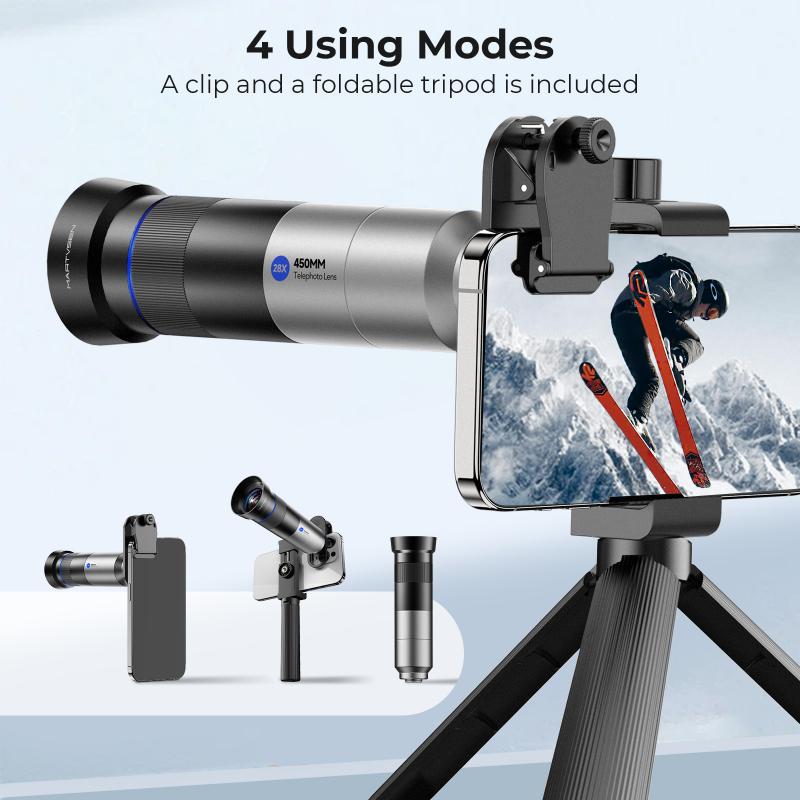
Telephoto lenses are designed to magnify distant objects, but this magnification also amplifies any movement in your equipment, including minor vibrations. A poorly mounted lens not only increases the risk of camera shake but can also cause undue stress on your camera’s lens mount, potentially damaging your gear over time. Properly mounting your telephoto lens to a tripod ensures stress is evenly distributed across the equipment, enabling optimal image quality while protecting your tools.
---
Necessary Equipment for Mounting
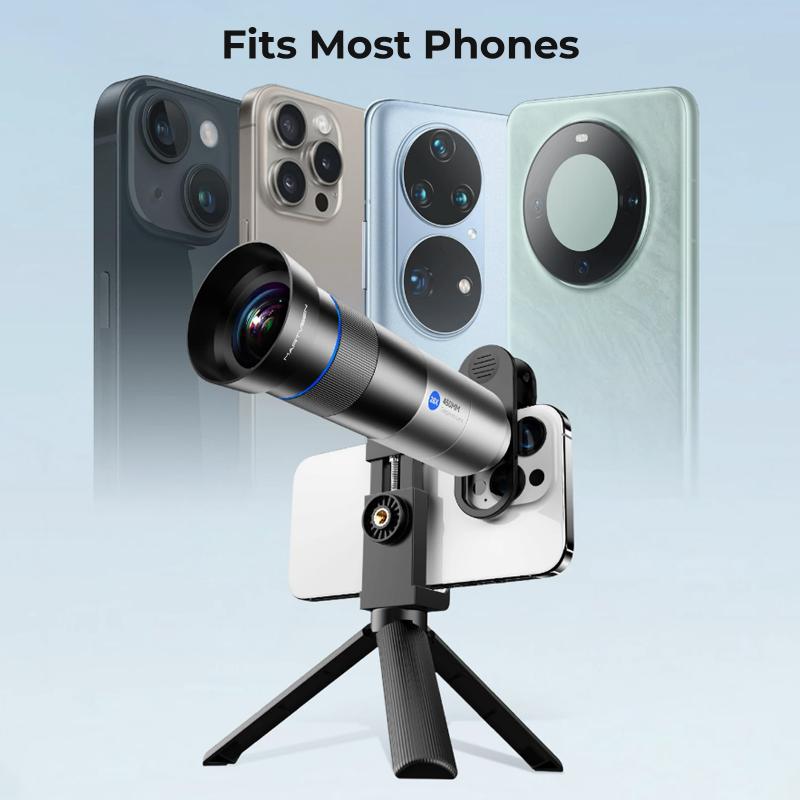
Before jumping into the mounting process, make sure you have the following items on hand:
- Telephoto Lens with a Tripod Collar: Many telephoto lenses come equipped with a tripod collar, a rotating ring that attaches to the lens body and provides a balanced mounting point. If your lens does not have one, consider purchasing a compatible third-party tripod collar.
- Stable Tripod: Choose a durable tripod that can handle the weight of your camera and lens. Look for tripods with sturdy legs, a high payload capacity, and smooth adjustments.
- Quick-Release Plate or Lens Plate: Most tripods come with either a quick-release plate or a lens plate. These can be attached to the tripod collar to facilitate faster mounting and dismounting.
- Gimbal Head or Ball Head: A gimbal head is particularly useful for telephoto lenses, as it allows for smooth tracking of moving subjects like birds or athletes. Alternatively, a high-quality ball head can also suffice for most purposes.
- Hex Key or Screwdriver (if required): Some tripod plates require tightening with a tool, so keep one handy.
---
Step-by-Step Guide to Mounting a Telephoto Lens on a Tripod
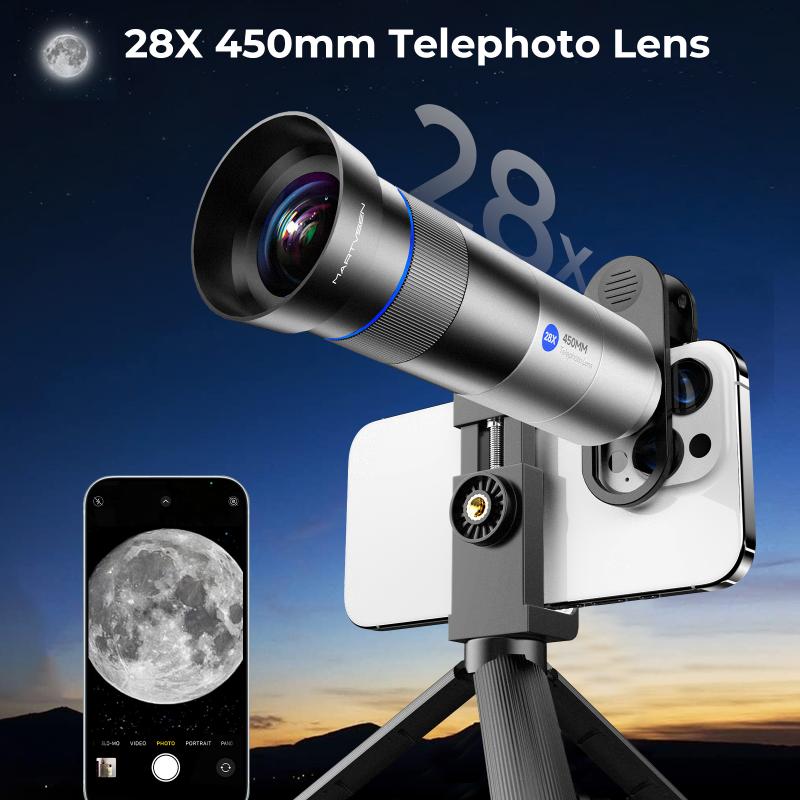
1. Attach the Tripod Collar to the Lens
The tripod collar should be wrapped snugly around the lens body at the balance point. The balance point is the section of the lens where weight is evenly distributed between the front and rear ends. Typically, the collar will have a screw or latch that closes it securely around the lens.
- If your lens does not come with a tripod collar, it is advisable to purchase one that is compatible. Telephoto lenses tend to be front-heavy, and mounting your camera body alone on a tripod can create instability.
2. Secure the Quick-Release Plate to the Collar
Once your tripod collar is attached, secure the quick-release plate or lens plate to the underside of the tripod collar. Align the threaded hole on the tripod collar with the screw on the plate, and tighten the plate until it's firm. Ensure the plate sits flat and stable against the collar to avoid wobbling.
- Some tripod systems use Arca-Swiss-compatible plates, so confirm that your plate and tripod head are compatible for seamless assembly.
3. Mount the Lens on the Tripod Head
After securing the quick-release plate to the tripod collar, attach the plate to the tripod head. Most tripod heads are designed with a locking mechanism to secure the plate in place. Slide or drop the plate into the tripod head’s plate receiver, lock it in position, and double-check for stability.
- If using a gimbal head, attach the lens carefully and balance it by adjusting the lens plate forward or backward. Balancing minimizes strain and allows for smooth motion when panning or tilting.
4. Adjust the Lens Orientation
Many tripod collars allow you to rotate the lens for switching between landscape and portrait orientation. Loosen the locking screw on the side of the collar just enough to rotate the lens, then firmly retighten it once the desired orientation is achieved.
- This feature is particularly useful for photographers capturing vertical wildlife or sports shots but wanting to maintain the lens' stability.
5. Set Up the Tripod Legs
Ensure the tripod legs are evenly extended and adjusted for the terrain. Keep the tripod level to maintain balance, and avoid fully extending the center column unless absolutely necessary. A wide-leg stance near the ground offers the most stability, especially when supporting a heavy telephoto lens.
---
Tips for Enhanced Stability and Performance
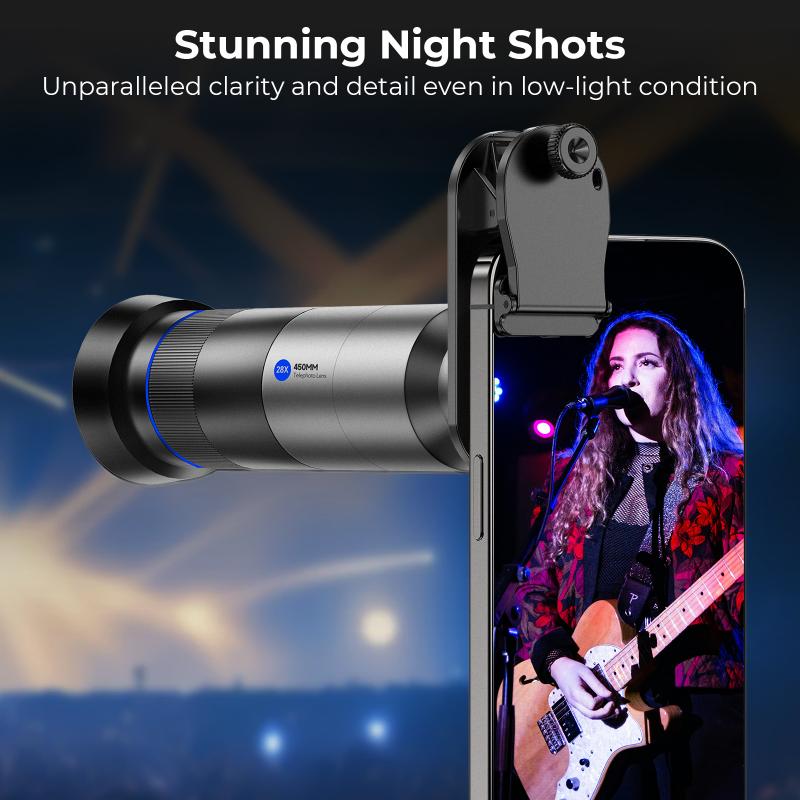
1. Use a Remote Shutter Release or Timer
Even the slightest touch can translate to vibrations when using a telephoto lens. A remote shutter release or your camera's built-in timer feature can eliminate the need to physically press the shutter button, ensuring maximum stability.
2. Engage Mirror Lock-Up (for DSLRs)
With DSLR cameras, flipping the internal mirror can cause minor vibrations. Use the "mirror lock-up" feature to eliminate such vibrations when shooting.
3. Anchor Your Tripod
In windy conditions or uneven terrain, consider anchoring your tripod for added stability. Many tripods come with a hook under the center column for attaching counterweights, such as a sandbag or camera bag.
4. Invest in Vibration Reduction Lenses
If your telephoto lens features vibration reduction (VR) or image stabilization (IS), engage this feature when shooting handheld or in slightly shaky conditions. However, many photographers turn off VR or IS when using a tripod to prevent the system from overcorrecting and creating blur.
5. Balance the Rig
Ensure the rig is properly balanced. A poorly balanced setup can cause stress on the tripod head and make it challenging to adjust the angle or direction of the lens. Balancing is especially crucial when using heavy telephoto lenses paired with smaller camera bodies.
---
Common Mistakes to Avoid
- Mounting the Camera Body Instead of the Lens: Do not mount the camera body directly to the tripod when using a telephoto lens. This can lead to instability and potential damage to the camera’s lens mount.
- Ignoring Payload Capacity: Check the maximum load capacity of your tripod and tripod head to ensure they can handle the combined weight of your camera and lens.
- Over-Tightening the Collar or Plates: While it's important to secure attachment points, excessive tightening can damage your lens or tripod plate threads.
- Using an Inadequate Tripod for Heavy Lenses: Lightweight, flimsy tripods are unsuitable for telephoto lenses and are likely to result in vibrations or collapses.
---
Troubleshooting and Fine-Tuning
If you notice vibrations or operational instability even after following the mounting steps above, consider the following:
- Reassess Plate Installation: Ensure the tripod plate is securely fastened to the tripod collar and that there is no gap or movement.
- Upgrade Your Tripod Head: If your current tripod head struggles to hold the lens in position, consider upgrading to a high-quality ball head or a gimbal head designed for heavy telephoto gear.
- Check Ground Conditions: Uneven or soft ground can compromise your tripod’s stability. Position your tripod on firm ground or use additional support tools as needed.
---
Properly mounting a telephoto lens on a tripod is a fundamental skill for photographers who demand clarity and precision in their long-range shots. Following the correct steps not only ensures stability but also protects your valuable equipment. With the right gear and techniques in place, your telephoto photography can truly shine—whether you're capturing birds in flight, a distant mountain range, or the beauty of the night sky. Taking the time to master the process of tripod mounting will pay dividends in the quality of your images and the longevity of your photography equipment.



![J12 Mini Projector Outdoor Movie Projector with 100Inch Projector Screen, 1080P, Compatible with TV Stick, Video Games, HDMI, USB, TF, VGA, AUX, AV [U.S. regulations] J12 Mini Projector Outdoor Movie Projector with 100Inch Projector Screen, 1080P, Compatible with TV Stick, Video Games, HDMI, USB, TF, VGA, AUX, AV [U.S. regulations]](https://img.kentfaith.com/cache/catalog/products/us/GW01.0172/GW01.0172-1-200x200.jpg)

