How To Monopod Video?
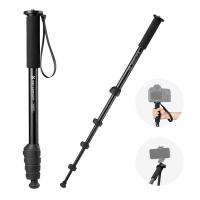
Creating high-quality videos with a monopod can be an incredibly effective way to shoot stable footage while maintaining mobility and flexibility. A monopod is a single-legged camera stabilization tool that can be invaluable for videographers looking to bridge the gap between handheld shots and the total stability of a tripod. Many people are drawn to using monopods because they’re lightweight, easy to set up, and allow for dynamic, on-the-go shooting. In this article, we'll explore practical techniques, tips, and key considerations for using a monopod for video shooting.
Why Choose a Monopod for Video?
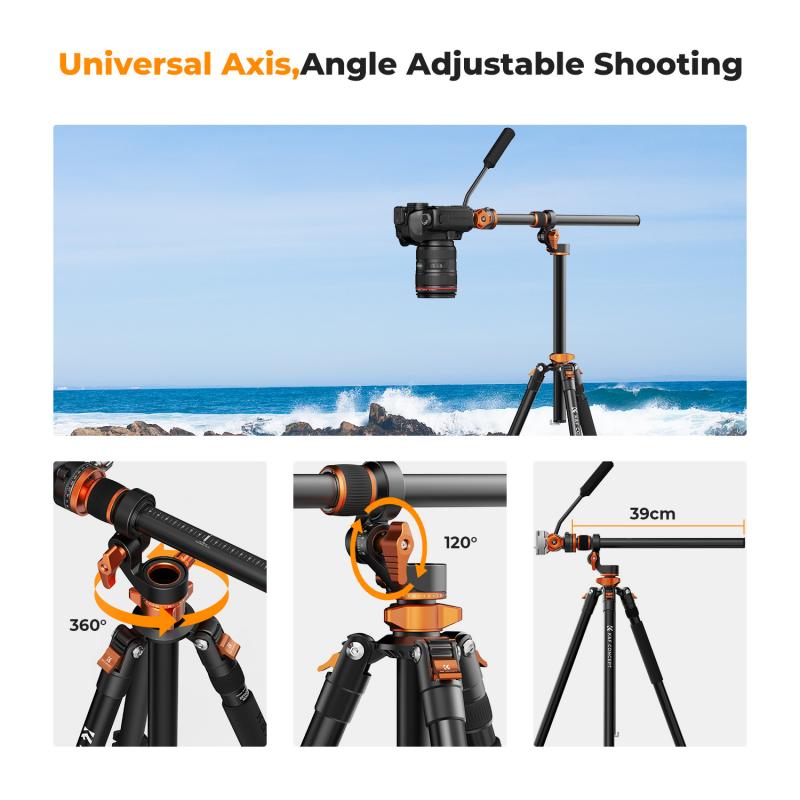
Before diving into the "how," it’s essential to understand the "why." Monopods are specifically designed to provide some level of stabilization while prioritizing easy maneuverability. Here are the main advantages:
1. Portability: Monopods are lightweight and can be carried easily compared to heavier tripods. They fold or collapse into a compact size, making them ideal for travel or shooting in tight spaces.
2. Quick Setup: A monopod can be deployed and adjusted in a matter of seconds, making it ideal for situations where time is critical, like dynamic events or fast-moving subjects.
3. Semi-Stability: While it won't provide the rock-solid stability of a tripod, a monopod allows for smoother and more stable footage than handheld shooting.
4. Mobility for Dynamic Shots: Videographers who need to move frequently or shift shooting angles love monopods because their single leg offers the flexibility to pivot quickly and reposition the camera.
5. Affordability: Compared to stabilizers or tripods, monopods are often significantly more budget-friendly.
However, one must recognize that monopods are not a universal solution. For static shots or prolonged video recording, especially in settings where complete stabilization is required, a tripod may still be preferred. That being said, mastering monopod video techniques can elevate your filmmaking, particularly in contexts that require mobility and effortlessness.
---
How to Choose the Right Monopod for Video
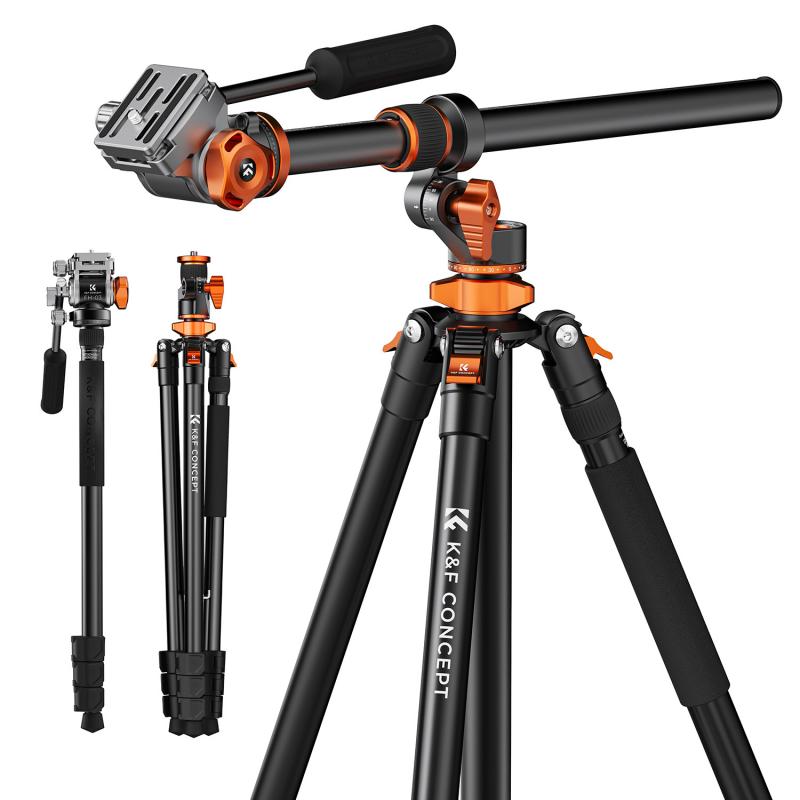
While many monopods fill the market, it’s important to choose one that aligns with your specific filming goals. Here’s what to look for:
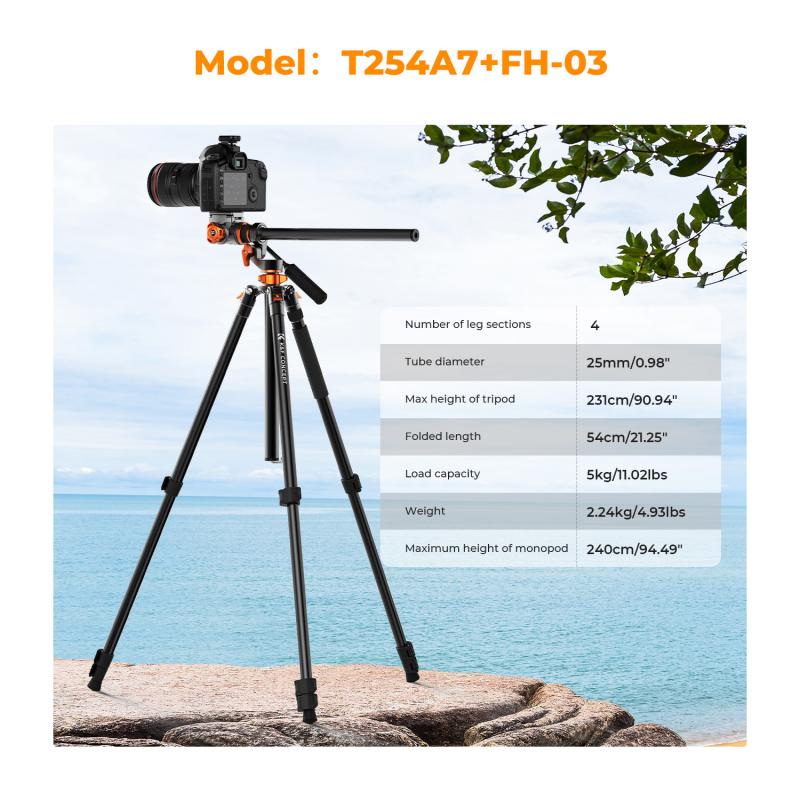
1. Load Capacity: Always ensure the monopod can support the total weight of your camera setup. Cameras with heavy lenses or rigs require sturdier monopods.
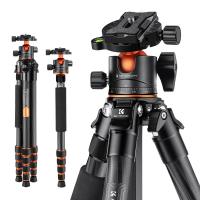
2. Material: Carbon fiber monopods are lightweight and durable but can be more expensive. Aluminum options are more budget-friendly but heavier.
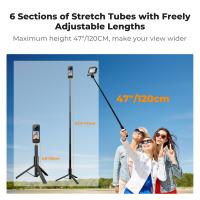
3. Height Range: Consider the maximum and minimum height of the monopod to match your shooting needs.
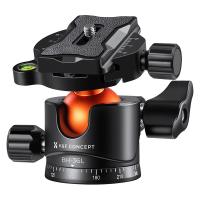
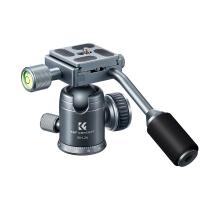
4. Fluid Head Feature: Many videographers pair their monopod with a fluid video head for smoother pans and tilts. This is especially useful for video shooting to maintain professional-grade motion.
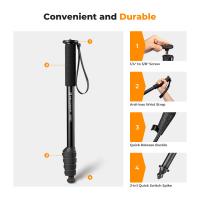
5. Feet/Base Stability: Some monopods come with small fold-out feet at the base for additional stabilization. They may also feature integrated ball joints that allow controlled movement while keeping the base grounded.
6. Locking Mechanism: Twist locks or flip locks will secure the monopod at your desired height. Quality locking systems ensure reliability over long shoots.
By investing in the right monopod and pairing it with suitable accessories, you can unlock its full potential in making videos.
---
Step-by-Step Guide to Using a Monopod Effectively for Video
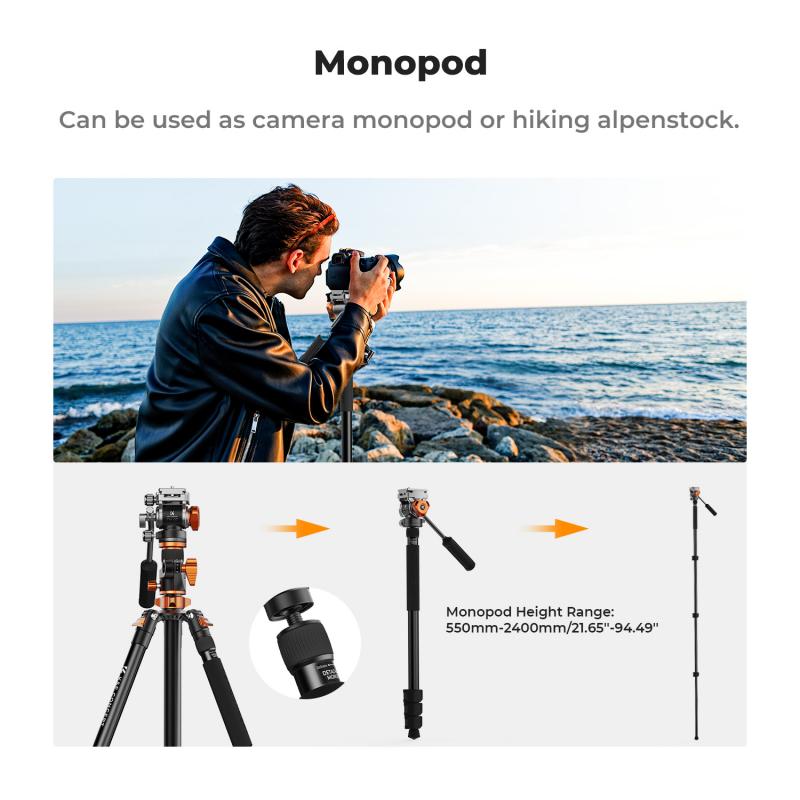
Using a monopod might seem straightforward, but utilizing it like a pro requires understanding certain principles. Below is a breakdown of essential techniques for video production:
1. Set Up the Monopod Correctly
- Extend the leg to the necessary height by loosening the locks and securing them once you’ve reached the desired length.
- Settle the monopod base on a firm surface (avoid uneven or slippery areas).
- Attach your camera securely to the mounting plate, ensuring it’s locked into position.
If you’re shooting while standing, the monopod’s height should align with your eye level, or slightly below if you’re planning to tilt. If shooting at unconventional angles, adjust the height accordingly to suit the frame composition.
2. Create a Stable Stance
Stabilization is key when working with a monopod. Since it has only one point of contact with the ground, your body stance becomes part of the support system. Stand with one foot slightly forward, lean into the monopod, and use both hands to manage the camera—one on the monopod grip and the other operating the camera.
Alternatively, for ground-level shots, try kneeling or sitting to provide additional leverage for stability.
3. Recreate Tripod-Like Stability
While monopods are inherently less stable than tripods, videographers can use these techniques to make their monopod feel steadier:
- Anchor Against the Ground: Press the foot of the monopod firmly into the floor for controlled motion.
- Body Brace Technique: Lean the monopod against your body (e.g., against your waist or hip) to reduce movement.
- Tether Point: Use a strap or belt to secure the monopod against something fixed, like your torso or a nearby object.
4. Practice Smooth Camera Movements
The monopod offers enhanced mobility, and you should leverage it for fluid pans, tilts, and follow shots. Here’s how:
- Panning: Rotate your upper body smoothly while keeping the monopod grounded. Use a fluid head if mounted.
- Tilting: Adjust the angle of the camera using the head of the monopod or by slightly altering your body’s position.
- Tracking/Dolly Movements: Move your monopod along with your walk to create smooth tracking shots. Bend your knees slightly to reduce jerky movement in these cases.
Practice makes perfect—the more you develop muscle memory for smooth motion, the better your monopod video shots will look.
5. Incorporate Monopod Height Adjustments
One of the major advantages of a monopod is its ability to shift heights quickly. Use this feature creatively by varying your shots from low-angle perspectives to eye-level interviews seamlessly. Combine this with stabilized movement for dynamic storytelling.
6. Use the Base Movement Mechanism
If your monopod has a ball joint at the foot or a tripod-style base, capitalize on this design for extra fluidity. The base can provide a pseudo-tripod stabilization while still making minor adjustments for tilts and rotations.
7. Pay Attention to Video Composition
Shooting with a monopod is no excuse to ignore framing fundamentals! Think critically about the rule of thirds, headroom, and leading lines. Use the monopod’s nimbleness to achieve creative frames and shot angles that wouldn’t work with bulkier stabilization tools.
---
Pro Tips for Mastering Monopod Video Work
- Pair with a Gimbal for Stability: If you require even smoother motion, a monopod can complement a handheld gimbal stabilizer. The combined tools help eliminate shakes and vibrations while retaining freedom of movement.
- Slow is Smooth, Smooth is Professional: Avoid abrupt movements when handling a monopod. Take your time to execute deliberate, fluid motions.
- Add Weights for Balance: If you find your monopod unstable, attaching small counterweights at its base can aid in balancing.
- Test Before Shooting: If you’re new to monopod videography or to a specific monopod setup, practice with your camera rig to understand its handling and stability nuances.
- Invest in Post-Stabilization: Even with a monopod, minor jitters can creep into filming. Employ post-production stabilization (available in video editing software) to fine-tune footage.
---
Applications: When to Use a Monopod?
Monopods shine in specific scenarios, such as:
- Event Videography: Perfect for concerts, weddings, or sports, where you need to move frequently and don’t have time to set up a tripod.
- Documentary and Travel Videos: Their portability makes monopods great companions for outdoor adventures and spontaneous shooting.
- Dynamic Action Shots: They allow following subjects with minimal setup.
---
Using a monopod for video offers a unique combination of mobility, stability, and versatility that can significantly improve your filmmaking. By understanding the equipment’s strengths and limitations, practicing effective techniques, and creatively employing its features, you can produce professional-quality footage in virtually any shooting environment.
Remember: mastery of a monopod isn’t just about the tool

