How To Make On Camera Flash Look Good?
Lighting is foundational in photography, and one of the most versatile tools in your arsenal is your on-camera flash. However, many photographers struggle to make on-camera flash lighting look professional and natural. Without proper techniques, a direct flash can often create harsh shadows, unflattering highlights, or that dreaded "flat" look. But with the right tips and tricks, you can transform your on-camera flash into an invaluable source of soft, flattering, and dynamic light.
Here’s a deep dive into how to make on-camera flash look good, ensuring your photos leave a lasting impression without looking artificial or overly lit.
---
1. Understand Why On-Camera Flash Often Looks Harsh
To fix a lighting problem, it’s important to understand its root causes. On-camera flash mounted directly above the lens—or, worse, angled toward the subject—produces unidirectional light. This results in flat lighting with no depth or texture. Additionally, this setup can cause issues such as:
- Harsh shadows: Cast directly behind the subject, creating an unflattering look.
- Hot spots on skin: Particularly problematic in portraits, these are overexposed areas from the direct flash.
- Red-eye effect: Light bouncing back from the subject's retina makes their eyes appear unnaturally red.
The good news? These issues are easily mitigated with proper techniques.
---
2. Bounce the Flash for Softer Light
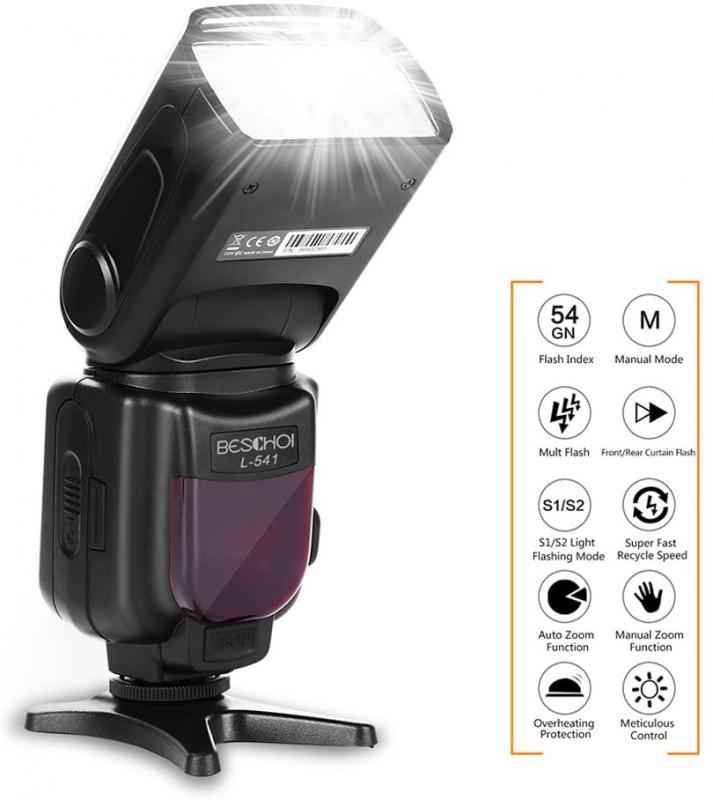
One of the simplest ways to instantly improve your on-camera flash is to bounce it off a nearby surface rather than pointing it directly at your subject. Bouncing light softens its quality, reduces harsh shadows, and creates a more natural, diffused effect.
- Ceilings: Point your flash upward toward a white or neutral ceiling. This creates light that falls gently onto your subject, mimicking natural overhead light.
- Walls: If the ceiling is too high or you’re outdoors, angle your flash toward a nearby neutral-colored wall. This replicates side lighting and adds dimension to your subject.
- Flash card or bounce card: If no wall or ceiling is available, attach a small bounce card or use the built-in reflector panel inside your flash (if it has one). This directs a portion of the light forward while diffusing most of the light upward for a softer effect.
Tip:
Avoid bouncing light off brightly colored surfaces (e.g., green walls or red curtains), as the light will take on that color and potentially create odd skin tones.
---
3. Use Light Modifiers
Light modifiers are crucial for shaping and softening the harsh output of your on-camera flash. Here are a few great options:
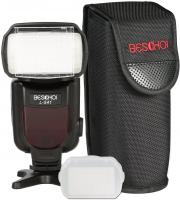
- Diffusers: Attach a dome or softbox diffuser to your flash. These accessories scatter the light, creating a softer, even distribution that’s ideal for portraits.
- Bounce cards: A small, portable card reflects the light toward your subject while softening the edges.
- Flash grids or gels: A grid helps control the light by limiting its spread, while gels allow you to match the light temperature to ambient lighting.
Each modifier serves a unique purpose, so experiment with different ones until you find setups that complement your shooting style and environment.
---
4. Blend Flash With Ambient Light
One major reason on-camera flash often looks unnatural is its isolation from the ambient light in the scene. Overpowered flash can make your subject look "cut out" or create jarring contrasts. To combat this, learn to balance your flash exposure with the natural (ambient) light in your environment.
How To:
1. Meter for ambient light: Before turning on your flash, set your camera’s exposure for the existing light. Use manual or aperture priority mode to achieve a base exposure level.
2. Dial down flash power: Use your flash in manual mode or adjust the flash exposure compensation (FEC) in TTL mode. Start at –1 or –2 stops and adjust upward if the lighting is insufficient. This keeps the flash as a subtle fill rather than an overwhelming main light source.
3. Match color temperatures: Flashlight is generally cooler than warm indoor light. Use CTO (Color Temperature Orange) gels on your flash to match the warmer tones or edit in post-production to blend the lighting temperatures.
Balancing the mixture of natural and flash light ensures your photos look cohesive and well-lit without harsh highlights or shadows.
---
5. Create Directional Lighting
Great photography often relies on directional light to emphasize texture, shape, and dimension. On-camera flash doesn’t have to be a flat, forward-facing light source—you can simulate directional light creatively:
- Tilt and swivel your flash head: Adjust the angle to create light coming from above, the side, or even behind the subject.
- Fake an off-camera look: Use a bracket to move the flash slightly off-axis from your camera's lens for more depth.
- Use bounce light creatively: Combining bounce techniques with different angles lets you mimic window or studio lighting.
The goal is to guide light dynamically across your subject, ensuring shadows and highlights are distributed naturally to add depth.
---
6. Consider Using Fill Flash Outdoors
While many photographers turn to on-camera flash for indoor settings, it can also be a game-changer outdoors during daylight. Introducing flash as a fill light helps balance harsh sunlight or reduce contrast in shaded areas. This is especially effective when:
- Shooting in backlit conditions (e.g., sunsets or harsh midday light).
- Avoiding underexposed faces in bright scenes.
- Softening hard shadows caused by direct sunlight.
To keep the fill flash subtle, lower the power significantly (e.g., –2 stops) and aim to balance it with the available sunlight rather than dominating the scene.
---
7. Use High-Speed Sync (HSS)
When shooting outdoors in bright light, you may need to set a wide aperture (e.g., for shallow depth of field) or use a high shutter speed to avoid overexposure. However, many cameras have a maximum flash sync speed of around 1/200–1/250 sec. Using flash with a higher shutter speed requires High-Speed Sync (HSS).
HSS pulses the flash rapidly to keep it in sync with fast shutter speeds. This is particularly effective for balancing bright sunlight with your flash or achieving a soft, blurry background in outdoor portraits.
---
8. Experiment With Flash Modes and Settings
Modern flash units often come with various modes to accommodate diverse shooting scenarios. Understanding these options gives you greater creative control:
- TTL (Through The Lens): Automatically adjusts flash power based on the camera's metering. This is great for fast-paced environments but may require manual compensation to fine-tune.
- Manual Mode: Offers complete control over the flash output, allowing you to tweak power settings to your preference.
- Rear curtain sync: Fires the flash at the end of an exposure rather than at the start. This is useful for creating natural motion blur or dynamic effects.
Experiment with these modes to suit the lighting conditions and composition you’re aiming to achieve.
---
9. Practice With Off-Camera Flash Eventually
While the focus here is on-camera flash, eventually experimenting with off-camera setups will significantly elevate your craft. A remote trigger lets you position your flash to create creative lighting angles or mimic studio effects in any environment. This versatility can turn an average on-camera flash into a full-fledged lighting tool in your arsenal.
---
10. Post-Process for Polish
Even with the best on-camera flash techniques, slight adjustments in post-production can take your images to the next level. Use software like Adobe Lightroom or Photoshop to:
- Balance exposure between highlights and shadows.
- Adjust white balance if the flash created a cooler cast.
- Refine minor hotspots or skin tones.
Editing enhances your lighting efforts and ensures your final image is as polished and professional as possible.
---
On-camera flash doesn’t have to feel limiting or produce mediocre results. By mastering techniques like bouncing light, using modifiers, blending with ambient light, and experimenting with flash settings, you can bring new depth and professionalism to your images. The key is to view your flash as a creative tool—one that complements and enhances the available light rather than overpowering it. With practice and these tips at your disposal, you’ll elevate your photography and confidently deliver stunning, natural-looking images in any setting.

